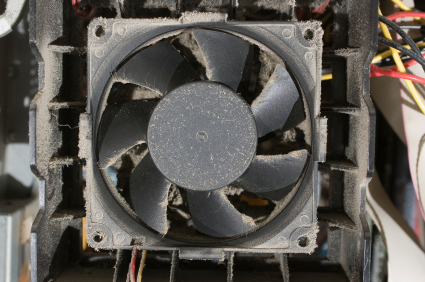
Dust inside a computer can cause slow performance, component failure, and fan failure. To keep it running smoothly, it is important to clean your computer fan at least a few times a year. Unfortunately, cleaning a computer fan is a risky action if you don’t know what you are doing, so read these instructions carefully to learn how to clean computer fan with compressed air.
Start by gathering your materials: a screwdriver that you can use to open your computer, a can of compressed air (designed to be static free), and a gas/dust mask to deal with all the dust. Next, shut down your machine (using the master power switch if it has one) and unplug any cables from the computer itself. Next, move to a comfortable, clean location where the dust can ventilate properly.
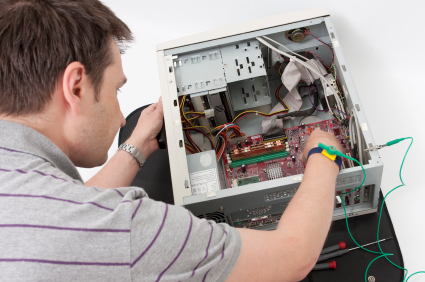
Time to open the computer! Take a picture before you start in case you want something to use as a reference later on. If you still have the user manual, it would be wise to consult it to find which areas you need to unscrew to open your computer properly. If you don’t have the manual, most computers have screws that hold down the side panel. Remove these to open up your machine.
Before we start messing around with the interior of the computer, be certain to never touch the inside of your computer with your hands. Doing so can destroy your computer because of electrostatic discharge. Just like you can be shocked by static if you rub your hands on a carpet, you can discharge static electricity into a computer, which has the potential to disrupt and destroy hardware components.
In light of this, use the compressed air to blow out the inside of your machine. Keep the can upright at all times to make sure no liquid spills out of the can. You’ll want to keep the can at least a few inches away from any interior parts. It is also good practice to begin from the top of the computer and systematically work your way down to ensure all the dust is removed.
Once all the other parts have been cleaned, move onto the computer fan. This is the last step because having dust accumulated in different areas will make cleaning the fan inefficient. To clean the computer fan, hold the can of compressed air roughly six inches away and spray directly at the fan from several different angles. Continue this process until all traces of dust are gone.
Now you can reassemble the computer. This step should be simple, but if you have trouble remembering where the pieces were before dismantling, refer to the pictures you took. When everything is back together and the cables plugged in, your computer will be running significantly cooler and faster.
If you would prefer to have a professional look at it, consider using TalkLocal. TalkLocal is a free service that will connect you with top-quality, reputable computer repair companies in your neighborhood within minutes. Just enter in your specific problem, location and availability, and up to three companies will call YOU directly, saving you the time and stress of finding one yourself.

