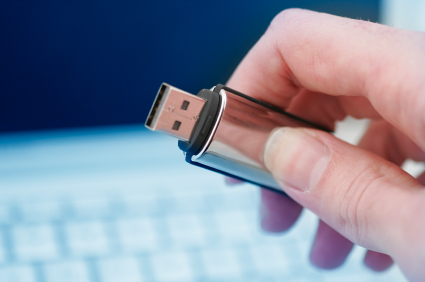
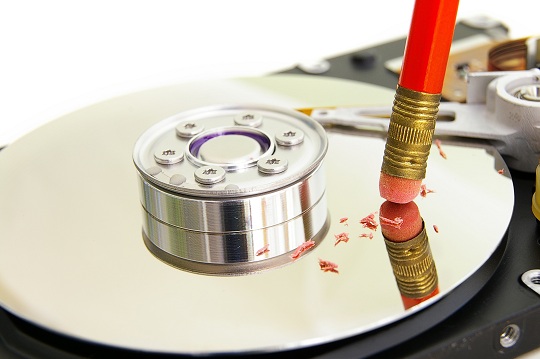
USB flash drives are an easy way to transfer files from computer to computer. After your USB becomes full from storing many files, you may want to clear all of its contents when they are no longer needed. There are three ways to handle wiping a flash drive completely. You can format the drive, manually delete all files, or use a secure data-wipe program.
For all three methods, first insert your USB drive into the port. Then, follow the corresponding steps for your preferred method of data removal.
Format the Drive
1. Click the Windows Start button > Computer.
2. Right click the flash drive.
3. Click “Format” on the menu.
4. Click the check box that says “Quick Format” if you want to erase the flash drive completely. Leave the box unchecked if you want to go through files and clear the content yourself.
6. Click the “Start” button to begin formatting. You will see a pop-up message when the process is done.
Manually Deleting All Files
1. Click the Windows Start button > Computer.
2. Click Organize > Folder and Search Options.
3. Click the “View” tab.
4. Click the radio dial next to “Show Hidden Files an Folders.”
5. Click “OK.”
6. Open your USB file. For Macs, click on “Finder” to access it.
7. Click in the blank area of the USB window.
8. Hold Ctrl+A (Command+A for Macs) to highlight all files.
11. Press the “Delete” key and wait for the files to delete.
12. Right click the “Recycle Bin” (“Trash” for Macs) and choose “Empty Recycle Bin.”
Using a Data-Wipe Program
With the first two methods, your USB drive will be cleared, but you can still access files with data recovery software. You can completely erase these files using a data-wipe program such as Roadkil’s Disk Wipe.
1. Download Roadkil’s Disk Wipe, available from http://www.roadkil.net (This program can be run from a Windows desktop).
2. Extract the contents of the compressed file.
3. Open Disk Wipe.
4. Right click the program icon.
5. Click “Run as Administrator.”
6. Click the drive you want to wipe.
7. Click the type of wipe you want to perform: zero-fill the disk or write random data.
8. Enter the number of passes.
9. Click “Erase” to start the process.
10. Once the process finishes, close the program. Your flash drive is now completely cleared.
If you need additional assistance with your USB drive or computer problems in general, TalkLocal can connect you with local IT support and computer repair technicians.

