While every DVD player has a slightly different configuration and set up, there are always some standard steps to take. You should always refer to the documentation that comes with your DVD player if you are ever uncertain about the steps to take. If you don’t have the instructions anymore, follow this guide to learn how to connect DVD player to TV:
1. Place your DVD player
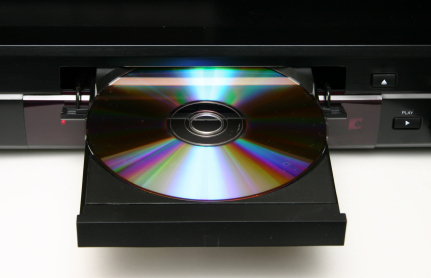
While this seems like a no-brainer, always completely unpackage your DVD player and place it wherever you want it located. This step is very important because the cords that come with your player are only so long and you may need to get an extension cord if you want your DVD player extremely far away from your TV.
2. Connect the DVD player to the TV
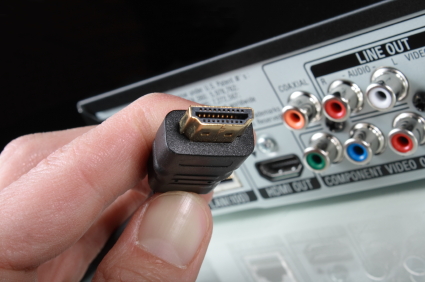
Your DVD player should have come with a couple of cables. Depending on your TV, you should look for either the tri-colored composite cable (yellow, white, and red) or HDMI cable (rectangular end) and connect your DVD player to your TV. Simply match up the colors if using the composite cable or insert the HDMI cable into the correct port in the back of the TV.
3. Plug in and test your DVD player
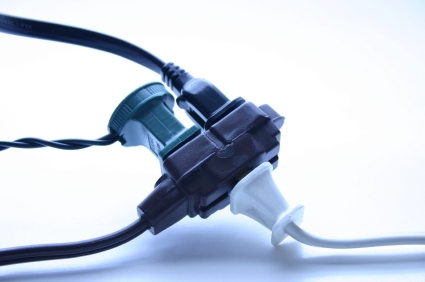
Plug in the power cable for your DVD player into a nearby outlet and turn on your TV and your DVD player. You should cycle through your TV’s inputs until you find the correct one. This will depend on how you connected your TV to your DVD player (HDMI for an HDMI connection and usually Video or AUX for composite). If you see a DVD welcome screen, you have successfully connected your DVD player.
If you followed the above steps and still could not get the DVD player to show up on your television screen, you should go ahead and contact a television repair expert as there may be an issue with your connection ports. TalkLocal can save you the hassle of searching for a local professional, connecting you to a high quality television repair professional in just minutes!




Enjoyed the subject material you shared, forwarding to others.
This is a seriously very good posting. Appreciate your sharing.