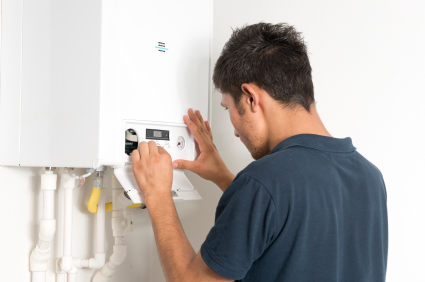
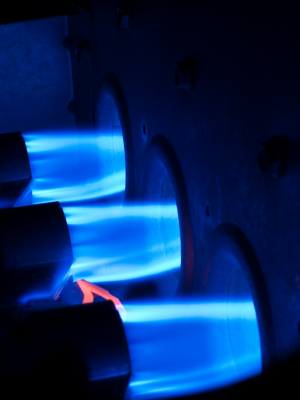
The pilot light on a water heater is used to ignite the gas that comes out of the main burner to provide light. A small constant stream of gas is released to power the pilot light, which triggers the release of the main gas source for the burner. Older water heaters have the pilot light out in the open, and are lit by a match or another flame source. Newer water heaters have the pilot light in a separate compartment, and can’t be lit by a match. Here are some steps for water heater pilot light troubleshooting:
CAUTION: If you smell gas, do not proceed. Evacuate the house immediately and call your gas department to have them fix the leak.
For older water heaters
1. Turn the temperature control knob to the lowest setting.
2. Turn the on/off switch to the pilot setting.
3. Remove the outer and inner access panels at the bottom of the heater.
4. Locate the pilot button (should be located next to the on/off switch) and hold it down as you light the pilot light in the next step. Some models don’t have a separate pilot light button, and instead it is incorporated into the Pilot setting of the on/off switch.
5. As you hold down the pilot light button, follow the silver tube inside the access panel to the end, which is where the pilot light is located. Light the end with a match or another flame source.
6. Hold down the pilot light button for an additional 30 seconds after the pilot is lit.
7. Replace and secure the access panels.
8. Turn your burner from the Pilot setting to On and set the temperature back to the desired setting. You should hear the burner heating back up.
For newer water heaters
1. Turn the temperature control knob to the lowest setting.
2. Turn the on/off switch to the pilot setting.
3. Locate the pilot button (should be located next to the on/off switch) and hold it down as you light the pilot light in the next step. Some models don’t have a separate pilot light button, and instead it is incorporated into the Pilot setting of the on/off switch.
4. While looking through the sight glass and holding down the pilot light button, slowly press the spark generator until you hear a click.
5. There should be a spark from the generator, and the pilot light should be lit. Keep on holding down the pilot light button for an additional 30 seconds.
6. Turn your burner from the Pilot setting to On and set the temperature back to the desired setting. You should hear the burner heating back up.
If your pilot light won’t light or keeps on going out, you probably have a faulty thermocouple. Thermocouples are used to sense if the pilot light is on or not, which then triggers the release of the main gas light. Replacing a thermocouple, especially on a newer model, can be confusing and shouldn’t be done by anyone other than a professional. Use TalkLocal for free to find a trained professional that can help you with your thermocouple needs!


Simply wish to say your article is as amazing. The clarity on your put up is just excellent and i could suppose you are an expert on this subject. Fine along with your permission let me to snatch your feed to keep updated with impending post. Thanks a million and please keep up the enjoyable work.