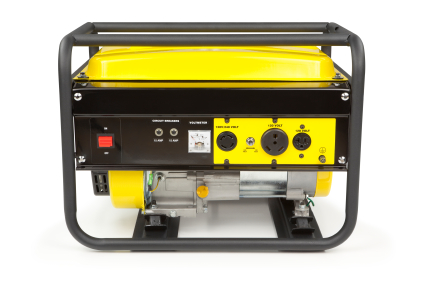
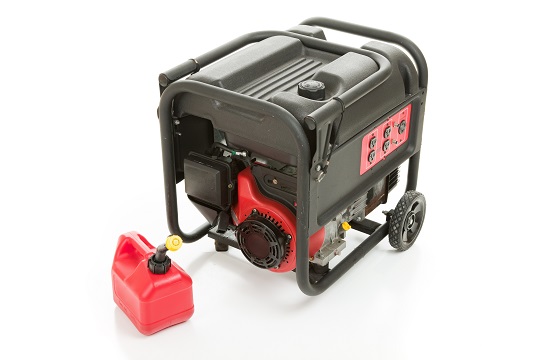
Are you in an area where blackouts happen often? Provided that you don’t enjoy blackouts, having a portable generator and knowing how to install it when needed is a great skill. However, there are safety costs to installing and using a generator as well, so read this guide on how to install a generator properly.
How to Install a Generator
1. Start by picking a location to install the generator. It is advised that you do not install a generator indoors or near indoor areas because generators emit carbon monoxide, a harmful gas if inhaled. Carbon monoxide (CO) is a byproduct of combustion (burning a gas) that happens if there isn’t enough oxygen around in the air when the natural gas is burned to generate electricity. The combustion was originally intended to make carbon dioxide (CO2), but there wasn’t enough oxygen molecules.
2. Create an even, level surface for your generator by stiffening/compacting the ground on which the generator is going to placed.
3. Move the generator onto the leveled surface carefully.
4. Turn off the natural gas to your home.
5. Test the natural gas line that you are connecting to your generator for leaks.
6. Connect the gas line to the generator tightly using a wrench.
7. Turn the gas back on.
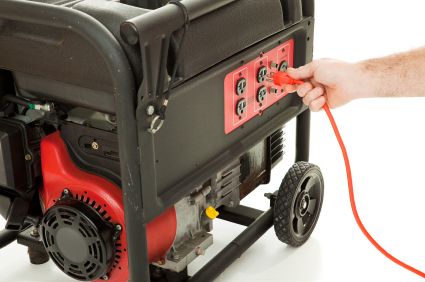
8. Turn the generator on. The generator should be now supplying power to your house.
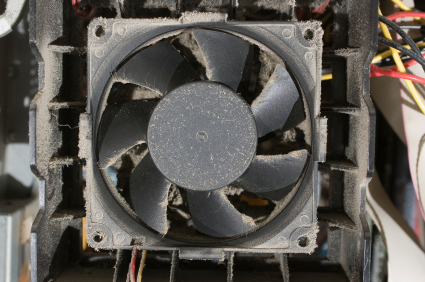
It’s practically impossible to eliminate all production of carbon monoxide as a by-product, but there are certain ways in you can minimize it. Place your generator in an outdoor area with a good air circulation to ensure a constant flow of oxygen. Clean the fan (flow of air into the internal engine) as well.
Additional Help
If you feel like you need professional help on how to install a generator, TalkLocal can help with finding the correct local experts in this case, saving you time and energy in what may be a stressful situation.

