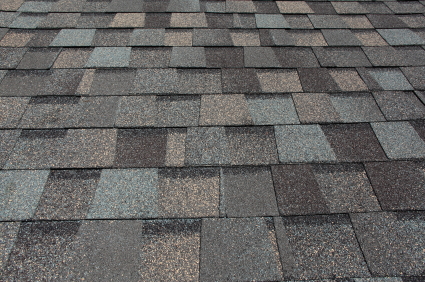
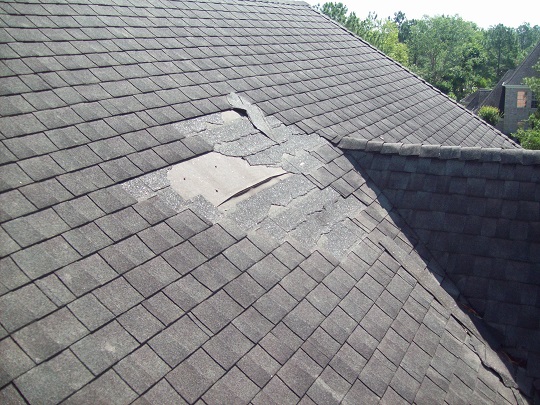
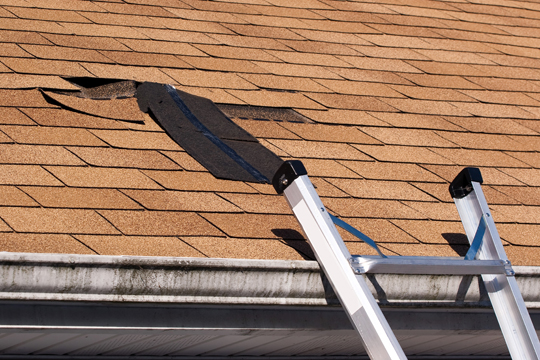
Storm damage, wind, and even time can cause damage to your asphalt roofing. As a result you may notice that it is necessary to replace a few or several of these shingles. Assuming there is no underlying roof or water damage, this is an easy do-it-yourself job with the right materials and an understanding of the steps to follow. Keep reading to learn more on how to replace asphalt roof shingles.
While you could just acquire some cement roofing and re-plaster the loose or slightly damaged shingles, it may be a wiser, longer-term choice to replace these damaged shingles with new ones. Take one of the old shingles to a home improvement store to get a good match of the particular asphalt roof shingles you need.
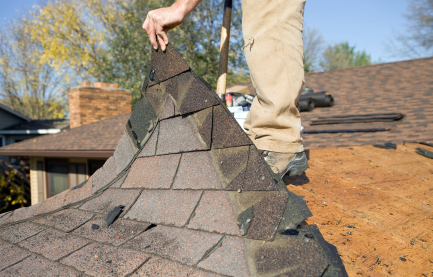
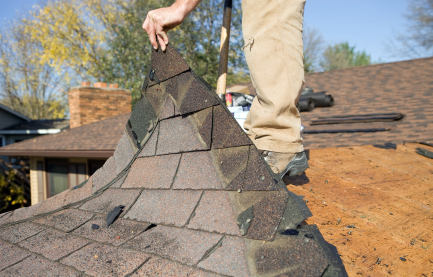
Wear some work gloves, grab a hammer and some long roofing nails, and head up to the roof with the new asphalt shingles. Start at the top layer of damaged shingles. Use the opposite end of the hammer head to remove the nails. Be sure to inspect the roof underneath for any damages or holes. Work your way down, inspecting the roof as you go.
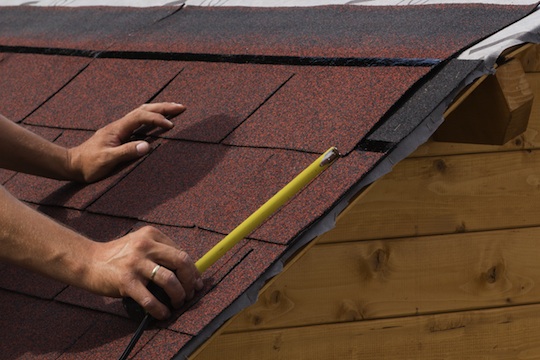
Now, work your way up when replacing the shingles. Start at the bottom layer, and lay a new shingle in place. Nail in the shingle on each side. For this, you will have to slide the shingle under any already existing panels and secure a nail under these overlapping portions as well. As you nail in each one, work your way up until you have replaced all of the damaged shingles.
Check out this extremely helpful step-by-step video to easily replace asphalt roof shingles in minutes.
If your job is too big or difficult to handle yourself, try using TalkLocal to locate a roofing company near you. TalkLocal is a FREE service that will connect you with top-quality, reliable professionals in your neighborhood, within minutes. Simply enter in your problem, location and availability and TalkLocal will contact multiple contractors, who will then call YOU directly, ready to help.

