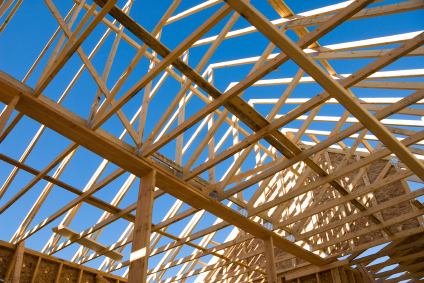
When you notice a roof sagging in between trusses, it is usually the result of a damaged or broken roof rafter. Before fixing the problem, however, it is important to identify the exact cause of the problem. Other potential causes include damaged roof decking or even an underlying foundation problem.
Inspecting the roof from the underside is the only way to effectively determine the cause of the sag. Enter the attic and inspect the rafters and the decking. Take special note of the rafters and decking below the sag that is visible from the outside. Look for:
– Broken or cracked rafters
– Broken or twisted metal or plywood gusset plates – used where the lumber members meet on a truss
– Damaged, rotten roof decking
The best method of repairing any roof damage is to remove the weather sheathing, underlayment, and then the roof decking itself. However, this is not always possible due to the time of year and/or budget constraints.
Repairing a damaged roof truss or rafter:
The easiest way to bring a rafter or truss member back into shape is to use a piece of steel “L” channel, at minimum 1.5” x 1.5” and at least 2 feet long.
1. Drill four 3/8” holes in the base of the steel angle stock and four holes in the side. Place the side holes about 1” to the right of the two left side base holes and about 1” to the left of the two right side base holes.
2. Remove any broken splinters of wood that may prevent the rafter or truss member from re-aligning itself. This can be accomplished with a chisel or reciprocating saw.
3. Using 3/8” x 2” lag bolts on the bottom of the steel “L” channel, mount the steel “L” channel stock to the truss member or rafter end that is the most difficult to access.
4. Drill through the holes in the side of the steel “L” channel and insert 3/8” x 2.5” carriage bolts and washers.
5. With one end of the steel “L” channel securely fastened to the rafter or truss member, draw the broken piece into position.
6. Choose a lag bolt 3/8” diameter x 1.5” to 2” longer than the gap between the steel “L” channel and the bottom of the truss member or rafter. You want the lag bolt to enter the damaged rafter or truss member by at least an inch before it begins to draw the steel “L” channel to the lumber.
7. Tighten both of the bottom lag bolts until the washers under the bolt heads are flush with the steel “L” channel. Then tighten the bolt farthest from the crack until the other bolt head is about ¼” from the steel.
8. Tighten the back bolt so that it is snug against the steel. Start tightening the front lag bolt again and do so until you obtain the ¼” separation on the back bolt. Tighten the back bolt and continue going front to back until the truss member or rafter is snug against the angle steel.
9. Drill two holes in line with the holes in the side of the steel angle and insert carriage bolts so that the nuts and washers are against the steel angle. Once the truss member or rafter has been reconnected, you may want to add some additional support to that area with a couple 2×4’s.
Damaged or broken gusset plate:
A gusset plate is used to hold the members of the truss together where they meet. Gussets that are inserted in residential construction are usually very difficult to remove. Therefore, it is almost impossible to reinstall a metal gusset plate properly in the field or on site. If you have a gusset plate that has partially or fully pulled away from its lumber members, the best method of repair is to remove the metal gusset and replace it with a ½” thick plywood gusset on both sides.
Damaged roof or decking:
Damaged roof decking can only be properly repaired from the topside of the roof. This entails removing the roof sheathing and the damaged decking in the area where the damage exists.
TalkLocal will help you find reliable roofing professional in minutes!


