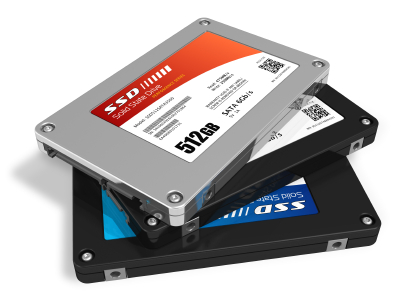
There are many reasons to switch to a solid-state drive (SSD). Generally, an SSD reads data faster than a hard disk drive (HDD). Though it falls short when storing media, it works well with storing applications and operating systems. An SSD also shortens the boot up time of your desktop and consumes less battery than a HDD. If you are installing an SSD into a desktop, follow the steps below.
Things to keep in mind before installation
– When you are selecting an SSD, a 60GB capacity is typically sufficient for a desktop.
– If you have large files, be sure to move them to the HDD at the time of their installation.
– Before taking your desktop apart, check your warranty. Some manufacturers do not cover damages from consumer installations, so work carefully.
Installation
1. Make sure the computer is turned off.
2. Refer to your computer’s manual for how to safely remove the case.
3. If you have a 2.5″ SSD — which is most common today — you will need an adaptor bracket to make the SSD fit. If you have a 3.5″ SSD, you do not need the bracket.
4. Attach one end of a SATA cable to the SSD and the other end to the motherboard.
5. Install the SSD into an available disk bay.
6. Replace the case.
7. Turn on the computer. A message should say the SSD is recognized
After Installation – Operating System Transfer
You can transfer your operating system to your SSD by using a program such as Paragon Migrate OS to SSD 2.0 (available for $20) or transferring it manually.
If you want to play it on the safe side, use TalkLocal to find professionals in your area who can help with your specific computer needs. Just fill out a service request online, through the phone, or on the mobile application, and talk to a local service provider in minutes.

