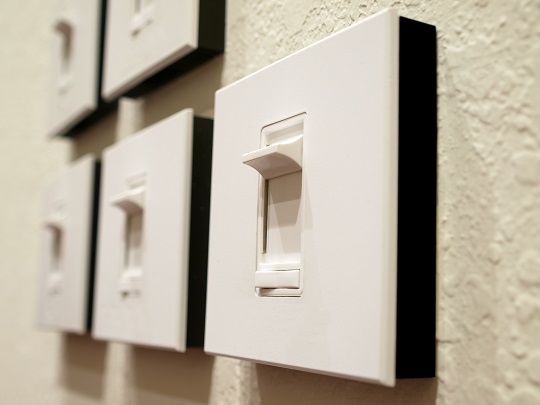
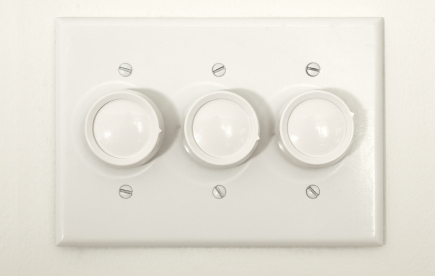
Lighting is one of the most important aspects of your home. It dictates what you can do and how you feel. With regular light switches, you can’t really use rooms for multiple purposes. However, if you install dimmers, you can! You can transform bright, cheery, well-lit rooms into subtle, romantic, cozy corners with the help of dimmer switches.
How to Install Dimmer Switch
1. Turn off the power in your home. If you can, also turn the electricity off for the room in which you are working, using the fuse box. Double-check that the power has completely stopped flowing by using a voltmeter on the outlet or switch. Once the electricity is off you can start to work on the switch.
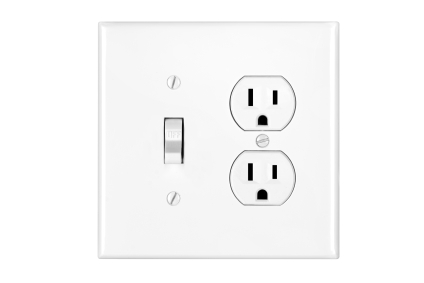
2. Use a screwdriver to remove all of the screws holding the switch plate to the wall. Keep these screws in a safe place as you will need them later on.
3. Disconnect the wiring from the box. Remember to unscrew the grounding wire before removing the box from the wall.
4. After the box is taken out you will see three wires: one black, one white, and a separate ground wire that is usually copper or green. These wires connect to the dimmer plate in the same way that they did to the old switch plate. Connect them to the dimmer plate and use pliers to secure them.
5. Carefully place the box and wires back into the wall and screw in the new dimmer switch. Once the switch is back in place you can turn the electricity back on and start using your new dimmer!
Need Help Lighting Up Your Home?
If you have more questions about how to install a dimmer switch you could talk to a professional electrician. The easiest, fastest way to get in contact with reliable local electrical companies is to use TalkLocal. Just tell us what issue you’re having, your location, and availability, and we’ll connect you with up to three electricians in your area who can help you out.

