Sometimes those new pants you just bought are a little too long for you. That’s when hemming comes in handy. Knowing how to hem pants allows you to alter the length of your pants at the leg cuff, so that they fit perfectly! This guide will help you learn how to hem up pants.
How to Hem Up Pants
1. Remove any existing hem if there is one by removing the stitching and unfolding the hemmed material.
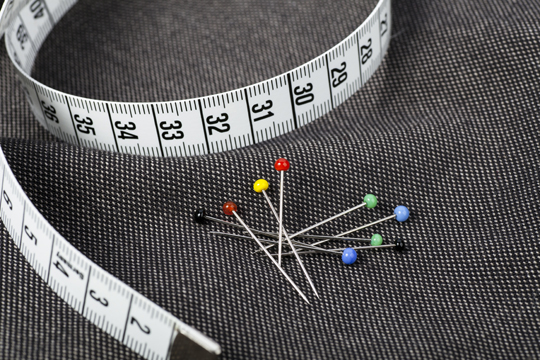
2.Try on the pants with shoes. Mark the desired hem with some chalk or pins using a ruler or yardstick.
3. Take off the pants so you don’t stitch them to your legs. Press the new hemline into place lightly. Pin the fabric to the inside and try on the pants again. Keep making adjustments as necessary.
3. Again, remove the pants before re-hemming. Trim the excess fabric but leave a hem allowance of 1-1/2 to 2 inches for dress slacks.
4. Press the new hemline. Use a press cloth if you want to avoid harming the fabric of your pants.
5. Use basting stitches to ease any fullness in the fabric. These longer stitches are easily removable for temporary stitching.
6. Finish the edge of the fabric. Try to mimic the original hem and apply hem tape for bulky fabric.
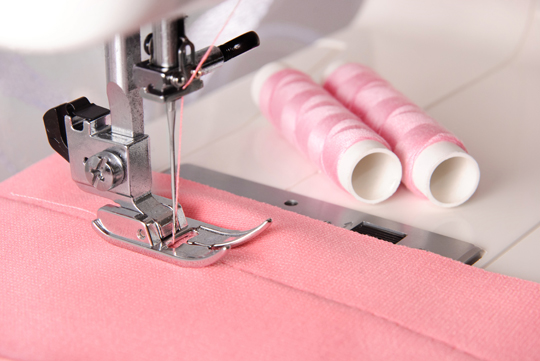
7. Stitch the hem into place (either by using a machine or by hand).
8. Press the hem.
Then you’re done! Your pants now have a hem that fits you perfectly.
Find A Tailor
If you don’t feel comfortable doing this yourself you can try going to a tailor. TalkLocal will give you immediate access to many local tailors. Tell us what you need, where you are, and your availability, and we will connect you directly with up to three tailors in your area in just minutes, for free!
Tags: clothing alteration, hem, sewing, tailor


