The quickest and most cost-effective way to increase the speed on your iMac is by replacing the RAM. Follow these easy steps to learn how to install RAM on an iMac.
1) Find Out Which Type Of iMac You Have
Check the Apple website to find out what model you own, what kind of RAM it takes, and how much memory it can hold. Typically, the iMac comes with 4GB of RAM in two-2GB memory modules, which takes up two of four memory slots on the iMac. Owners will usually increase memory by keeping the original 4GB and adding two more 4GB memory modules for a total of 12GB of memory. You can buy RAM on websites like Macsales.com, Newegg.com, and Amazon.com.
2) Access the Memory Bay
After unplugging your iMac, lay the monitor on a soft surface with the screen facing down. With a Phillips screwdriver, unscrew the three screws that hold the plate covering the compartment containing the iMac’s RAM. This is located at the bottom of the iMac monitor.
3) Remove Any Unwanted Memory Modules and Add New RAM
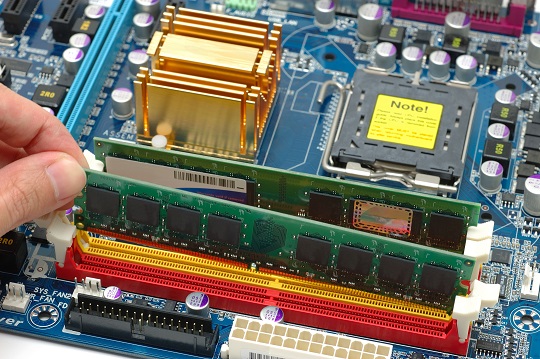
If you have any unwanted memory, you can remove the module by tugging firmly on the plastic ribbon. Once you have room for your new memory, you can slide the modules into the open slots. Simply slide the module into the compartment until you hear a click. Make sure you install the RAM with the labels facing up.
4) Reattach the memory access plate
Using the three Phillips screws, reattach the memory access plate. Once you plug in your computer and turn on the power, you should access the “About this Mac” section under the Apple logo in the top, left corner of your screen. It should show that your new memory has been installed. Now you can enjoy your faster computer!
Additional Help
If you would prefer to have a professional computer repair technician install your new RAM for you, Seva Call can help you find one. Just tell us what you need, where you are, and when you’re available, and we’ll connect you with up to three, high-quality technicians in your area who can help you out. It’s fast, easy, and free!


