Although they are typically used for safety and privacy, fences add to your home’s aesthetic value. No one wants an ugly fence. Those beautiful fences you often see in which the iron features various shapes on top are called wrought iron fences. Learning how to install wrought iron fence in concrete is not terribly difficult, and it can add a lot of beauty to your home.
How To Install Wrought Iron Fence
1. Use wrought iron fence mounting brackets. These can be purchased at most home renovation stores. Mount these to the posts on the bottom using the screw mounting system that they come with.
2. Put your wrought iron fence together and place it where you want it to go. You want to make sure the line is clearly marked on the concrete. When it is, you can take off the mounting brackets from the posts.
3. Now you want to take those mounting brackets and put them on each location mark. Mark the hole in the middle so you know where to drill later.
4. Use a hammer drill with a masonry bit to drill that center hole you just marked.
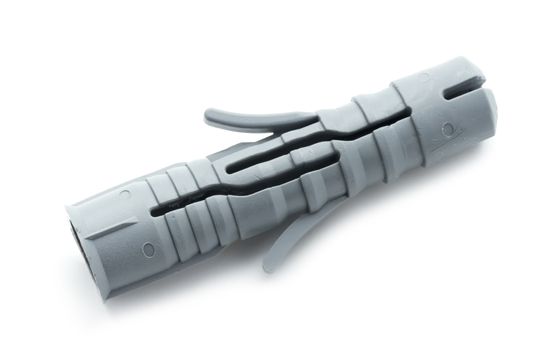
5. Now, you want to take your masonry anchors and run them through the holes in the concrete.
6. Put the mounting brackets over the anchors and secure them with the screws on the anchors. You can just use a screwdriver for this step.
7. You can then place the wrought iron fence back into the mounting brackets. After it’s placed properly, you can secure it into place with the screws on the mounting brackets.
If The Job Is Too Big…
This is just a quick, seven-step guide on how to install wrought iron fence, which can help you understand the basics of the process. You might have more questions or desire guidance from a professional. In that case, TalkLocal can connect you with the appropriate professionals in your area.
Tags: iron fence, wrought iron fence

