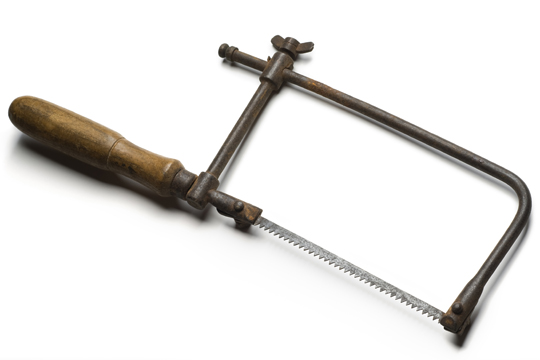
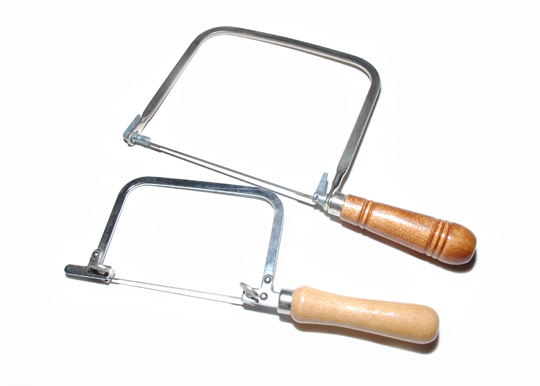
If you have been wondering what is a coping saw, it is essentially a handheld saw with a thin yet really hard metal blade which is stretched across a U-shaped frame. It’s specially designed to efficiently cut simple to intricate patterns inside wood. This makes it a great tool for creating aesthetically pleasing cutout designs in wood or cutting coped joints in crown molding when mitered joints don’t suffice. The U-shaped frame makes it easier to slip the frame into closed surfaces and cut out the smallest of designs.
Getting Started
To begin with, make sure you choose the coping saw ideal for the kind of use you have in mind. There are two primary factors to look out for, while most others stay the same. Make sure to pick a saw with a throat deep enough for your purpose. Secondly, choose the right blade. There are separate blades for cutting tile, wood, plastic, and metal. Multiple blades could be fit into the same frame, so you could get yourself an assortment for varied purposes.
Using the Coping Saw
Follow these tips once you understand just what is a coping saw.
Draw an Outline of the Desired Cutout
Once you’ve determined what is a coping saw suited to your purpose, it’s time to begin using it.
You’ll need to draw an outline of the pattern or design you wish to cut into the wood. You could go freehand, or of course use a stencil. Do, however, ensure that no desired cutout is too far from the exterior edges of the wood, meaning it must be less than the depth of the coping saw’s throat so that it can be maneuvered easily.
Drill a Hole Someplace Inside the Cutout
This will help you pass the blade through, so the drill bit being used must be a little bigger in diameter than the blade of the coping saw. Drill a hole anywhere inside the perimeter of the cutout. Do remember that you must drill a separate hole in each of the cutouts if there are multiple ones.
Pass the Blade Through the Hole
First, you’ll need to get the blade loosened from the saw’s handle by twisting it. Once detached, pass the blade carefully through the hole that you drilled. Once through, attach it to the frame again, and you are ready.
Cut the Desired Shape
All you need to do now is cut the desired shape out with swift, controlled, to-and-fro movements of the coping saw. Once done, you need to detach the blade again to take it out. You can smooth the cut edges with sandpaper, and you are good to go.
Need help with a saw?
Weather you are looking to do a crown molding or any handyman jobs around the house, check in with us at TalkLocal, and we will connect you with the best professionals is your area. Our service is free and can help you narrow down your options, choose the best one, and be connected with them directly.
Tags: coping saw, saw


