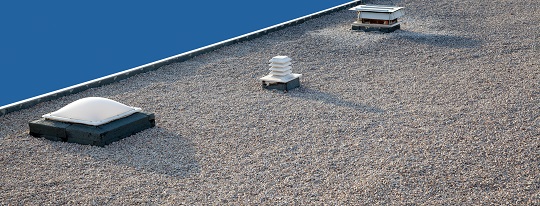
Flat roofs or roofs with very minimal slope are susceptible to leakage because of their design. Rolled asphalt roofing material is commonly used to protect against leaks, but when this is not enough, the best solution is likely to be a rubber flat roof.
Also known as ethylene propylene diene monomer, or EPDM for short, rubber roofing is easy for most do-it-yourself enthusiasts to install. You only need a few tools and a special liquid adhesive to attach the material.
1. Prep Work
You will need to strip the deck of any existing roofing material, including all flashings around the vent pipes. Sweep the bare roof deck, clean with soapy water, and leave to dry completely.
You also want the deck to be in good condition before starting any work. However, if there is some minor deterioration or the surface is not entirely flat, you can layer the deck with high-density fiberboard secured with fasteners for a smooth surface.
2. Laying Out the Material
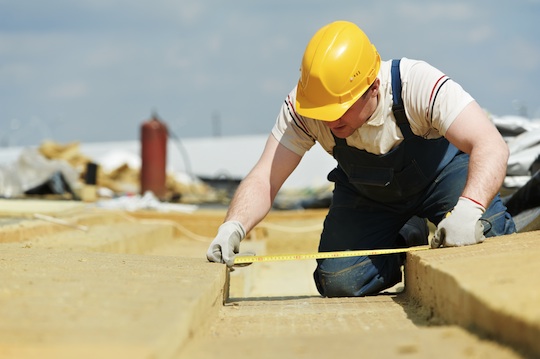
EPDM rubber flat roof material comes in rolls of two sizes (10 x 20 ft. or 20 x 100 ft.), so it’s easy to measure and plan how to its installation over your deck.
First, lay out the sheets over the deck. Carefully cut out the parts where there are pipes or other protrusions so the sheets lay flat. Spread them so they overlap each other by 3 inches.
If your deck joins with a vertical wall, the sheet should cover the wall up to 12 inches high to ensure good adhesion. You will need to seal this later with a metal termination bar.
3. Adhering the Sheet to the Roof
Install the membrane sheet by sheet. Roll one sheet back on itself and apply liquid adhesive onto the exposed deck and onto the back of the sheet using a paint roller. Be careful not to apply adhesive onto the overlapping sheet areas.
Allow the glue to partially cure for about 20 minutes, then carefully roll back the rubber flat roof sheet onto the deck, avoiding wrinkles.
If there are air bubbles, use a stiff brush to work them out, starting from the center of the sheet. Repeat this process to glue all sheets to the deck.
4. Finishing Up
Seal the overlapping sheets by applying soft seaming tape along the seams. Trim the membrane off the edges of the roof. Install the correct boot flashings, adding termination bars, if necessary.
Need Rubber Roof Installation?
When installing rubber flat roof sheets, be sure to follow the manufacturer’s instructions, which may differ from the steps described above. If you need professional help, use TalkLocal’s free service to get in touch with a reliable roofer today!

