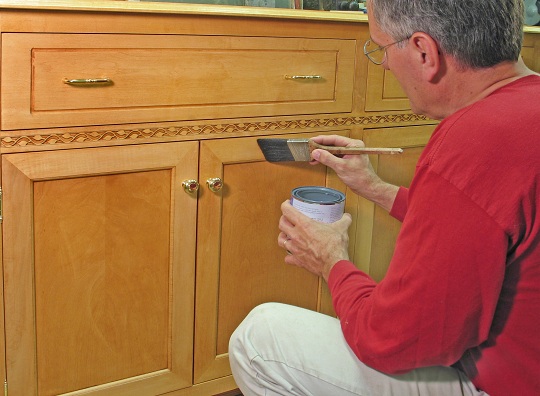
Does your furniture look like it’s about to go past the point of no return? Only the most unsightly furniture needs complete refinishing (if you just have a few white rings, check out this article where we focus on furniture makeovers). However, if your table is severely chipped, extensively worn, or deeply blemished, then these DIY furniture refinishing tips will help you strip the old finish and lay down some new shine.
STEP 1: Stripping Old Finish
Most finishes can be stripped with sandpaper, but if they prove stubborn, you’ll have to use special products. Which product depends on the type of finish. Fortunately, applying the most effective tools to remove each finish is a simple first step in an equally simple (yet labor intensive) process.
Finish: paint, shellac, acrylic, lacquer, varnish
Required: High-grit sandpaper fixed to a sander or block
Many finishes can be scraped up with 150-grit sandpaper. Move to 220-grit to get the finer areas and then remove excess dirt with a damp rag. If sanding proves ineffectual, you might have to take a trip to the hardware store for specialized products.
Finish: Acrylic or paint
Required: Chemical stripper
Only use chemical stripper in a well-ventilated area with gloves and goggles as its ingredients are caustic and dangerous to the eyes. Apply with a rag and clean it up with steel wool by rubbing along the wood grain.
STEP 2: Applying Wood Stain
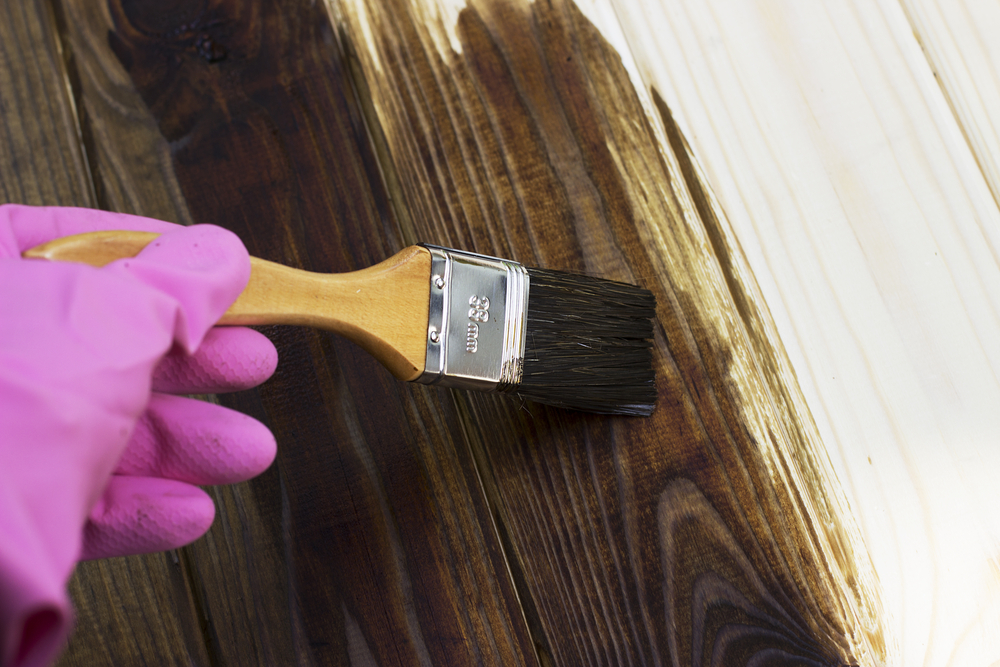
After stripping the old finish, wetting the surface of the wood will show what it’ll look like with finish applied. Incorrect or poor color can be corrected by applying wood stain with a rag. High-quality hardwood responds best to gel stain. Wipe in the direction of the grain, taking care to distribute it evenly, and remove excess with another wet rag.
Let the stain dry. If its appearance is not satisfactory, the stain can be liquefied by applying more on top, which will allow you to remove it or change its distribution.
STEP 3: Laying Down New Finish
Here’s our guide to picking the best finish for your furniture. In this walkthrough, we’ll cover two common ones – which to use depends on how much you’ll be using this furniture. If heavily, opt for oil-based polyurethane, which is more durable than water-based finishes; if not, use wiping varnish, which will look a bit sleeker.
Applying polyurethane requires a few steps. First, apply the base layer with a foam or bristle brush in the direction of the grain. Let it dry overnight, even it out with 280-grit sandpaper and clean off any dust. When the surface is even, lay down a second coat as you would a layer of paint, brushing with the grain (pop bubbles by brushing them over).
Applying wiping varnish is essentially the same procedure – just take care not to lay down excess varnish, as it can result in unsightly buildup when dry.
Take a moment to admire your work! Refinishing furniture is not a simple task; if you’ve done it yourself, that’s something to be proud of. If this long and messy procedure isn’t for you, try a much simpler solution: TalkLocal. Our free and unique system will match you up with the perfect pro to get that furniture refinished on your schedule – and it’s a lot more fun than watching finish dry.

