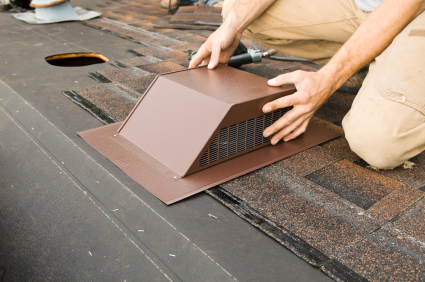
Do you want a more energy efficient and safer house? Roof ventilators are a good solution. Roof ventilators or roof vents release moisture from the home that rises to the roof. They protect the roof from harsh weather to for a longer lasting roof. Read on for information on how to install a roof ventilator.
1. Measure the square feet of the attic to determine how many roof vents are needed. (1 vent per 150 square foot area.)
2. Find a place to put the roof vent and mark by hammering a nail through the attic to stick out. The roof vents should be at least two feet below the ridge of the roof.
3. Measure and mark the dimensions ½ thicker on the roof vent with chalk. Use the nail as a center point for measurement.
4. Put on safety goggles and cut dimensions with a reciprocating saw.
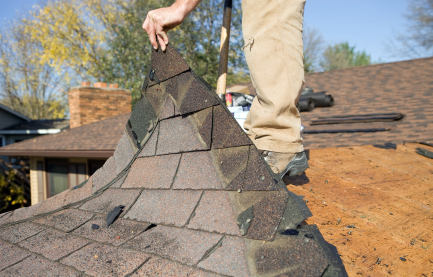
5. Remove cut out shingles.
6. Use a pry bar to remove nailed portions of the shingles and nails where the vent will be installed.
7. Cut exposed board with a reciprocating saw.
8. Loosen shingles around the hole.
9. Apply caulk to the roof vent’s flange and insert beneath the loosen shingles.
10. Nail the bottom edge of the vent to the roof with a hammer and roofing nails. Place caulk around and on the nails.
11. Apply roofing cement to the underside of the shingles around the roofing vent and press them into the flange.
12. Repeat if you doing multiple roof vents.
After installation, you should experience an instant change. If you are interested in hiring a professional to install your roof vent for you, use TalkLocal. This completely free service can connect you to several highly rated roofers in your area within minutes.


Thanks for this post..
Your services & solutions are very helpful in meeting my requirements.