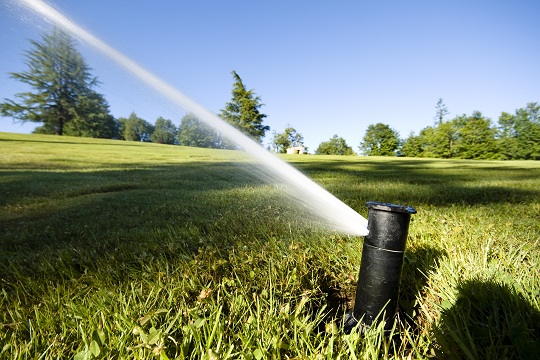
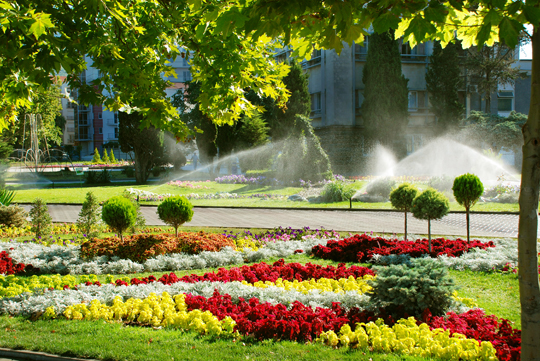
Are you tired of watering your lawn? A great time saving solution is to install an underground sprinkler system. Newer systems are easy to assemble, and you can save some money by installing the system yourself. Once the sprinkler system is in place, you can program it to water your lawn on a regular schedule.
How to Install Underground Sprinkler System
1. Measure your water pressure. You can purchase a simple pressure gauge at most home stores. Measure how much water your system delivers per minute. To do this, let the water to flow freely into a measure-marked bucket for one minute.
2. Send for a system layout and materials list. Mark down the water pressure information and send it to your chosen sprinkler manufacturer. You should also include a scaled drawing of your property. In return you should receive a system layout and materials list, including items not sold by the manufacturer. Contact the manufacturer for instructions on how to order the materials.
3. Run the pipes. You can dig the entire system by hand, but it may be easier to rent a pipe-pulling machine. If you dig the entire system by hand, dig the main runs first and then the branch lines. Dig at least 6 in. deep to make enough room for the pipes. If you’ve rented a pipe-puller make sure to read the directions thoroughly. Start by attaching the pipe to the machine’s blade. With the pipe connected, move the machine forward and lower the piping into the ground.
4. Assemble the zone-valve sets. You should do this above ground before cementing them to the underground piping. Install a plastic inline drain fitting on the downstream side of each valve. Connect the cable wires, making sure one of each pair of valve lead wires connect to a common white cable wire that will service all valves. Connect a color wire to each remaining lead. Once all the valves are connected and wired, install valve boxes and backfill.
5. Install a drain fitting at the lowest point of the feed line. Using Teflon tape, thread a brass drain head into the threaded end of a PVC tee and install the tee downwards at a 45-degree angle. Dig a small hole underneath the drain and fill it with gravel and sand.
6. Tunnel under obstacles, such as walkways. You can do this using a homemade sluice pipe. Attach a pointed sluice nozzle to one end of PVC pipe. Connect a hose to the other end of the pipe, and dig shallow trenches on either side of the obstacle. With the hose connected, turn on the water and push the pipe back and forth under the sidewalk to create the hole.
7. Slide a crimp ring onto each pipe and insert the barb fitting. This will connect the pipes in the system. Slide the rings in place and crimp them tightly with pliers.
8. Install the sprinkler heads. The simplest method to do this is to install a 90-degree ell pipe at the sprinkler head and thread a riser into the top of the head. If you need seasonal drainage, install a 90-degree drain head. Install it upright with the threads at the top. Tighten the sprinkler heads.
9. Fill in the hole. Backfill the hole 4 inches at a time and tamp the soil with a rubber mallet. Top off the soil with sod.
Finishing Touches
– Follow local plumbing codes to tap into your household water system
– Once you’ve tapped into the water system, install a full-flow ball valve
– Install a brass nipple and the reduced-backflow preventer
– Connect the backflow preventer to the pipe installed through the rim joist
– Install the control panel
Additional Help
Installing your own sprinkler system is not easy, but it can save you money. If you would like to skip the work and hire a professional, TalkLocal is here to help! Just enter your problem, location, and availability into our system and TalkLocal will connect you with up to three landscaping contractors in minutes!


