Replacing old trim in a home can really give it a fresh appearance. If you have checked with your local home improvement store, buying new, finished trim can be pricey. An inexpensive way to freshen the look of your home is to buy unfinished trim. This will be less costly, but you will need to know how to finish wooden trim in order to achieve the look you’re hoping for. The process is very similar to the way in which you finish wood paneling.
How To Finish Wooden Trim
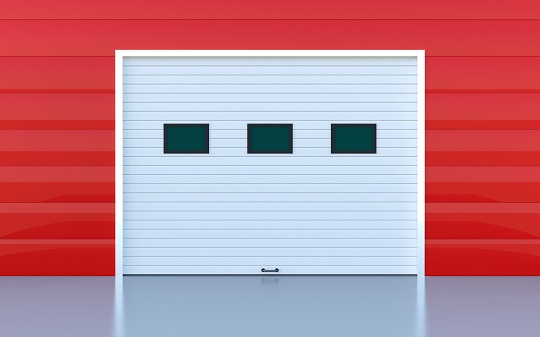
1. Choose a well-ventilated area that is free of dust and debris. The garage tends to work best because you can open the door without worrying about leaves or dirt blowing into your project.
2. Sand down your trim. Most pre-cut pieces of trim will be smooth enough, but you will still need to sand the wood. This process will allow for the stain and finish to stick to the wood more easily.
3. Find a stain that works with the wood you choose. Generally, stains work best with the wood they were designed for.
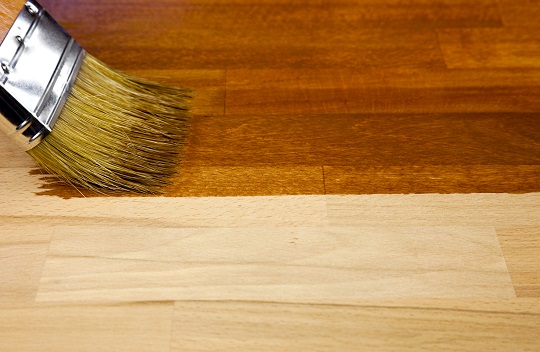
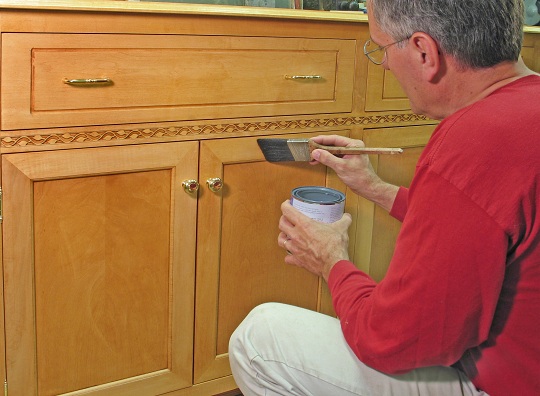
4. After blowing off all of the saw dust left from sanding, use an old rag or sponge tip brush to apply the stain evenly. Try to avoid bubbles. If you notice bubbling, dab the rag or brush on the area to even it out.
5. Allow the pieces to dry overnight.
6. Apply a clear seal coating to the trim. This substance can be found near the stain in your local home improvement store.
7. Allow the seal coating to dry overnight.
Not Confident In Your Skill?
The process is relatively simple and can save you quite a bit of money. If you are looking to save more, consider saving the old trim and refinishing it. If this project seems like more than you can handle, call an expert. TalkLocal can find you a professional in your area that will know how to finish wooden trim. Our service is fast, easy, and free.

