A mailbox metal post is a superior alternative to a wooden post. It will last longer than a wooden post and has a neutral effect on your home’s curb appeal. A metal post is also completely recyclable.
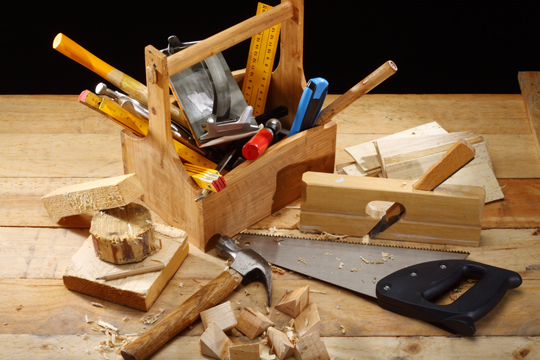
If you’re constructing your own metal post for your mailbox, use the proper tools to ensure the finished product will be stable and sturdy. Also, make sure to check local mailbox regulations for post diameter and mounting height before you begin the construction. Once you have a metal pipe ready, follow the instructions below to install mailbox metal post.
Measure and Cut
1. Take a metal pipe two inches in diameter. Use a tape measure and soapstone to mark the pipe where you need to cut it along its length to allow for the standard mailbox height of 45 inches above ground, plus 30 inches more to extend underground.
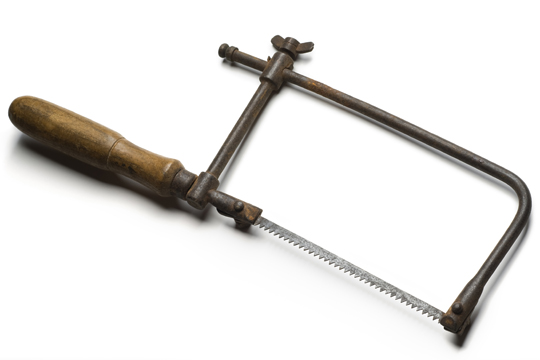
2. Place the marked metal pipe down on a steady surface, preferably using clamps. Use a portable band saw to cut the pipe right along where you marked it with the soapstone. Once you’ve cut the metal pipe to length, proceed to install mailbox metal post.
Dig and Fill
3. Locate the area where to put the mailbox post. Check with your local post office for the proper placement regulations before you dig. Make sure you’re wearing gloves and protective eyewear during installation.
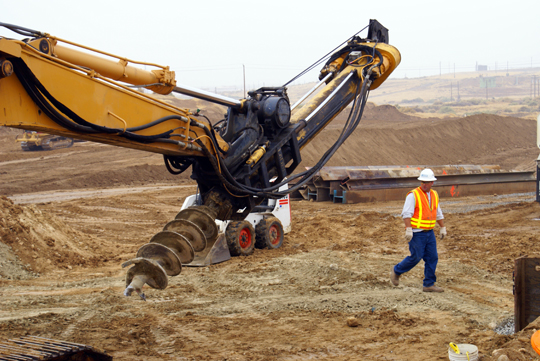
4. Use a post-hole digger or clamshell digger to dig a hole with an 8-inch diameter and a minimum depth of two feet.
5. Pour water up to a third of the post hole. Put the post in the hole. Fill the hole with dry concrete mix. You will need about 50 pounds of dry concrete. Add a little more water on top of the concrete.
6. Use a level tool to plumb the post. Secure the post in place while the concrete dries by packing topsoil around the post. Wait until the concrete completely dries (6-24 hours) before mounting the mailbox.
Attaching the Mailbox
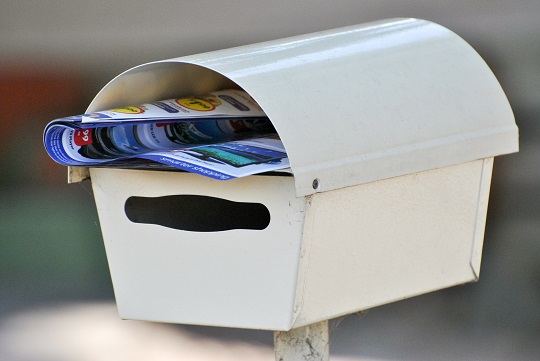
7. Place the mailbox above the metal plate of the post. You will find the bottom of the mailbox has mounting holes. Use the soapstone to transfer these holes to the metal plate. Put the mailbox aside.
8. Using a drill bit attached to a 3/8-inch drill, create holes through each of the marked holes. Then, screw your mailbox into place through these mounting holes.
Get Professional Help
Getting help from a professional handyman is the easiest way to install a mailbox metal post, especially for those who are not into DIY projects. TalkLocal can help match you with up to three qualified handymen within your area. Let us connect you with the right pros now!
Tags: Mailbox Metal Post

