Archive for the ‘Auto Repair’ Category


Muffler Sounds Loud

Friday, October 12th, 2012

Muffler Sounds Loud Auto Repair

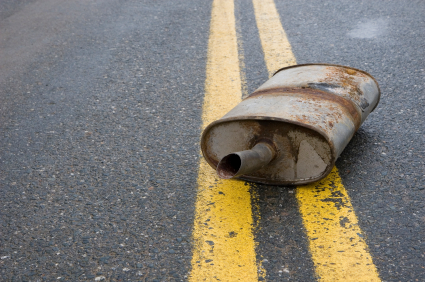
A muffler is a device on the internal combustion engine that reduces the amount of noise emitted by your car exhaust.  You can have mufflers on all types of cars, trucks, and motorcycles.  Your muffler may occasionally make loud noises, but if your muffler sounds loud over a long period of time, something may be wrong. You should check the following points to determine the problem area.

Potential Problems

1)   Exhaust Leak

If you have recently replaced your muffler, then you may think nothing is wrong with your exhaust, but this is not true!  Parts of the exhaust pipe may have been worn down yet not replaced at the same time as the muffler.  These pipes could be leaking air before it even reaches the muffler, which creates a lot more noise.

2)   Rusted Pipes

Another possible problem could be with the piping in your system.  Exhaust pipes can not only leak but also rust completely, leaving your exhaust system incomplete.  The exhaust air released is very loud and even dangerous to your health, so you need to address the problem immediately.

3)   Broken Bolt

The exhaust system is made up of a lot of different pieces of steel.  The entire device is welded and bolted together.  Sometimes these various parts can fail as well.  You may have a broken weld or missing bolt which will cause friction and more noise in your muffler than usual.  Examine the muffler to see if you can identify the issue.

4)   Cracked Manifold

If your exhaust manifold is cracked you will also here a lot of noise.  The air will violently escape through the crack and make noise.  You should see if your muffler or exhaust is cracked in any way.

Continuing Problems

If you have problems with your muffler making too much noise you should seek professional help.  Use TalkLocal to be put in contact with reliable local auto care businesses.  You don’t have to do any work! Simply input your problem and availability and within minutes your should be connected to someone who can help you out.

How Long can Oil Sit in an Engine

Thursday, October 11th, 2012

How Long can Oil Sit in an Engine Auto Repair

All cars need engine oil to keep their parts well lubricated. Without it, engine components grind against each other and residue builds up inside the motor. Good engine oil maintenance is a critical part of keeping your car healthy and functioning. Not all of us are car experts though and it can be very confusing to figure out exactly what you should be doing to take care of your car. A particular source of frustration for drivers nationwide is figuring out how long to wait between oil changes or asking yourself how long can oil sit in an engine for.  There are a lot of popular myths out there on this subject, but here are some simple guidelines to follow.

Oil change times are most commonly listed in terms of miles driven. That is to say that you should change your oil after driving X number of miles since your last change. This variable will depend on the car you drive and the type of oil that you use. Most modern drivers use synthetic oil, which can last thousands of miles more than traditional petroleum based oil.  You can check on the bottle to see how many miles the oil you use is rated for, but most synthetic oils will be fine driving up to 7,500 miles without a change. Keep in mind that many oil manufacturers tend to underestimate how long their oil will last in order to keep you coming back for refills more often. Because of this it is generally safe to drive one to two thousand miles more on your engine oil than the bottle advertises.

But what if you have a car that is not being driven very often? Answers vary wildly on this topic, but the best estimate for you will depend on the type of car and how frequently it is being used.  You should consult your car’s owner’s manual for specific details; in general, if you are going to let a car sit for more than six months without being driven, you should change the oil beforehand and drive the car for at least ten minutes a month.  This helps to warm up the oil, remove gunk build up, and clean out your system to prevent oil from breaking down too quickly. Maintaining a regimen like this can keep your oil functional for up to two years with minimal driving.

Once you are ready to change your oil, you will probably want to find an auto-technician to do the job for you. If you are feeling up to taking on the task yourself, there is a great step-by-step guide available here.  Otherwise, you should find someone who can service you car.  If you use TalkLocal, you will be automatically connected with a quality local professional in just a few minutes.  All you need to do is provide your contact info and a description of your problem and TalkLocal takes care of everything else!

How to Repair Cracked Leather Seats

Wednesday, October 10th, 2012

How to Repair Cracked Leather Seats Auto Repair

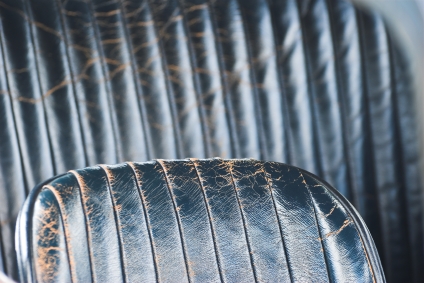
Leather seats can really improve the appearance of your car by adding a feeling of affluence and decorum.  Although they can become a pain when they heat up in the summer and freeze in the winter, many people continue to get leather seat upgrades when they buy new cars.  But what happens when these leather seats begin to crack?  They can quickly become an eyesore that ruins the overall appeal of your car. Read on to learn how to repair cracked leather seats.

You can easily fix the cracks that appear on leather seats if you have the right materials.

You will need:

– dish soap

– warm water

– bucket

– a couple cloths

– scouring pad

– denatured alcohol

– 240-grit sandpaper

– blow dryer

– leather prep

– Sport Seal

1. Combine a few drops of the dish soap with warm water in a large bucket.

2. Scrub the entire seat clean with a cloth.

3. Dry it off with a new cloth.  Repeat this process another time but with the scouring pad to get a deeper clean.  This will ensure that there is no dirt or any particles to ruin the seats when you are trying to fix them.

4. Now that the seats are clean you should apply a little bit of denatured alcohol to a paper towel or cloth and wipe every part of the seat down.  Do not let this dry naturally; instead, dry the seats manually with a cloth.

5. Dip the 240-grit sandpaper into the soapy water to soften it a bit.  Sand down the areas of the leather seats with the cracks and the dye will start to move underneath.  Move the lifted dye until the cracks are completely filled and the leather is smooth.

6. Wipe done the seats with a towel and blow dry the seats until they are completely dry.

7. Now that the cracks have been filled, you can protect the patch up you just did.  Apply a thin layer of leather prep to the entire seat.  Follow this with a thin coat of Sport Seal to each of the damaged areas.  Allow this to dry.  This should take care of all the cracks in the leather seats.

Still have cracked seats?

If you still have problems with your cracked leather seats, you should seek professional help.  Use TalkLocal to be put in contact with reliable local auto repair businesses.  You don’t have to do any work! Simply input your problem and availability and within minutes you should be connected to someone who can help you out.
 

Replacing a Steering Wheel

Tuesday, October 9th, 2012

Replacing a Steering Wheel Auto Repair

Replacing a steering wheel can be a difficult endeavor. However, if you have the skills to do it, here are instructions for replacing a steering wheel in a Toyota.

Materials

– New steering wheel
– Safety glasses
– T-30 Torx drivers
– Screwdriver
– Needle-nose pliers
– Puller

Remove Steering Wheel

1. Adjust the steering wheel so that it is straight.

2. Detach the negative battery cable to drain the backup power. Remember to wait at least a minute for the backup to fully deplete. This stops the airbag from deploying when remove the steering, which could cause severe injury. This also stops the horn from sounding when you remove the wheel.

3. Loosen the cover on the side of the wheel using a screwdriver.

4. Unscrew Torx screws that are holding together the airbag module, using the Torx driver.

5. Detach air bag module’s electrical wires.

6. Remove the module from wheel.

7. Detach the electrical wires from the horn and cruise control.

8. Unscrew the wheel-retaining nut.

9. Put the puller to the shaft and pull off the wheel.

10. Turn the spiral cable counterclockwise for three turns. Line up both the red marks.

11. Put the new steering wheel onto the wheel shaft.

12. Screw in shaft nut to 26 lbs. of torque.

13. Reattach horn and cruise control connections, as well as the air module to its designated electrical wires.

14. Change Torx screw and secure with 78 lbs. of torque.

15. Connect the negative batter cable back to the terminal.

Changing the steering wheel can be dangerous, so it is best to contact a professional if you feel uncomfortable fixing the problem yourself. TalkLocal can connect you to the best car mechanics in your area. Just go to the TalkLocal website and submit your problem, location, and availability. Within minutes, you will be on the phone with real people who can fix your specific problem at your convenience. Say good-bye to flipping through the yellow pages. TalkLocal does the searching for you, whether you are looking for a car mechanic or a variety of other services.

Proper Engine Break In Procedure

Thursday, October 4th, 2012

Proper Engine Break In Procedure Auto Repair

When you buy a new car with a fresh odometer, there are a few thing to keep in your mind. One of them is the fact that the first couple hundred miles of your car’s engine is very important on your engine’s overall life.

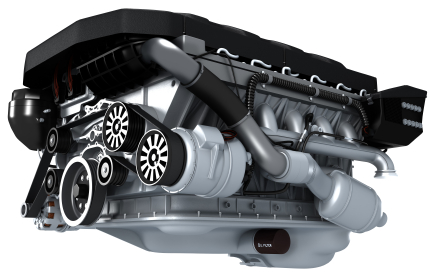
What is the proper engine break in procedure? The main goal of breaking in an engine is to wear out the piston rings in your engine just enough so that the rings fit into the cylinder walls perfectly.

A good fit will allow for an engine to achieve a better power (efficient combustion of gasoline) while consuming less oil. A more efficient combustion is also good for the environment as an efficient combustion leaves behind no atmospheric pollutants like carbon monoxide.

How to Do It

Opinions on a proper engine break in procedure differ amongst experts. However, the most accepted method is “cross-hatching,” a process that is designed to wear out the piston rings by roughening up the cylinder walls. To do this: first, roughen up the sides of your cylinder walls by using a metal file of a sort. Be careful to be thorough all around the circular walls, while not making any deep scratches. If you file too deep, you can end up making a hole between the different cylinders—this results in a broken engine.

The additional friction created by the roughened surface will wear down the piston rings, which causes bits of piston rings to stick in place of the roughened gaps. This provides a better fit between the piston and the ring, leading to a more efficient combustion.

Consult a Professional

Different cars have different engines and a particular type of engine break-in may not be suitable for your specific car. Consult your local professionals and give them information about your car before you attempt to make any changes to your engine.

TalkLocal can help with finding the correct local experts to help you in this case, saving you time and energy in what may be a stressful situation.

Lots of Water Coming Out of Tailpipe

Wednesday, October 3rd, 2012

Lots of Water Coming Out of Tailpipe Auto Repair

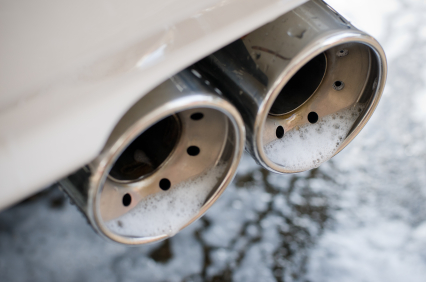
What do you when there is lots of water coming out of the tailpipe of your car? First, verify to check any liquid that comes out of your tailpipe is water. If it’s indeed water, there is no problem to worry about – water coming out from the tailpipe is caused by condensation. Condensation is the formation of a liquid from a vapor, occurring when the vapor (gas) is cooled/pressurized and condensed into a liquid from the loss of heat.

How Condensation Occurs in your Car

1) You drive your car.

2) The internal combustion engine (car engine) runs on gasoline.

3) Small combustions of pressurized gasoline keep the car going.

4) Small combustions of gasoline inside the engine raises the car temperature.

5) The exhaust pipes carry the hot air from your car to be cooled and expelled.

6) The cooling component in your car cools the hot air, causing the gas to condense.

7) The hot gas condenses into a liquid, forming water inside the exhaust/tailpipe.

8) The water trickles down and outside the car.

At cold environments, you may find that there is much more condensation in the car than in the warmer environments—this is because the effect of condensation is greater when the cooling of the exhaust air is aided by the cold air as well as your car’s cooling component.

Smoke or Other Liquid from the Tailpipe

Steam happens when your car overheats and the heat causes even the condensed liquid to turn back into gas. However, if smoke or a liquid other than water is coming out of your tailpipe, there may be a serious problem with your car. Consult a professional before operating your car any further. For help finding the right professional to help fix your car, use TalkLocal. TalkLocal can help with finding the correct local experts to fix your car in this case, saving you time and energy in what may be a stressful situation.

Truck Door Won’t Open From Inside or Outside

Monday, October 1st, 2012

Truck Door Won't Open From Inside or Outside Auto Repair

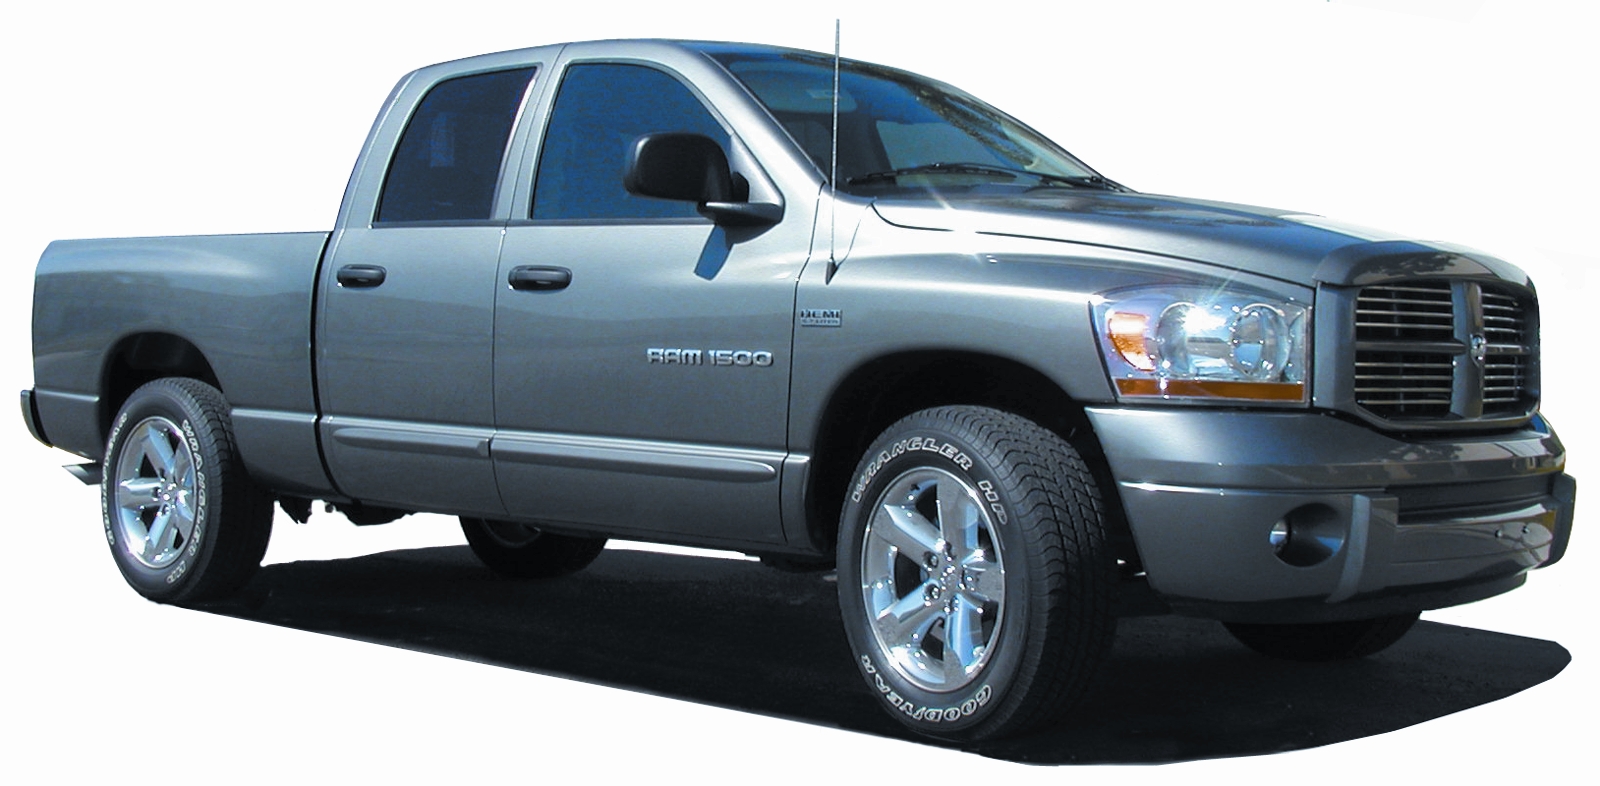
If you are having trouble because your truck door won’t open from the inside or outside, there is most likely an issue with rods that hold the lock in place. These parts run between the key tumbler, the door lock button, the lock mechanism, the interior and exterior door handles, and the release mechanism for the latch. These rods keep the door locked, but they can cause problems when they slip out of place.

An easy way to solve this problem is to prevent the rods from slipping. You can do this by threading a lock nut (available at most hardware stores) onto the threaded rod to act as a bumper. Then, clip the threaded rod back into the appropriate clip and secure it there with a plastic zip tie.

Other solutions

There may be a break in the linkage. To check, take off your door panel. Pull on the door handle to see how the mechanism works. The linkage is usually a plastic clip that attaches to a metal piece. You should be able to tell if there is a linkage problem.

The problem may also be with the inside door handle. Take the window switch panel off, remove the screws, and pull out the door panel. Replace the old door handle with a new one. Check with your car manufacturer for a replacement door handle. You can also look online for a better deal.

The cable for your car door may have snapped. To replace the cable, you will have to first remove the actuator, which is connected to the cable. Then, remove the plastic cover to reveal two cables. Replace the broken one with a new one. Cables can also be purchased from your car manufacturer or online.

If you would prefer a professional locksmith to help with this problem, use TalkLocal to connect you to a high quality professional in minutes!

Car Door will not Unlock with the Key

Friday, September 28th, 2012

Car Door will not Unlock with Key Auto Repair

If your car door will not unlock with the key, but the key is still working to start the car, then the problem is most likely with the lock on your car door rather than the key. Read on for potential problem areas.

One possibility is that the lock cylinder needs new tumblers. These could be replaced or you could replace the entire lock. You will need a locksmith that specializes in auto locks in order to do this.

Another reason that your lock may not be working is that the latch assembly is jammed. In order to check for this, you can take off the door trim panel and check the rods. If the rods are not the problem, you can then take off the lock. You will probably have to take the entire door handle assembly out in order to do this.

After you have taken the lock out, put your key in the lock (make sure you do this or the tumblers and springs will fall out) and then remove the retainer holding in the inner piece of the cylinder. There may be a lock cap that you will have to take off first.

Once you have taken the lock cylinder apart, check and see if any of the tumblers are not flush with the inner cylinder. File down any that are not. Put everything back together and see if your lock is now working.

If you are not able to perform these fixes or they do not work, then you may need to contact an auto repair professional or a locksmith. You can use TalkLocal to receive up to three phones calls in minutes from high quality auto repair professionals and/or locksmiths in your area that are available when you are.

Headlights Dim While Driving

Thursday, September 27th, 2012

Headlights Dim While Driving Auto Repair

You are driving to a gas station when your headlights start to dim. Your headlights are not completely broken, but they do tend to fluctuate in brightness. Even if the dimming is temporary and returns to normal brightness, it is best to examine the problem now in case your headlights fail completely when you are on the road. Try the following tips if your headlights dim while driving. If you need to purchase a new car headlight bulb, you can find high quality bulbs on Amazon and have them shipped overnight starting at $6.98.

A common reason for intermittent headlight dimming is a bad alternator. But before you test the alternator, you must check that the battery can start the alternator. The battery is responsible for initially powering the alternator, but relies on the alternator to stay charged.

Checking the battery

1.     Turn off your car.

2.     Put the red part of the voltmeter to the red battery terminal.

IMPORTANT: Do not let your skin touch the battery.

3.     Do the same for the corresponding black parts of the voltmeter and battery terminal.

4.     Test the battery. If it measures to be over 12.2 volts, then it can start the alternator. You can find the top rated car battery tester and have it shipped overnight starting at $8.99.

Check the alternator

1.     Disconnect the voltmeter.

2.     Start your car.

3.     Turn on the headlights.

4.     Rev the engine to 2,000 RPM. This should cause the alternator to go into high gear.

5.     Reconnect the voltmeter to the battery, being careful not to let the battery touch your skin.

6.     Test the battery. If the voltage fluctuates between 13 and 14.5 volts, then your alternator is working properly. If the voltage stays the same or decreases, then you may need to fix or replace your alternator. You can find the top rated car alternators on Amazon and have them shipped overnight starting at $33.92.

If you are not sure if the alternator needs to be fixed, see if your car shows other symptoms.

Symptoms of a bad alternator

Warning light comes on

In most modern cars, there is a warning light shaped like a battery on the dashboard. It can be marked by an “ALT,” which stands for alternator. Pay attention to this light because it can flicker on and off if the alternator is having problems.

Growling noise

Drivers report hearing a growling or whining noise when their alternators are failing. This is because the alternator pulley is not aligned with the accessory belt or because the pulley bearings are worn out.

Burning rubber/hot wire smell

The burning rubber smell indicates that the pulley is causing friction on the belt. The hot wire smell indicates the alternator is overworking the rotor and stator.

When in doubt, it is safest to have your car checked by a professional. TalkLocal can help you find local auto repair services in minutes and address the problem of dimming headlights before it gets worse.

The owner of this website is a participant in the Amazon Services LLC Associates Program, an affiliate advertising program designed to provide a means for sites to earn advertising fees by advertising and linking to Amazon properties including, but not limited to, amazon.com, endless.com, myhabit.com, smallparts.com, or amazonwireless.com.

Speedometer Drops to Zero Randomly, Here’s What To Do

Friday, September 21st, 2012

Speedometer Drops to Zero Randomly, Here's What To Do Auto Repair

The problem with cars is that they’re notoriously unreliable. Even the most trustworthy cars from the most trustworthy manfacturers will develop problems now and again. And perhaps the most frustrating types of car issues are those that have no clear cause. Got a flat tire? Replace it. Car not starting? Check the starter motor. But a problem where your speedometer drops to zero randomly can be very hard to pin down. It’s also very dangerous – not knowing what speed you’re doing when you’re going full speed on a highway isn’t easy for anyone! So let’s take a look at the possible reasons that your car’s speedometer is dropping to zero and staying there.

Water damaged wiring

With the number of car loans available these days, it’s never been easier to get your hands on a car. But not everyone knows how to deal with the problems that come with it, particularly not electrical problems. There’s hundreds of feet of cabling in every single vehicle, so it’s no surprise that problems can occur – especially in wet weather. If your speedometer has been dropping to zero, it’s possible that your wiring has been damaged by water. When water comes in contact with certain connections in a car, it can cause blown fuses, each of which controls something different. If the fuse that controls your speedo is blown, it probably won’t work. In this case, replace the fuse and have your wiring looked at by a professional.

A faulty speed sensor

This is the most likely explanation for a speedometer being glued to zero, but it’s not always cheap to repair: a faulty speed sensor. If you bought your vehicle with car finance, you may already be covered for mechanical issues, so one of the first things to do in this case is check with your car insurer or car credit provider – they’ll let you know whether you’re covered for mechanical damage to the car. On most vehicles, the speed sensor is located near the front axle, and its job is to judge the speed at which the wheels are turning. If it’s broken, it won’t report speed properly – or at all. One good tip is to choose the right vehicle financing option when you buy future vehicles, to ensure you’re covered in the case of a broken speed sensor.

A malfunctioning ECU (Engine Control Unit)

Just like us humans, modern cars are equipped with a ‘brain’ of sorts. This ECU, or Engine Control Unit is essentially a computer that keeps an eye on every bit of the car’s operation: oil levels, temperatures, water, condition of the brakes, and speed. This last point is the important bit: the ECU is responsible, at least in some cars, for reporting the speed of the vehicle from the speed sensor to the speedometer. If there’s a problem with the ECU, this process can be interrupted – meaning the speedo either reports speed inaccurately (not good with speed traps around), or not at all. To fix the ECU, it must be reprogrammed by a professional mechanic. They will also be able to carry out a full diagnostic of the ECU to check on potential problems. Usually these can be done at the same time in the space of one visit, and unlike a faulty speed sensor, you shouldn’t need any extra parts to fix the problem.

If your car is suffering from a speedometer that keeps dropping to zero, the first thing you should do is to follow the steps above. Check all of the fuses in your car, in particular, because fixing a problem like this is often a case of simply replacing a blown fuse. The fuse box in most cars is usually behind the glove box or under the hood somewhere. If this fails, or you can’t identify the cause of your malfunctioning speedometer, you should consult with a professional mechanic in your area that will be able to give your car a good check over and find out exactly what’s causing your speedo to be on the fritz. And remember: if your car can’t read speed accurately, driving it is a bad idea, so try to stay off the road until it’s fixed.

If all else fails, and you are in need of an auto repair shop, use TalkLocal to find one local to you.  TalkLocal will find a highly rated company in your area and have them call you immediately