Archive for the ‘Auto Repair’ Category


Car Heater Hose Replacement

Wednesday, April 17th, 2013

Car Heater Hose Replacement - Auto Repair

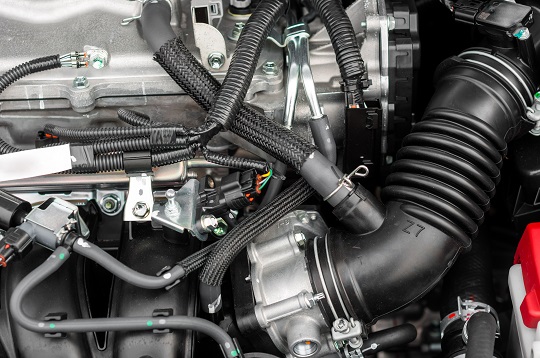
As your car is running, the engine generates a lot of heat.  In order to stop your vehicle from overheating, water and antifreeze are sent throughout your engine to help keep the system cool. If the car’s heater hose is faulty, it will need to be replaced immediately. A faulty heater hose can cause your car to overheat. Here are some tips for car heater hose replacement.

Car Heater Hose Replacement

1. The number one thing to do once you realize that your engine is overheating is to open up the hood and let the engine cool down by airing it out.  Do not touch any part of the engine because it will be very hot.  Wait as long as an hour so that you do not get burned trying to fix the problem.

2. Once the steam and smoke disperses check for any splits, tears, or leaks in the hoses.

3. If you find that there is a fault in the heater hose you will need to cut out the bad section.  Clamp the hose on both ends of the leak and cut the tear out.

4. Now you will need to attach a coupling and apply coolant to is so it is lubricated.  Insert the coupling into the hose at one end and tighten the clamp on it.  Add a second clamp to the other end of the hose and push the two together.

5. Once the hose is together, tighten the clamps.  The hose is fragile, so don’t be too violent with it.

6. Put more water into the radiator.  This will allow you to drive to the closest service area.

Warning: The process described above is not a permanent fix, so do not drive more than 10 minutes. Find a service station to have your hose properly repaired or replaced.

Find A Mechanic

At this point you will need a mechanic. Use TalkLocal to find a reliable auto mechanic near you. Just tell use what you need, where you are, and your availability, and we’ll find the right mechanic for you, when you need them!

How to Replace A Motorcycle Tire

Sunday, April 14th, 2013

How to Replace A Motorcycle Tire - Auto Repair

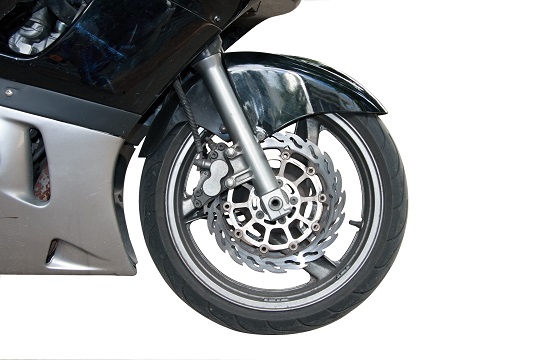
You might think that changing a motorcycle tire is very similar to changing a tire on a car, but this is not true.  It is actually a bit harder, but not impossible if you have the right materials and follow the right steps. We can show you how to replace a motorcycle tire, and any other motorcycle parts, right here!

Materials You Will Need

– Tire iron

– Valve core tool

– Bead breaker

– Compressed air

– Rim protector

– Spray-on lubricant

How to Replace A Motorcycle Tire

1) Gather all of your tools and materials.

2) Holding the valve core tool very tightly, deflate the old tire.

3) Figure out which way the wheel turns and mark the rim.

4) Break the bead away from the rim with the bead breaker tool (you should hear a pop).

5) Flip the tire and break the bead on the other side.

6) Spray lubricant on both sides of the tire beads.

7) Insert the tire iron to pry tire off the rim on both sides.

8) Lubricate the sides of the new tires.

9) Match the new tire with the mark you made on the rim.

10) Place the tire on the rim firmly (you may need the tire iron to do so).

11) Use the compressed air to add a little more air to the tire.

12) Insert the tire beads into the rim on both sides.

13) Add more air as necessary.

Further Assistance

If you would prefer to have a professional replace your motorcycle’s tire for you, you can use TalkLocal! We will connect you with up to three motorcycle repair professionals in your area in just minutes. Just tell us where you are, what you need, and your availability, and we’ll find the right professional for you, when you need them most!

Benefits Of LED Headlights

Friday, April 12th, 2013

Benefits Of LED Headlights - Auto Repair

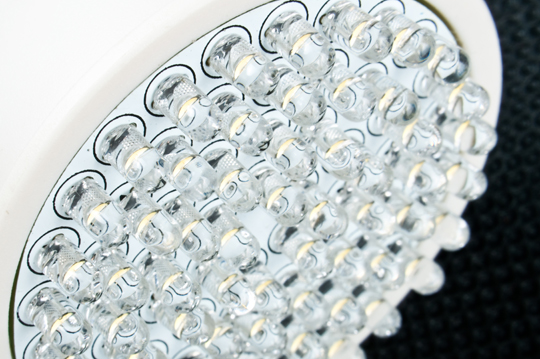
LED lights are becoming more and more popular in key chains, flash lights and even around the house. However, those are not the only uses. The benefits of LED headlights are plentiful; you may find that these benefits meet your needs and make your vehicle’s headlights more efficient.

Some of the various benefits of LED headlights include:

Cooler: Often, other light bulbs waste energy through heat. LED light bulbs are much cooler, reducing energy waste by output of heat.

Durable: LED lights don’t contain glass, which makes breaking them much more difficult than with conventional headlights.

Brighter: LED headlights are non-glare lights and typically illuminate a much larger area than other headlights. When driving in the dark or in inclement weather, having more light can mean you stay safer.

Longer lasting: The lifespan of an LED light bulb is 35,000 to 50,000 hours, which is significantly longer than other bulbs. This is measured by how long it takes for the bulb’s light to fall below about 70 percent capacity. Since LED light bulbs just fade slowly over time instead of relying on a breakable filament, they’re much more reliable.

Smaller: LED lights are more compact than conventional bulbs, making it easier for them to be arranged in a shape that naturally compliments the headlight.

Maintainable: These lights are also significantly easier to maintain than conventional bulbs and cost less to replace. The main reason why they’re so easy to maintain is that they rarely ever burn out. They typically don’t need to be replaced at all unless they’re broken in an accident.

Need Help With LED Headlights?

LED lights far surpass their conventional and fluorescent counterparts. The benefits of LED lights allow your vehicle to be more efficient, reliable, and ultimately, a lot safer. If you have questions about LED headlights or need to install new headlights in your vehicle, TalkLocal can connect you with the professionals in your area who can help you.

Fuel Gauge Not Working

Monday, April 8th, 2013

Fuel Gauge Not Working - Computer Repair

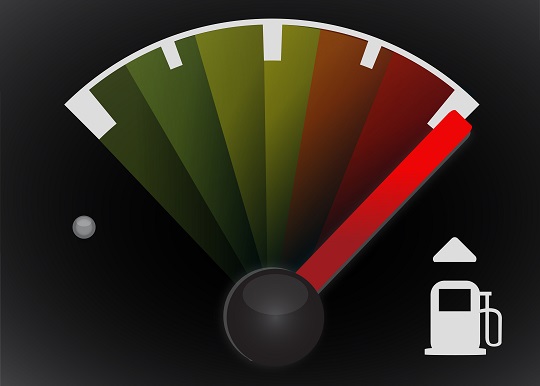
Have you ever been driving on what you thought was a full tank of gas, only to see your fuel gauge drop to empty when you accelerate? Fuel gauges can go on the fritz for any number of reasons. If your fuel gauge is not working, we have some steps you can take to troubleshoot it.

Is Your Fuel Gauge Not Working?

1. Locate the fuel tank of your car. There should be a wire near the tank with a tan color – this is the “fuel sender feed wire”, which indicates to the fuel gauge how much gas you have left in the tank of your car. Disconnect the wire at the base to test it.

2. When the wire is disconnected and the node hangs loosely in air, the needle of the fuel gauge should be reading above full. If the node is touching the ground (with no flow of electricity), the fuel gauge should be reading below empty. If these are not the case, you have either a wiring problem or a defective fuel gauge.

3. Find a multimeter. A multimeter is a device that measures the electrical current that flows between two points – it shows you the amount of electricity at your disposal. Using the two points (the metal needles) of the multimeter, connect one end to the wire (the tan wire – fuel sender feed wire) and the other end to the ground (a surface with no flow of electricity).

4. Differing amounts of electrical flows indicate the amount of fuel in the tank, with a higher number of power (measured in ohms) indicating a fuller tank. If the multimeter does not measure any output, recheck the wiring to see if it is connected to the tank or that the wire is grounded.

5. If it still doesn’t work, chances are that you have faulty wiring. To check for this, disconnect the tan wire involved with the connection between the gauge, and check it (run a finger along to wire) to see if there is any wear and tear along the wire. Replace the wires and make sure that everything is connected and grounded properly to check it if works.

6. If it still doesn’t work, try replacing the tan wire. If you aren’t sure which wire would work for your car, consult the nearest dealership to get a professional opinion. At worst, when even replacing the wire doesn’t work, you may also need to replace the fuel gauge.

Additional Help

If you feel like you need professional help with your faulty fuel gauge, TalkLocal can help connect you with local professionals who can help you out. We will connect you with up to three professionals in your area, so you don’t stress yourself out searching for one.

Wiper Blade Replacement Guide

Sunday, April 7th, 2013

Wiper Blade Replacement Guide - Auto Repair

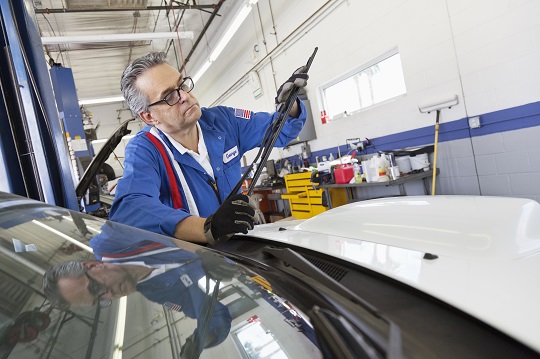
Replacing the windshield wiper blades is an important part of maintaining your car. Damaged wiper blades can leaves streaks or water behind that clogs up your view, and can actually be dangerous while driving. It is actually a simple process to replace your wiper blades. Here is an easy-to-understand wiper blade replacement guide.

Wiper Blade Replacement Guide

1. Buy new wiper blades for the make and model for your car. Consult the Auto Parts Manual for what kind of wiper blades you need, usually found in an auto repair shop in the aisle with the wiper blades.

2. The packet might come with a few different types of blade carriages– find the one that matches the one on your car by directly comparing them beside your car’s current blades.

3. Pull the Wiper Arm up, and position it perpendicular to the hood of the car. Catch hold of the lower part of the blade carriage and pull it away from the wiper arm. Make sure you don’t smash the blade carriage on the wind screen though, that could be detrimental to your car!

4. Unhook the blade assembly from the wiper arm – there should be a little tab under the arm’s hook on the assembly. Press down on this tab. You might need to use a screwdriver for this.

5. Slide the old blade carriage off and slide the new replacement one on.

6. Return the position of the blade carriage to parallel the wiper arm and fold the wiper arm back down on the windshield.

Further Assistance

If you need help replacing your car’s wiper blade, just use TalkLocal to find quality, local auto repair shops. We will connect you with up to three professionals in your area, in just minutes — saving you the time of finding one yourself.

How to Replace Your Motorcycle Seat

Saturday, April 6th, 2013

How to Replace Your Motorcycle Seat - Auto Repair

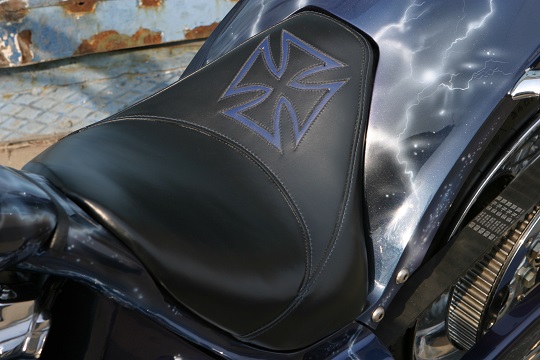
Wondering how to replace your motorcycle seat? This article is here to help you work on your own motorcycle. Check out these steps on how to replace your motorcycle seat. There are many different types of motorcycles. Each make and model will differ, so follow these steps according to your specific motorcycle.

1. Secure your motorcycle. Make sure your motorcycle is in a secure position to operate on. Use the kickstand or other support to keep the motorcycle from tipping over or becoming damaged.

2. The easy way: If your motorcycle has a key lock on the seat, you are in luck! Simply unlock the lock and remove the seat from its position. This is the simplest way to remove a motorcycle seat.

What to do if you don’t have the easiest way out – try the second easiest method!

3. Insert the key into the ignition and turn the key to the on position but refrain from pushing the key down as you normally would to start the motorcycle. If you push down the key, the motorcycle seat will become locked. When the key is in the on position, slide the seat off of its original position.

Still no luck?

4. Use a wrench (and socket set, if needed) to remove the bolts that hold the seat in its place. Remove any other parts of the bike that you need to in order to provide room to take off the seat. If there are levers and additional bolts on your bike, remove as necessary to loosen the seat.

5. Once you have the original seat removed, you can replace it with your new seat using the same method.

Need Professional Help?

If you still need help with your motorcycle seat or any other part of your motorcycle, check out TalkLocal. We will connect you with up to three, local, high-quality auto repair technicians who will be able to help you – at a time that is most convenient for your schedule!

Cruise Control Repair Troubleshooting

Friday, April 5th, 2013

Cruise Control Repair Troubleshooting - Auto Repair

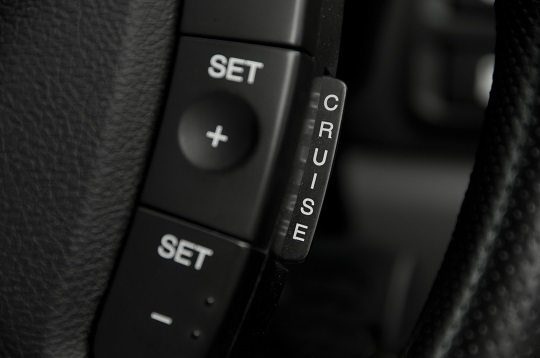
Cruise control is one of the most innovative features offered in cars.  It allows the driver to set a steady speed for long drives so that they can maintain their pace without having to constantly manually accelerate and brake.  The benefits of cruise control are endless.  Not only does it allow for less active driving, but you save money because it increases your car’s gas mileage. Here are some tips for cruise control repair troubleshooting when you’re not sure what’s wrong.

Cruise Control Components

There are a couple different components to the cruise control system, any of which could break down or malfunction.

– There is the vehicle speed sensor that is attached to the transmission, which detects how fast the vehicle is moving, and maintains that speed.

– The cruise control module has many functions.  It stores the speed you set to cruise at, it constantly compares the current speed with the desired set speed, and it signals the actuator to move the throttle in order to match the two speeds.

– This actuator is another part of the system that moves the throttle.

– There is also a brake switch which decelerates the car, and clutch switch that disengages the entire system when the driver presses on the brake.

Each individual car manufacturer has a different process for making and installing the cruise control system.  Therefore, the following are simply guidelines and should be adjusted depending on the make and model of your vehicle.  Usually your car’s manual will have a diagrammed section that shows the flow chart of cruise control and addresses different diagnostic problems.

Cruise Control Repair Troubleshooting

If the speed sensor fails, then the cruise control will not be signaled with the speed.  This is easily identifiable because the speedometer will typically stop working simultaneously.  In the case that the cruise control module stops working, it will not understand what is being recorded from the speed sensor, and therefore will not send any signals to the actuator.  Blown fuses and broken wires can prevent the cruise control module from working.  Actuator’s can stop working because there is a leak inside one of its parts.  Finally, links, wires, or connections that break or disconnect will cause the cruise control to stop working.

Find A Quality Mechanic

If you have more questions about cruise control repair troubleshooting, you should talk to a professional so that you can get the help you need. TalkLocal will connect you with up to three, reputable auto repair professionals in your area. Just tell us what you need, where you are, and when you’re available, and we’ll find the professionals for you, in just minutes!

How to Replace Motorcycle Brake Pads

Thursday, April 4th, 2013

How to Replace Motorcycle Brake Pads - Auto Repair

Wondering how to replace motorcycle brake pads? This article is here to help you answer that question! Below are the proper steps to replacing the brake pads on a motorcycle.

Where Do I Begin?

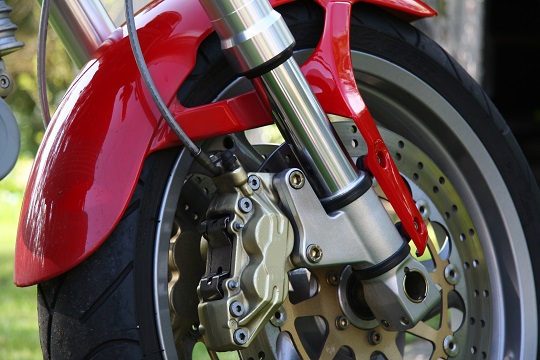
1. To begin replacing your brake pads, locate the mounting bolts near the calipers and the forks.

2. Unscrew these mounting bolts.

3. Your goal is to remove the calipers from the forks. If you have retaining pins, take those out as well.

What Do I Do Now?

1. When the retaining pins are removed, you will be able to access more of your bike now. Now that your brake pads are loose, inspect them. Check out the condition of your brake pads and the surrounding area. Check for cracks, holes, or tears. Evaluate whether or not it is time to replace your brake pads. If it is time to get new pads, keep reading.

2. Clean out the dirt and debris that has built up around your retaining pins. Also, use brake cleaner to clean the area close to the caliper pistons.

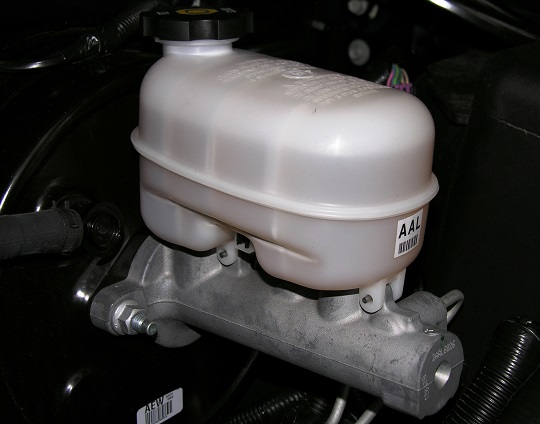
3. After the area is clean, use a screwdriver and push the pistons back to their original position within the bores. As you do this, make sure the brake fluid is not overflowing in the master cylinder.

4. Install in the new brake pads. Helpful tip – as you install the new pads, try not to get grease or oil on the surface of the pads.

5. Replace the pins, clips, and bolts all to their original positions. In addition, check out the fluid level of the master cylinder again. Check out this helpful article about replacing motorcycle pads.

Now you are all set to start riding again! Go slow at first and check out your new brakes.

Get Professional Help

Still need help? Try connecting with a professional auto repair technician who will know how to replace motorcycle brake pads. Check out TalkLocal! We will connect you directly to local, high-quality professionals who can help you out whenever is most convenient for your schedule. It’s free, and it only takes a few minutes!

When to Change Brake Fluid

Wednesday, April 3rd, 2013

When to Change Brake Fluid - Auto Repair

When trying to care for your own car, keeping track of every working piece can be tiresome. Changing the oil, transmission fluid, and brake fluid are all vital to maintaining a healthy engine. Knowing when to change brake fluid is an important part of maintaining your car. Read this article on some tips on when to change brake fluid in your car.

What Does Brake Fluid Do?

Break fluid is able to draw in moisture like a sponge, and excessive water content in brake fluid weakens its condition. Copper content is also a measure of the condition of brake fluid. A greenish tinge to the fluid is an indication of excessive copper content. You can easily test for water and copper content with test strips, which are available at most auto parts stores.

When to Change Brake Fluid In Your Car

Generally, the type of driving you do should determine how often you change your break fluid. You should change your brake fluid at 2% water content if you use your vehicle in heavy-duty situations, such as towing, driving in mountainous regions, driving at high speeds, or if you have ABS brakes.

Otherwise, you should change your brake fluid when water content reaches 3%. Motor vehicle companies debate between changing brake fluid every 12 or every 24 months. Choose what you feel works best for your vehicle. You should also have your brake fluid tested and replaced, if necessary, every time you take your car in for a tune-up.

Copper also has a direct role in the corrosion of the brake system. You should also change the brake fluid if it has signs of a high copper content, such as a greenish tinge.

Your brakes are one of the most important parts of your vehicle. Take good care of your car and your own safety by checking your brake fluid at least once per year, and having it changed when necessary.

Need Help Changing Your Brake Fluid?

Looking for a qualified auto-repair professional? TalkLocal will connect you to up to three, reputable auto repair professionals in your area. Just tell us what you need, where you are, and when you are available, and we will find the right professional for you in just minutes!

How to Install Car Battery

Monday, March 25th, 2013

How to Install Car Battery - Auto Repair

A car’s battery is one of the main components of the engine.  It allows the car to turn on and provides electricity to the entire automobile.  On average you will need to replace your car battery every four years.  This time period should be adjusted based on the weather, how much you drive, and a number of other factors.   If you are not sure, you can have your battery tested annually to ensure that it does not die on you. But, eventually, as with other parts of your car, your car’s battery will need to be replaced.

How to Install Car Battery

If your car won’t start and a jump isn’t helping, you will need to replace you battery.

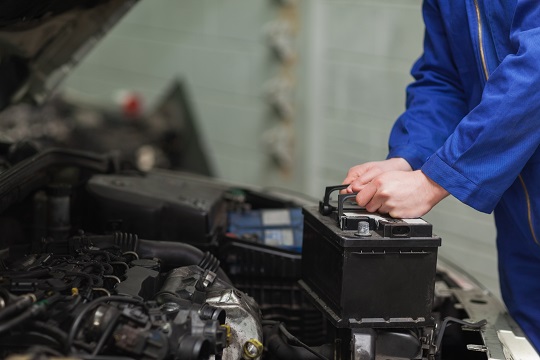
1. Turn off your car. You need to open up the hood and retrieve a blanket to place over the fender.  This will protect your car from any battery acid corrosion.

2. Once you locate the battery, detach all the cables connected to it.  Be careful when you are doing this.  You should consult your owner’s manual to make sure that your car has negative ground.

3. Using an adjustable wrench, loosen the clamps holding the battery down.  Remove them and place them to the side to avoid getting shocks from them. Disconnect any other pieces holding the battery in place.

4. Pull the battery up and out of the engine.  Be sure to wear gloves so that you don’t get hurt.  There is a tray underneath the battery which should be cleaned before putting in the new battery.  If it is rusty you can use a solution of baking soda dissolved in water to clean it.

5. After the tray is completely dry, replace it and put the new battery in place.  Reattach the battery to the engine.  Close the hood and start your car to ensure that the battery is working properly.

Find An Auto Mechanic

If you have more questions about how to install car battery you should speak to a professional auto mechanic. TalkLocal will connect you with up to three mechanics in your area, in just minutes!