Archive for the ‘Computer Repair’ Category


Remove a Trojan Horse Virus

Thursday, January 3rd, 2013

Remove a Trojan Horse Virus Computer Repair

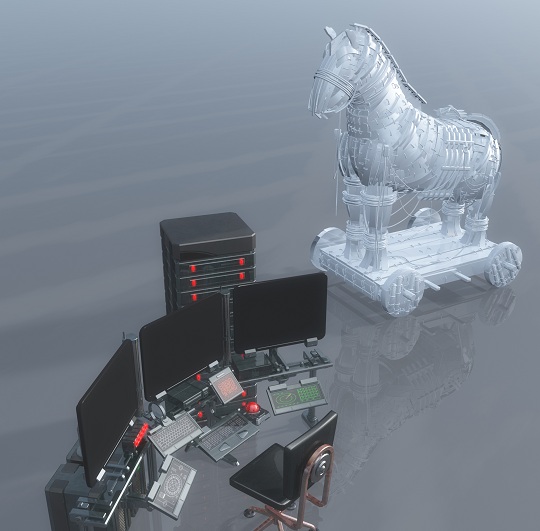
You should remove a Trojan horse virus as soon as you can after you realize it has infected your computer. Trojan horse viruses attach themselves from the Internet onto programs within your computer and penetrate the infrastructure of your computer. The following are a few helpful tips when it comes to protecting and maintaining a safe computer.

– Avoid getting a Trojan horse by using caution and discretion with the websites that you click. Do not link to random websites or cruise sites that look fishy. Take extra precaution by having a secure wireless connection. Check out this helpful link for more information about how to remove a Trojan horse virus from your computer.

– Do not download the “exclusive” videos that you can only find on one site. Most likely, it is a fraud and will download a bug onto your computer. Chances are if the content seems to be one of a kind, then it is only titled that way to get your attention and draw you into downloading the fake link.

– If you have to turn off your protection to enter into a trusted site or download a secure file, remember to return your security settings to full protection after you have finished your task.

– Remove the registry files that have been infected along with the .exe files. If you are removing registry files, do some research beforehand and consult the professionals for help. If you accidentally remove the wrong files, these actions can seriously damage your computer. For more help, check out TalkLocal. TalkLocal is a local service search engine that can direct you to a top-rated computer specialist right in your neighborhood. Within minutes you will be speaking to a professional who can help you at the time that is most convenient for your schedule. Try it out!

Webcam Not Working On Skype

Thursday, January 3rd, 2013

Webcam Not Working On Skype Computer Repair

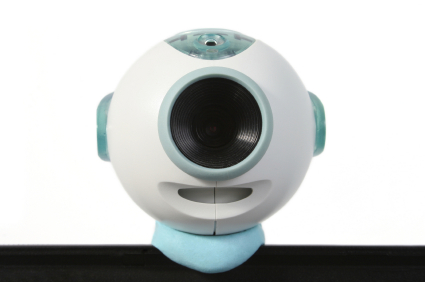
You answer a Skype video call and see your friend’s face appear on you computer screen. The problem, however, is they can not see you. It can be frustrating when you find your webcam not working on Skype, but try the tips in this guide before hanging up on your friend. If your screen is black and Skype video is enabled, double-check the following points:

– Close other programs, such as Yahoo, Windows Live, and Photo Booth, that also use the webcam feature. Then, restart Skype.

– Check that the webcam is turned on and correctly connected to Skype.

To do this:

1. Open Skype’s main window.

2. Click Tools >> Options…

3. Under General, click Video Settings. If the webcam is connected, you should see a live picture of yourself. If you do not see yourself, try updating your Skype to the latest version. Check that your webcam is compatible with your Mac, PC, or Linux. There may also be a problem with your webcam drivers.

For Windows

If those tips don’t work, try the following steps for your version of Windows. Then, move on to the final step.

Windows 7:

1. Click the Windows button >> Control Panel >> Hardware and Sound.

2. Under Devices and Printers, click Device Manager.

3. Click the arrow by Imaging Devices.

Windows Vista:

1. Click Start Menu >> Control Panel.

2. Click System and Maintenance >> Device Manager.

Windows XP:

1. Click Start Menu >> Control Panel.

2. Click System.

Final Step: Your device should be listed under Imaging devices. If not, reinstall your webcam driver.

Additional help

If your webcam is still not working, TalkLocal can connect you to local professionals who can solve your problem. Don’t keep your friend waiting on Skype forever; let TalkLocal find you the service you need from a reliable computer repair company. After filing a service request with TalkLocal, you can expect to talk with a professional on the phone within minutes.

Integrated vs Dedicated Graphics

Wednesday, January 2nd, 2013

Integrated vs Dedicated Graphics Computer Repair

When you’re shopping around for a new PC, you’ll definitely want to pay attention to whether to laptop has integrated graphics or a dedicated graphics card.  Depending on what you plan on doing with your laptop or computer, a dedicated graphics card may be worth the extra investment.

Integrated vs Dedicated Graphics

Integrated and dedicated graphic processors are the two main types of graphic processors you’ll find in a computer.  Integrated graphic processors are included in the motherboard, dynamically allocating your system’s RAM for video processing.  Since the graphics card is integrated, it improves battery life and allows your system to run cooler since there isn’t a second chip to cool down.  However, integrated graphics parts reduce your systems total available RAM (since it shares it with your system), which may slow your computer slightly.

Dedicated graphics card are always faster and more powerful than integrated graphics parts, so they’ll be able to perform more intense processes.  It doesn’t need to share RAM with your main system and can be removed and easily serviced if there’s a problem.  However, they will almost always be more expensive than an integrated graphics processor.

How do I choose?

It all depends on what you plan on doing with your computer.  If you just want a simple computer that can surf the web, type up documents, and make presentations, you won’t need to invest the extra money into a dedicated graphics card.  However, if you’re looking to edit videos, play games, or work on graphic design, you may want to invest the money in a dedicated graphics card or you may be unable to run many of the graphically intensive applications.

Professional Advice

If you’re still unsure about which type of card to choose when purchasing a new computer, you may want to consider asking a computer professional.  TalkLocal can connect you, in minutes, with a high quality local IT professional who can advise you which type of card you need to get!

How to Repair a Head Crash

Wednesday, January 2nd, 2013

How to Repair a Head Crash Computer Repair

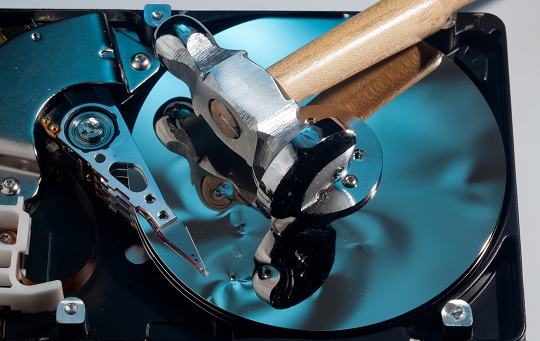
A hard drive head crash is a serious problem that presents a loss of data. The hard drive can be recovered, but the success of the recovery and depends on the extent of the original damage to the hard drive. The term “Click of Death” is referred to hard drive crashes because the clicking sound originating from the storage systems indicates that the device has failed. This generally means a file read or a writing error. The error is most likely the cause of a physical breakdown of internal components (a manufacturer’s error). Read on to learn how to repair a head crash.

What to Do

Most experts recommend a quick home solution for this catastrophe. Place the hard disk drive inside a plastic bag (or a ziplock bag — the point here is to seal the contents in an airtight container so that the components do not get further damaged). Then place the bag in a freezer for about an hour.

The reason to make the drive colder is because the lack of heat makes the internal components of the drive more compact, thereby minimizing the friction/mismatch between the physical parts that may have caused the problem.

The louder the problematic noise is, the more drastic the problem — in worse cases, a professional’s help is advised to change the head mechanism on your hard drive. Stop operating the problematic drive if you hear extensive noise on your drive under operation.

In requesting professional’s help, you must package the hard drive to send it to a professional. Wrap the drive tightly so that air will not get in and make sure that the hard drive stays stable inside the package. If it is loose, internal parts may collide and cause further damage.

If you feel as if the noise is minimal and there isn’t too much damage to the drive, try a different operating system (such a Linux) to see if it works under different settings. Linux is recommended because it skips over some imperfections in the data and still operates under adverse conditions.

Additional Help

If you feel like you need professional help on how to repair a head crash, TalkLocal can help with finding the correct local experts in this case, saving you time and energy in what may be a stressful situation.

Can I Upgrade from Tiger to Snow Leopard

Monday, December 31st, 2012

Can I Upgrade from Tiger to Snow Leopard Computer Repair

You might be thinking, can I upgrade from Tiger to Snow Leopard for your Mac?  Upgrading Mac OS 10.4 Tiger to Mac OS 10.6 Snow Leopard should be very easy as long as you have an Intel processor and at least one GB of RAM. If you have a PowerPC processor of any kind, then I’m afraid you’re out of luck, since the highest OS version PowerPC supports is Leopard. However, if you’re sure that you have an Intel processor, then the installation should be no problem. Your upgrade will work with a $29 Snow Leopard update CD, so there’s no  need to get the full $169 Snow Leopard package.

When installing the new OS, you don’t have to do a clean install, but you should back up your files on an external hard drive. If you want to be extra careful, you can create a bootable hard drive image that can be used to your entire computer. Use Super Duper to create a bootable backup of your hard drive, just in case anything goes wrong during the installation. If you run into any major problems, such as the installer hanging or any error coming up, you may want to try doing a clean install of Snow Leopard. For this, make sure you have your files backed up! Either create a bootable image with Super Duper or backup your files manually, but you must backup your files in some manner. Below are the steps:

1. Boot from the Snow Leopard CD.

2. Click Install Mac OS X.

3. Click on Utilities and follow the instructions to restart your computer.

4. Click the Utilities again, and then click Disk Utility.

5. Click Erase a Volume to completely wipe the hard drive.

6. Quit out of Disk Utilities and proceed with the installation as usual.

Snow Leopard is ideally installed on top of an existing Leopard OS, so unforeseen problems might come up if you currently have Tiger. Use TalkLocal for free to find a professional computer technician to fix your OS problems!

Installing an SSD into a Desktop

Friday, December 28th, 2012

Installing an SSD into a Desktop Computer Repair

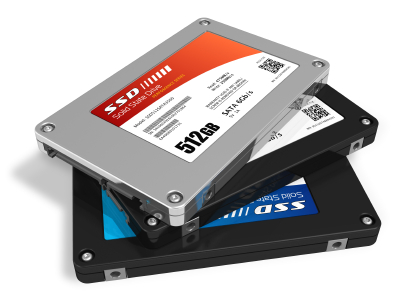
There are many reasons to switch to a solid-state drive (SSD). Generally, an SSD reads data faster than a hard disk drive (HDD). Though it falls short when storing media, it works well with storing applications and operating systems. An SSD also shortens the boot up time of your desktop and consumes less battery than a HDD. If you are installing an SSD into a desktop, follow the steps below.

Things to keep in mind before installation

– When you are selecting an SSD, a 60GB capacity is typically sufficient for a desktop.

– If you have large files, be sure to move them to the HDD at the time of their installation.

– Before taking your desktop apart, check your warranty. Some manufacturers do not cover damages from consumer installations, so work carefully.

Installation

1.   Make sure the computer is turned off.

2.   Refer to your computer’s manual for how to safely remove the case.

3.   If you have a 2.5″ SSD — which is most common today — you will need an adaptor bracket to make the SSD fit. If you have a 3.5″ SSD, you do not need the bracket.

4.   Attach one end of a SATA cable to the SSD and the other end to the motherboard.

5.   Install the SSD into an available disk bay.

6.   Replace the case.

7.   Turn on the computer. A message should say the SSD is recognized

After Installation – Operating System Transfer

You can transfer your operating system to your SSD by using a program such as Paragon Migrate OS to SSD 2.0 (available for $20) or transferring it manually.

If you want to play it on the safe side, use TalkLocal to find professionals in your area who can help with your specific computer needs. Just fill out a service request online, through the phone, or on the mobile application, and talk to a local service provider in minutes.

Latency Issues with Router

Friday, December 28th, 2012

Latency Issues with Router Computer Repair

If you googled “latency issues with router,” this is just the article for you. Read below for potential problems.

Router May Be Overwhelmed by the Jobs

You may be running too many processes on your computer that require frequent millisecond updates. So the router processor may simply be overwhelmed from all the data it is processing, resulting in latency issues.

To fix this, get a router with better processing power. Using commercial grade routers will help minimize the lag. But the downside is that obtaining commercial grade routers can be expensive.

Or it could be that the other computers (on the network which your router supports) are processing heavy jobs such as downloading large files or playing an online game that constantly require heavy processing, creating lag for you and everyone on the network.

If this is the case, try to work a schedule out with other people who share your network – such as avoiding downloading/playing CPU intensive games while you need uninterrupted internet connection.

Data Encryption Comes at a Price

Using a wireless internet may cause you to be worried about security. To protect your information you may choose to encrypt data, but security comes at a price of latency. Encrypting data is busy work. Encryption takes up a great deal of processing power.

If you think this is the issue, get a wired internet connection. A wired connection not only provides security, but also connection speed in various aspects:

1. No encryption needed. This will allow for faster processing.

2. No wireless packet loss.

Wireless packet loss is the loss of signal strength/connection that occurs from the signals having to travel through physical objects (concrete walls, windows, metal, etc) between the computer and the router.

It is generally suggested that you try switching to a wired connection when you start experiencing latency issues on your router. Try getting a commercial router if the latency issue is still significant.

If above recommendations are ineffective, the latency issue may be caused by bad hardware or further complications in your computer system. At this point it is recommended that you call for help from the local experts. TalkLocal can help with finding the correct local expert to fix your issue quickly, which saves you time and energy in a stressful situation.

USB Stick Not Recognized in Windows 7

Thursday, December 27th, 2012

USB Stick Not Recognized in Windows 7 Computer Repair

A USB stick is a portable and simple way to transport your files from one computer to another. That makes it especially frustrating when your Windows 7 refuses to recognize your handy sidekick. An error message pops up and you think your files are forever inaccessible.

Before tossing out your USB stick, try these methods to figure out why your USB stick is not getting recognized in Windows 7.

Uninstall USB Drivers

Sometimes, drivers do not function correctly after an initial installation, so try uninstalling and reinstalling.

1)     Click Start >> Control Panel.

2)     Click System and Maintenance >> System >> Device Manager.

Note: You may need to provide an administrator password or give confirmation by clicking Allow.

3)     Click Universal Serial Bus Controllers to expand it.

4)     Right click Host Controller.

5)     Click Uninstall >> OK.

Note: An exclamation mark by the driver indicates it has an issue.

6)     Repeat steps 2 and 3 to uninstall everything in Universal Serial Bus Controllers.

7)     Restart your computer. The USB drivers will be reinstalled automatically.

Different USB Port

Plug the device into a different USB port on the computer. A flaky port may fail to recognize the USB stick. If the computer does not have a second USB port, do NOT try plugging into a friend’s computer. The USB may be carrying a virus that could infect your friend’s — or ex-friend’s — computer.

Switch Devices

To test whether or not your problem is due to a bad USB port. Plug another device, such as a web camera or another USB stick, into the port. If the new device is recognized, then you know the USB stick is causing the issue.

Unplug Everything

Sometimes, a combination of devices interferes with Windows 7 recognizing a USB stick. Unplug all USB devices, and then only plug in your USB drive. If the computer recognizes the USB stick, you then can try a combination of the other USB devices to determine the interfering device.

If your USB stick is still failing to connect, you may want to seek professional help. TalkLocal can connect you to technical support that can examine your USB stick for a virus. You will talk to a local service provider within minutes—which means faster access to your precious files.

Computer Only Works in Safe Mode

Thursday, December 27th, 2012

Computer Only Works in Safe Mode Computer Repair

Are certain devices, such as the touchpad or keyboard, unresponsive in normal mode? This common problem yields no definitive solution on technical support forums, to the dismay of those who practice the “Google diagnosis.” If your computer only works in safe mode, here are a few tricks to try before raising your voice and white flag.

Clean Boot

If the computer lags or does not boot at all in its normal mode, you may want to try the Clean Boot mode. This can identify whether third party applications are responsible for the problem.

System Restore

You can also try System Restore if you have recently installed a new program or device driver. Doing so will return files and settings to their previous state — before the most recent installation or system change which may have caused the problem. To use system restore:

1)   Click Start.

2)   Search “System Restore”.

3)   Click System Restore from the results.

4)   Type administrative password or provide confirmation if prompted.

Detecting Virus

If you are unable to do system restore, your problem may be the result of malware. To fix this problem:

1)   Start your computer in Safe Mode with Networking. You will need the Internet to download a virus removal program.

2)   Download and install Malwarebytes’ Anti-Malware, a free program that will scan your computer for viruses, then remove found viruses.

3)   Scan your computer again with your own anti-virus program.

If that doesn’t work, TalkLocal can help you find local professionals to diagnose and solve your specific problem. Put an end to your fruitless Google diagnoses and let TalkLocal do the dirty work. It’s as easy as providing your problem, location, and availability. Once you submit your service request, you will receive a call within minutes to talk with a real person. Best of all, TalkLocal is completely free.

Laptop Mouse Button Stuck

Wednesday, December 26th, 2012

Laptop Mouse Button Stuck Computer Repair

Your laptop travels everywhere with you — to the office, lunch, and everywhere in between. From heavy usage, dirt and debris can build up on your mouse buttons and make them stick. If you find your laptop mouse button stuck, here’s how you can fix it:

Lodged debris

1)   Turn off the laptop and make sure it is not plugged into an electrical outlet.

2)   Spray a can of compressed air along the cracks of the stuck mouse button. Tilt the can at an angle to reach deep into the button crevices.

3)   Run a toothpick lightly along the cracks to dislodge any debris.

4)   Use the compressed air again.

Sticky substance

If you think soda or some sticky substance has caused the button to stick, moisten the bristles of a toothbrush or some thin tool to clean the edges. Do not moisten the toothbrush too much for obvious reasons. Also, be careful not to probe too deeply or else you may damage internal components.

Broken spring mechanism

If the button is still stuck, the problem may not be due to dirt. Instead, the spring mechanism underneath the button may have come out of place. You can take apart your laptop and reset the spring into its holder.

Professional assistance

If you are wary of taking your laptop apart, you can check your warranty for coverage. If it has not expired, contact your manufacturer for repair help. If it has expired, you can use TalkLocal to connect you to a computer repair service to restore your mouse button to its original state. TalkLocal will browse multiple companies and send the most appropriate service providers your way. Within minutes of filing a service request online, you will receive a phone call from a computer repair company that can solve your problem on your schedule. Now that’s customer service!