Archive for the ‘Computer Repair’ Category


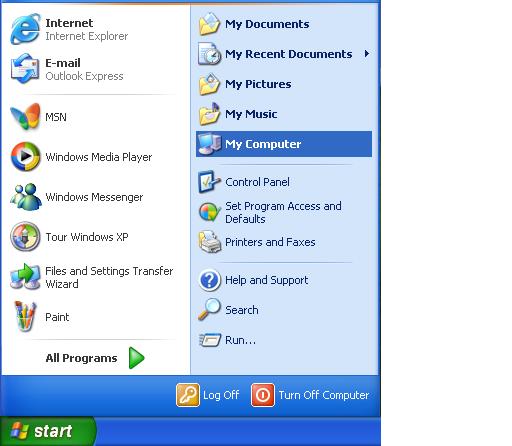
How to Network Computers With Windows XP

Friday, October 5th, 2012

How to Network Computers With Windows XP Computer Repair

Setting up a home network has become much easier in Windows XP than it was in previous versions.  Windows XP network creation is a relatively simple process that anyone can handle.  There are many benefits of creating and maintaining your own home network including the sharing of printers, files, and internet connections.  This article will give you the basics of home network creation and show you how to network computers with Windows XP.

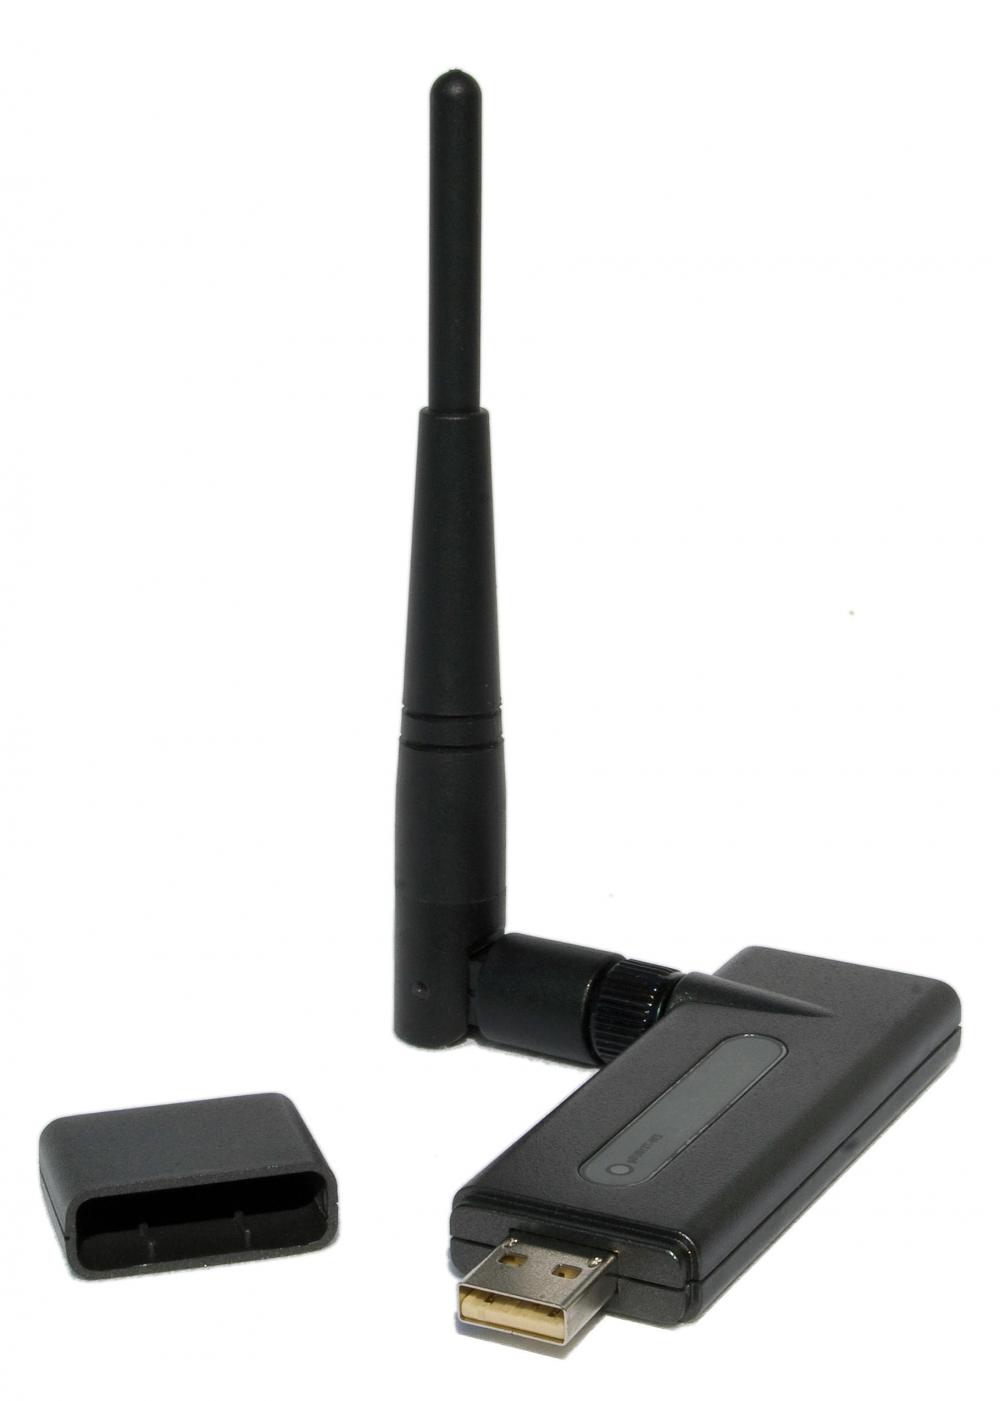
The first step is to make sure you have the necessary hardware to connect to your network.  There are three main types of networks: wired networks, wireless networks with routers, and wireless networks without a router.  If you are setting up a wireless network, you will need a wireless router to connect to your internet modem and wireless adapters for any computers you want to connect.  Ad-hoc networks without a router are also possible between computers that each have a wireless adapter.  Many laptops and computers come with built-in wireless adapters; if yours does not come with one, there are USB connecting adapters available for purchase at online sites like Newegg, or at any local computer/technology store.  For a wired network, you will simply need Ethernet cables to physically connect your computers together.  If you are connecting multiple computers in this way, you may need to get an Ethernet switch with many ports; these switches are also available online or at computer/technology stores.

To get the most out of your home connection, you will want to connect it to the internet.  This is the easiest way to share internet throughout your home.  Connecting your internet modem to your network is as simple as plugging it into you wireless router or wired Ethernet hub switch.  Once all of the connections between modems, routers, and computers have been made, follow these steps and choose either a wireless network with a router, an ad-hoc wireless network without a router, or a wired network adapter.

Once your network is installed and all of your computers are connected, there are a couple things you might want to do to keep it secure.  First, you will want to be sure that Windows Firewall is running to keep your network safe.  You can find a guide to setting up and using Windows Firewall here.  If you have a wireless network you should set up a WPA security encryption key.  You can find details on how to encrypt your network here.  Now that your network is secure, you should be ready to use it to share and to connect with all the computers in your house.  If you have problems setting up your network, you can use TalkLocal to find a local computer technician.  Just enter your location, availability, problem and TalkLocal will have you on the phone in minutes with someone who can help.

Macbook Pro Freezes When Connected to External Monitor

Thursday, October 4th, 2012

Macbook Pro Freezes When Connected to External Monitor Computer Repair

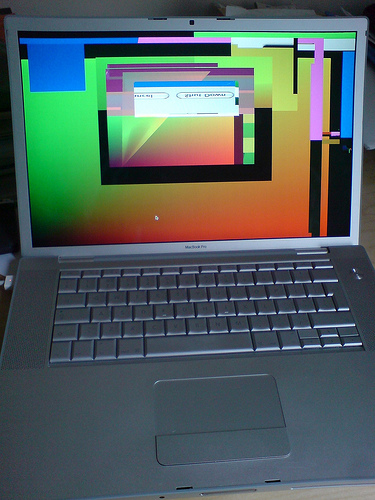
“Use an external monitor,” they said. “It will be useful,” they said. I tried it out and, lo and behold, my workspace doubled and I was a happy camper—that is, until my Macbook froze. No one warned me about the red screen of death (yes, red) on my laptop, which occurred five minutes after connecting to an external monitor. Other Mac users have reported similar problems of random screen colors on their laptop—rainbow screens of death, if you will. Alongside the colorful Macbook screen, the external monitor turns completely black. Read on for some possible solutions if your Macbook pro freezes when connected to an external monitor.

This problem has been most common among Macbooks and Macbook Pros from 2010 (mine is a late 2010 MacBook).  Apple has yet to release an official support article for why the laptops have been freezing when connecting to an external monitor, but the following solutions have worked for some users in the Apple Support Community:

Reset The System Management Controller (SMC)

Reset the Parameter Random Access Memory (PRAM)

Some users have fixed the freezes by replacing their logic board or RAM memory. See if your warranty covers this replacement or have a professional take a look. TalkLocal can connect you with high-rated computer repair services in your area. Help is just a short service request away. Tell TalkLocal your service need, availability, and location and talk to a service provider in minutes! Meanwhile, keep your laptop away from external monitors. Don’t be greedy; you’ll survive with one screen for now.

Replacing Wireless Network Adapter

Wednesday, October 3rd, 2012

Replacing Wireless Network Adapter Computer Repair

A wireless network adapter translates data from your computer into the appropriate format to be sent through the network. Other names for a network adapter include network interface controller and network interface card. While regular network adapters transmit information through a wire, a wireless network adapter uses radio waves. Learn about replacing a wireless network adapter by reading below.

The most complex adapter to replace is one that is internal, or built-in. In order to replace an internal wireless network adapter, you will need to take apart your computer. Do not attempt to do this if you are not comfortable working with computers. It can be a difficult process for the technologically challenged.

If you are tech savvy, follow the instructions below to replace an internal wireless network adapter in a PC:

1.     Turn off your computer.

2.     Unplug your computer.

3.     Remove the antenna of the wireless network adapter.

4.     Remove the two thumbscrews from the back of side cover.

5.     Remove the cover by sliding it back to loosen it from the tabs.

6.     Remove the screw that holds the bracket of the wireless network adapter.

7.     Remove the bracket.

8.     Pull the adapter carefully out of the slot.

9.     Align the end of new adapter with the slot.

10. Push the adapter in halfway.

11. Align the bracket from step 7.

12. Push the adapter in all the way.

13. Replace the screw from step 6.

14. Replace the antenna from step 3.

15. Replace the cover from step 5.

16. Plug in your computer.

17. Turn on your computer.

18. Insert the CD included with the new network adapter.

19. Follow the instructions it gives.

Your computer should be good to go. If you are running into problems or are not comfortable with replacing the adapter yourself, contact a computer repair service to help you. TalkLocal can help you find local services within minutes for your computer needs! Just fill out an online service request stating your location, availability, and need.

Hijacked Internet Explorer

Tuesday, October 2nd, 2012

Hijacked Internet Explorer Computer Repair

Do you think your Internet Explorer browser has been hijacked as a result of mischievous spyware on your computer? It happens to a lot of people and can be a very scary situation, putting your personal information and your computer’s health at risk. Read on to learn more if you have a hijacked Internet Explorer browser.

How do you know if your IE browser has been hijacked?

You may be experiencing one or several of these problems, which can signify a malware presence on your computer. Here’s what you can do to solve it:

** IMPORTANT: if you are not experienced with computers, or do not feel comfortable performing these tasks, it is recommended to contact a professional to help. You don’t want to risk making the problem worse.

If you are still experiencing problems, use TalkLocal, a free service that will connect you with local computer repair professionals who can help fix your computer. It’s reliable service that can put you on the phone with a reputable repair professional in minutes. What do you have to lose?

Repair Cracked Laptop Screen

Monday, October 1st, 2012

Repair Cracked Laptop Screen Computer Repair

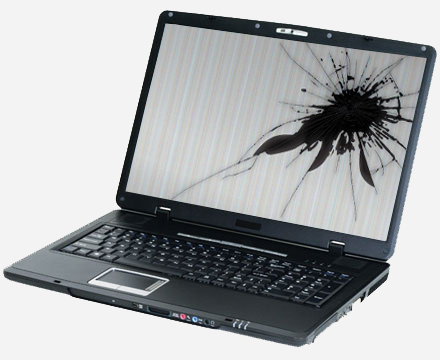
Those who use their laptop on a regular basis should anticipate some sort of “wear and tear.” Unfortunately, one of the most common problems people experience is a cracked corner of their laptop screen. While a cracked corner still allows for full functionality of the laptop, it can be a huge annoyance and there is a possibility that the crack could spread. To repair a cracked laptop screen, there are several possible solutions:

Work around it—Resizing your windows will allow you to use your laptop with full visibility, even with a crack. Increasing your screen resolution can help as well. This will make it possible to fit more of your window on the useable part of the screen. If your screen resolution is set at 1024 x 768 (most people’s are), try setting it to 1280 x 1024 instead. Both of these things can buy you time until you get your screen permanently fixed.

Quick fix products—Although these methods are only temporary and not as reliable as a replacement, they can be a cheap, quick fix that can buy you time until you are ready or able to replace the screen. Use a tiny bit of Super Glue (or any similar product) to fill in the cracks on your screen. This will temporarily stop the crack from spreading, but it may affect your view of the screen.

Replace the screen yourself—If you think you’re up to it, it is possible to replace the screen on your own. First, you need to order a replacement screen. Going through your laptop manufacturer will be expensive, so be sure to look into other options. Some people purchase broken laptops with screens that are in good shape off of Craigslist or eBay. You might also find companies who will sell you the screen part for cheaper than your manufacturer, so do your research!

Have the screen replaced for you— If you’re not so tech-savvy, there are plenty of local businesses and companies who specialize in laptop screen replacement. First, contact the company or provider you purchased your laptop from about possible warranty information. If you no longer have a warranty and the company or provider’s prices are higher than you’d prefer, there are several other companies that specialize in screen repair. Visit TalkLocal to be put in contact with a local reliable business within minutes.

Cannot View My Network Computers

Friday, September 28th, 2012

Cannot View my Network Computers Computer Repair

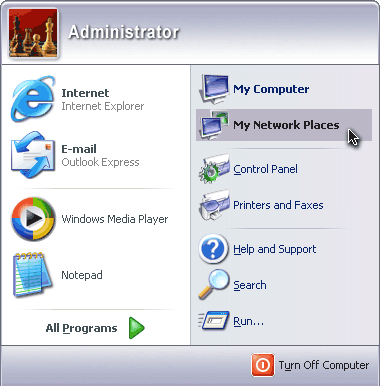
A common problem in networks is the inability to view My Network Places or Network Neighborhood of all the systems that are in the workgroup. This problem may lead people to wonder “why can’t I view my network computers?”  We will discuss what prevents you from viewing network computers and the possible solutions for successfully seeing those computers.

Computer Not in Workgroup

Your computer may be in the wrong workgroup. To be able to see all computers in the network, you must make sure they are all connected to the same workgroup. Go into your Properties and verify that the workgroup name is the same as for the other computers. If not, you can change the workgroup name in order to join the correct workgroup.

Not Connected to Network or Network Discovery Disabled

Another issue could be that your computer is not connected to the network. If you are not connected, simply connect to the network or set up a new network. If the network discovery is disabled and blocking you from seeing other computers in your network, you need to turn on network discovery by going to Network and Sharing Center >> Change Advanced Sharing Settings >> turn on Network Discovery >> Save.

Password Protected Sharing

When the Password Protect Sharing is enabled, you will not be able to view your network computers. Disable password protected sharing by going to your Control Panel >> Network and Internet >> uncheck “Password Protected Sharing.”

If you are having further difficulties viewing your network computers, TalkLocal can help connect you with the right IT professional in your local area. Just fill out a service request on the website, stating your availability, location, and service need. It’s that simple.

How Do I Backup my Music from my iPod to my Computer

Thursday, September 27th, 2012

How Do I Backup my Music from my iPod to my Computer Computer Repair

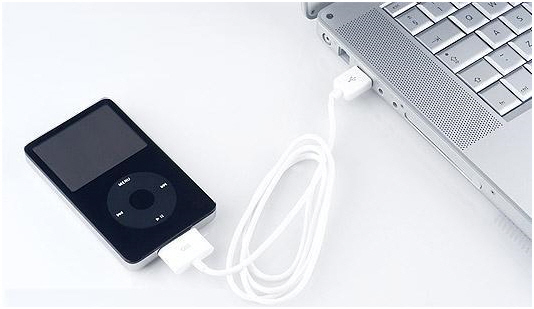
Carrying an iPod with you is a great way to listen to all the music you love on the go. However, because our iPods go everywhere with us, they are susceptible to damage and theft. It is a safe practice to back all of your music files onto your computer because–contrary to what some of us think–iPods are not invincible. Don’t let one bad accident with your iPod not wipe out your music collection. A common question asked is “how do I backup my music from my iPod to my computer?” Don’t worry, backing up your music is easy and highly recommended. Here’s how to do it :

If you are using Windows:

If you are using Mac OS X, it might be a little trickier. Mac recognizes an iPod as strictly an iPod and does not allow you to open it up in Finder like a normal external disk. However, this can be done using utilities such as iPodDisk, Expod, and Anapod CopyGear.

If you need additional computer help, TalkLocal can connect you to a local professional in minutes!

What is a Computer Virus and How Does it Spread?

Wednesday, September 26th, 2012

What is a computer virus and how does it spread Computer Repair

Sometimes computers can be your best friend, but at other times it can be your worst enemy. Just like human beings, computers can get “sick” with a virus. So you might be wondering, what is a computer virus and how does it spread? Well, in the strictest of terms, a computer virus is a program that has the ability to replicate itself and to spread from computer to computer. Other malware, such as spyware, adware, computer worms, and Trojan horses, are often mistakenly called viruses.

When you download a file from the internet, whether intentionally or otherwise, there is a chance that a virus could be hidden within the file. Executing the file also causes the virus to be activated,which sends the virus to look for programs to infect. Upon infecting these programs, the virus then duplicates within the program, just like a biological virus, and continues the cycle.

What are the different types of viruses?

There are four types of viruses: program, boot sector, macro, and e-mail. Program viruses spread when the program is executed, spreading to the other programs on your computer. When an infected program is uploaded to another computer, the process then repeats. A boot sector virus is one loaded through a floppy disk and then proceeds to infect the rest of your hard drive. Floppies loaded afterward are then also infected with the virus, which spreads to other computers when loaded. Since floppy disks rarely used now, boot sector viruses are not as common as they were before. Macros work with macro applications such as Microsoft Word, Excel, and Outlook. When a document that is infected with a macro is opened up, the program and all the files it opens are also infected. E-mail viruses infect your e-mail account when an attachment is opened. Then, the virus sends the infected e-mail to everyone in your address book using your account.

Is your computer infected with a virus? Need help getting rid of it? Use TalkLocal to find a computer technician to help you with your infected computer. TalkLocal will save you time by finding a qualified computer technician who can meet around your schedule.

Transfer Contacts From a Blackberry to an iPhone

Tuesday, September 25th, 2012

Transfer Contacts from BlackBerry to iPhone Computer Repair

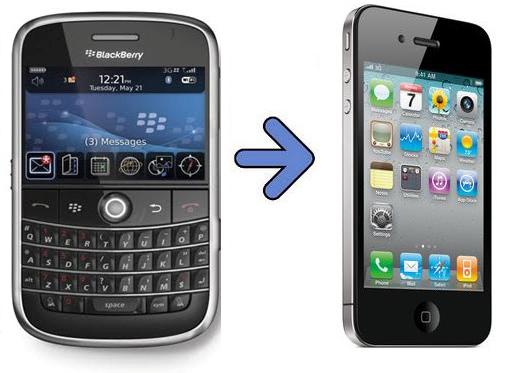
Did you recently make the switch from a Blackberry to a newer iPhone?  You are not alone; recently RIM’s blackberry has been falling behind in the smart phone market and losing waves of users to the two giants of the industry, Android and iPhone.  One of the first things you will need to know as a new user is how to transfer contacts from a Blackberry to an iPhone.  This can be a bit tricky, especially for those of us who are not so technologically inclined.  There are actually several different tools available for contact transfers that are conveniently available for your use.  Which particular method is best suited for you will depend on how you currently have your contacts set up on your Blackberry phone.

Google

If you use a Google account to sync your contacts, then the easiest method for you will be to use Google’s “sync” app and service.  The “sync” app will back up all of your contacts to your Google account when you run it on your Blackberry; it will download those same contacts on to your new phone when you run it on your iPhone.  For an in-depth guide on how to use Google’s syncing app you should check out this article.

Microsoft Outlook

Microsoft’s Outlook also offers a similar contact-syncing service.  If you are using Outlook to sync your contacts already, then this will be your best bet to transfer them.  Syncing with Outlook will require you to connect your Blackberry to the Blackberry Desktop Manager program on your PC.  You can get detailed instructions on syncing through outlook here.  Using one of these two syncing services is the ideal way to transfer your contacts because they will also be backed up and available online if you ever lose or damage your phone.

SIM Card

There is also a third method for transferring your contacts that does not involve a syncing service.  All it really requires is taking the SIM card out of your Blackberry and inserting it into your iPhone.  If you already have separate contact lists in Gmail or Outlook that you do not want to merge with your Blackberry contact list, then this might be the best method for you.   You can follow this simple guide to SIM card transfers for step-by-step instructions.  Be sure that all of the contacts that you want to transfer have been saved to your SIM card before attempting this method.

If you encounter any problems while transferring your smartphone contacts that you cannot solve on your own, you can use TalkLocal to find a local professional computer technician to provide technical support.  Just enter your contact info, time availability, and a short description of your problem and TalkLocal will connect you in minutes to someone who can help.

Macbook Air Fan Very Loud

Monday, September 24th, 2012

Macbook Air Fan Very Loud Computer Repair

Is your Macbook Air fan running very loudly and disruptively? This article will help you understand why the macbook air fan is very loud  and help you quiet it.

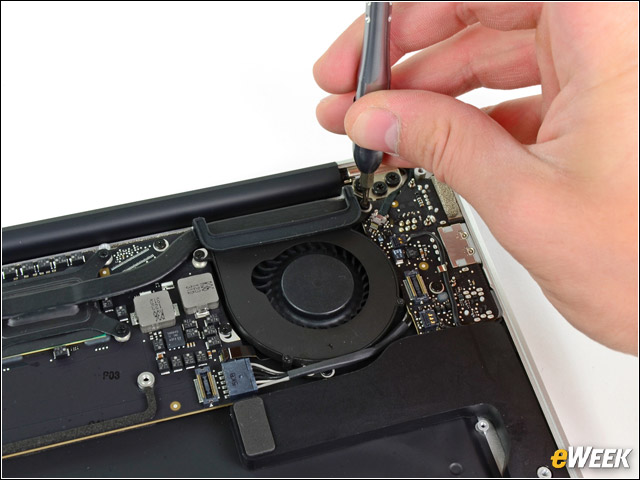
The purpose of the fan on the Macbook Air is to cool down the computer from getting too hot. One way to quiet down your fan is to cool down you computer. Unplug it from its charger and keep it on a flat, well-ventilated surface. If your fan is still running loudly, you can try the solutions below.

Lower Your Memory Usage

Another way to lower the the sound of the fan is to lower the use of memory that you are using at that moment. Close out any programs, files, and windows that you are not using. You should also go into your System Preferences in order to see what programs are running without your knowledge. You should be able to close out some programs in there as well, thereby lowering your memory usage and the sound of your fan.

Clean Up Your Desktop

Mac computers treat every item on the desktop as a separate window, so every item that you keep on your desktop is making your Mac computer run slower, especially at startup. Create a folder on your desktop and move most of your files into that folder. By doing this, you can speed up the run time and startup time of your Mac computer.

System Management Controller (SMC) Reset

Contact a Computer Repair Professional

If you have done all of the above things, but the fan on your Mabook Air is still running very loudly, you may need to contact a computer repair professional for assistance. With the help of TalkLocal, you can receive phone calls in minutes from up to three high quality computer repair professionals in your area that are available when you are.