Archive for the ‘Heating and Cooling’ Category


Radiant Heating Systems for Homes

Friday, August 30th, 2013

Radiant Heating Systems for Homes - Heating and Cooling

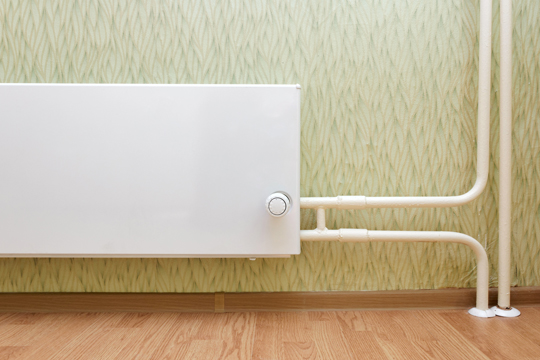
Radiant heating systems for homes, or under-floor heating, are heating systems that involve placing tubing under the floor to transfer heat into a room through infrared radiation, as well as convection. They are considered to be more efficient than conventional heating systems because they prevent energy loss. Moreover, this kind of system allows for various fuels to be used, including natural gas, wood, or solar energy.

Radiant systems for homes are considered to be healthier. This type of system is recommended, especially for people suffering from allergies. Unlike other heating systems based on blown or forced air, under-floor heating doesn’t spread dust and other particles inside a room.

How Many Types of Radiant Heating Systems for Homes Are There?

There are two types: electric radiant heating and hydronic heating. The major difference between the two is that the wiring under the floor is heated by electricity in the former case and by hot water in the latter. With an electric radiant heating system, the tubing installed under the floor radiates heat vertically. The electric type is preferred if you want to heat a smaller space, like the bathroom or the kitchen. To heat the whole house, it’s better to go for hydronic heating, which is more efficient.

What Are the Benefits of Radiant Heating Systems for Homes?

– They heat a space uniformly. The whole surface of the floor gets warm due to the ducts underneath. With a forced-air heating system, warm air raises to the ceiling while the temperature on the floor drops. This makes radiant heating more comfortable.

– Insulation increases the efficiency of under-floor heating.

– Radiant heating systems for homes is quiet and invisible, so it is superior to conventional heating systems from this point of view as well.

It’s not always worthwhile to replace existing heating systems, because it involves tearing up the floor. However, if you’re building a new house or if you decide to make important renovations, a radiant heating system might be an option.

Additional Help

If you want to find out more about radiant heating systems, or are considering having one installed, TalkLocal can put you in touch with a qualified professional who can offer you all of the assistance you need.

Size of AC Unit

Friday, August 23rd, 2013

Size of AC Unit - Heating and Cooling

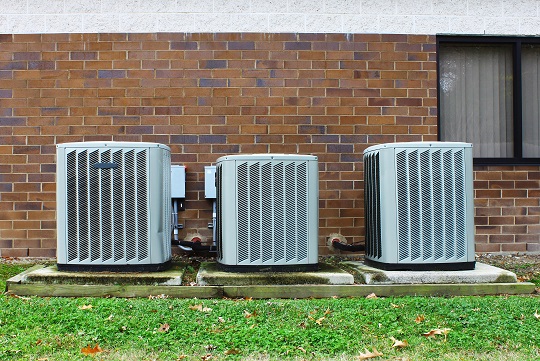
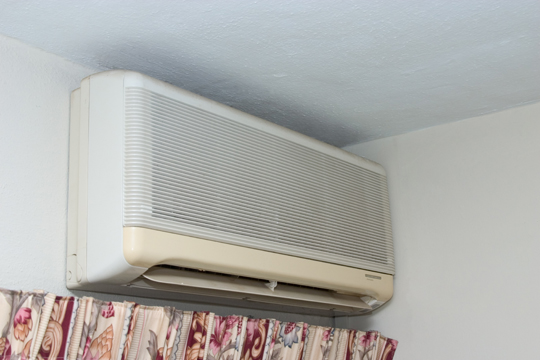
The size of AC unit will determine how much power it uses and ultimately, your electric bill. There are several ways to determine the appropriate size of AC unit for your home. Remember, the correct size unit will bring down your electricity costs and help you maintain the cooling system in your home. Aside from this, an oversized AC unit will short-cycle, meaning it will turn on and off frequently. Air conditioning units are typically measured in tons, and 1 ton equals 12,000 British Thermal Units.

How to Estimate the Size You Need

The most proper and scientific method for estimating the size of AC unit that you need in your home is the Manual J Load Calculation. This calculation will depend on your home’s insulation systems, the number of windows you have, and the sizes of the rooms in your home. A calculation is then based on this and the proper tons that you need will be apparent.

A rough estimate of the size you need can also be based on the comparison of your neighbors’ houses and yours. If your neighbor has the same size house as you, you can ask them what the size of their air conditioning unit is and base it from there.

You can also choose to hire a contractor to estimate the air conditioning size you need. Air conditioning professionals can give you an estimate on the size you need, while also offering installation of your air conditioning unit.

Lastly, if you are replacing an old air conditioning unit, you can check its size and base it from there. When you purchase an air conditioning unit, remember the above information so that you can save on electricity bills. You also need to find out how to maintain your AC unit, such as when you should clean the filter.

Ready for Professional Help?

If you need help in estimating the size of AC unit that you need, TalkLocal can help you find a professional near you. We offer reliable services that guarantee you can get the help you need.

Underfloor Radiant Heating Systems

Thursday, August 22nd, 2013

Underfloor Radiant Heating Systems - Heating and Cooling

Over the last few years, underfloor radiant heating systems (UFH), also known as in-floor heating or under tile heating systems have become increasingly popular thanks to their long list of benefits, including superior effectiveness and an elevated level of comfort, while compared to traditional heating systems. Keep reading to discover the main advantages and disadvantages of a UFH system.

What is an underfloor radiant heating system?

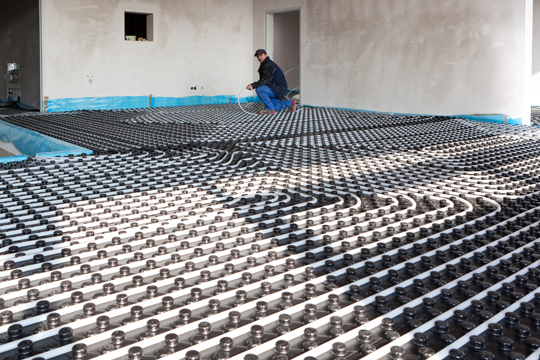
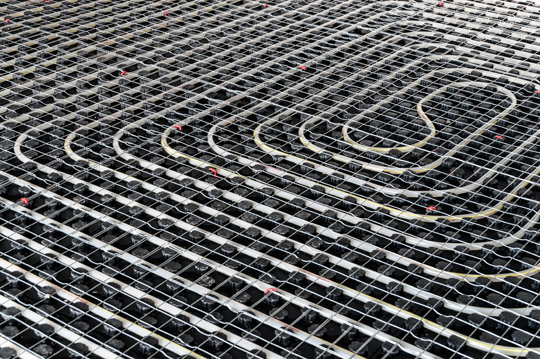
An underfloor radiant heating system is based on a network of pipes (made from plastic or metal), buried in one’s floor. Heated water circulates through these pipes. Basically, the system warms the floor, and then the heat coming from the floor gradually increases the temperature inside the entire room. A significant percentage of the overall heat transfer (almost 60%) is effectuated through radiation.

What are the benefits of an underfloor radiant heating system?

UFH systems are considered an excellent option by most homeowners who have already tested their advantages, mostly due to their proved effectiveness, zero noise pollution, considerable energy savings, increased eco-friendliness, and its contribution to a comfortable, cleaner, healthier environment.

a)    No toxic compounds: Underfloor radiant heating systems are the perfect alternative for people with allergies or various respiratory problems because they do not emit toxic fumes, dust particles, or different other indoor pollutants potentially generating or aggravating health problems.

b)    Energy savings: UFH systems function at reduced temperatures; therefore, they help homeowners experience financial savings of up to 15%, while compared to traditional heating systems.

c)     Zero noise pollution: Are you annoyed by your noisy air duct system? Replace it with a UFH system with zero noise pollution, and you’ll never complain about this problem ever again.

d)    Aesthetic advantage: No vents or unsightly radiators in the way of your décor.

What are the main disadvantages of an underfloor radiant heating system?

UFH systems also have a few disadvantages that you should consider before installing one in your home. Some of the most important drawbacks are:

a)    Slow response time: You will have to wait for a longer time to heat or cool your living space if you count on a UFH system. The efficiency of underfloor heating is decreased, especially if the system is used every once in a while.

b)    UFH are less flexible and harder to correct once installed because of their position; therefore, it is highly recommended to opt for professional installation ensured by a real specialist.

c)     Retro-fitting UFH systems is considered costly and less practical

d)    Underfloor radiant heating systems may damage delicate furniture; this is why several preventive measures should be implemented by homeowners who want to install a UFH system at home.

Find the best heating and cooling specialists

Are you looking for the best answers to your daily household heating and cooling problems? Consult TalkLocal and get in touch with real professionals operating in your own area, who have what it takes to turn your home into a safe, clean, comfortable environment in no time.

Underfloor Radiant Heating

Wednesday, August 21st, 2013

Underfloor Radiant Heating - Heating and Cooling

Numerous homeowners consider underfloor radiant heating a viable option, mostly due to its incredibly long list of benefits, including aesthetic advantages, financial savings, zero noise pollution, an elevated level of comfort, and an eco-friendlier functionality. While these attributes look good on paper and make a great first impression, all homeowners should dig a little deeper and discover how underfloor radiant heating systems actually work before making a purchase.

How does an underfloor radiant heating system work?

A UFH system relies on a pipe network installed under the floor’s surface that transports heated water to warm the floor. After the floor is properly warmed, it becomes a source of heat and starts elevating the temperature inside the entire room.

Heated air rises in a natural manner, and the UFH system functions more effectively, triggering significant financial savings of up to 15%, compared to traditional heating solutions, due to the large radiant surface and a reduced thermal exchange between the radiant panels and the room’s cold walls. As a major plus, UFH systems can be integrated with eco-friendly, energy-efficient systems, like for instance, a green solar thermal system, but it works equally well with a condensing boiler.

Where can underfloor radiant heating systems be implemented?

UFH systems have become incredibly popular over the last few years due to their numerous advantages. They can be easily installed both in new and restructured buildings. In fact, underfloor radiant heating is a perfect match for walls, suspended floor, floating floor, solid floor, or timber floor. Here’s an extra tip: If you’re planning to make the most of your UFH system placed under your timber floor or suspended floor, increase the conductivity of the floor surface by simply adding a mix of cement and sand.

What are the most important components of an UFH system?

The functionality of an UFH system depends on many important elements, like for instance, the circulating pump, its heat source, border insulation, ball valves, couplers, manifolds, aluminum plates, and more. Despite the fact that the functionality of an underfloor radiant system is quite simple, potential problems impacting its effectiveness are hard to anticipate and solve by inexperienced homeowners.

How to find the best UFH specialist

Do you want to find the best expert in underfloor radiant heating in your area? In this case, count on TalkLocal to identify the most reputable specialists with the in-depth knowledge, the tools, and the techniques required to get the job done in the blink of an eye.

Geothermal Heat Exchanger Pump Cost

Tuesday, August 20th, 2013

Geothermal Heat Exchanger Pump Cost - Heating and Cooling

Although geothermal heat pumps are not very popular, they have been around for several decades. You will also find this type of heating system under the name of earth-coupled heating and cooling, as well as ground-source or even ground-loop heating. A well-built geothermal system can work for around twenty years, which means that the heating and cooling needs of your house are ensured during this period.

How Does It Work?

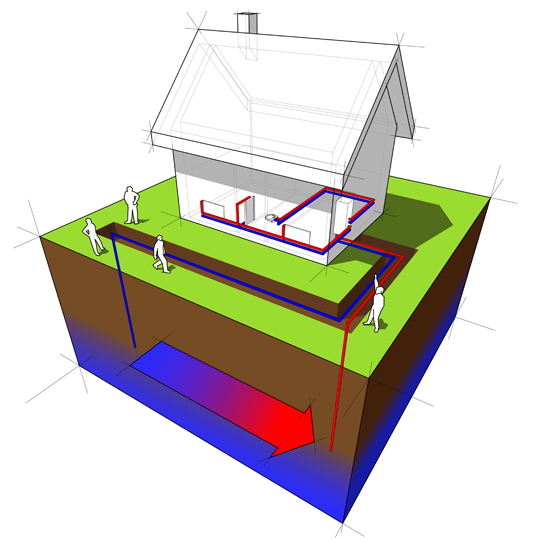
Simply put, the geothermal heat pump is buried in the ground somewhere near your house, and a heat exchanger, which resembles your air conditioner, will amplify temperature effects, giving you the heating and cooling you need. This system was tested in both cold and hot climates, and the technology is proven to work, regardless of climate.

What Are the Benefits?

The geothermal heat pump is a green technology that reduces your carbon footprint and helps you cut down on your energy expenses. Although geothermal heat exchanger pump cost is high, even prohibitive for many people, it’s worth mentioning that this is an investment that will pay off in the long run. According to estimates, the average cost of a geothermal heat system amounts to over $40,000. This includes the drilling that has to be done around your house to insert the pipe lines. Homeowners who are interested in this eco-friendly heating and cooling technology can benefit from financial assistance from the government, which offers an income tax credit that promises to reduce the total cost of installing a geothermal pump by 30%.

Energy Savings

The geothermal heat exchanger pump cost is compensated by the significant energy savings you can make in time. A geothermal pump provides you all of the hot water you need, so you can save both electricity and gas. Estimates show that you can save up to $1,000 in the first year. Also, another factor in the feasibility equation is the little maintenance required by a geothermal pump.

Geothermal pumps are effective alternatives, especially if you build a new house or plan to replace an aging heating and cooling system, which will amount to about half of the geothermal heat exchanger pump cost, but will require more maintenance and will entail periodic repairs that add up to the cost.

Need More Help?

If you are considering investing in a geothermal pump as a solution for your heating and cooling needs, you might want to consult an expert. This way you will get an accurate estimate. TalkLocal can connect you with a local professional who can answer all of your questions.

How to Effectively Clean a HEPA Filter in 3 Easy Steps

Monday, August 19th, 2013

How to Effectively Clean a HEPA Filter in 3 Easy Steps - Heating and Cooling

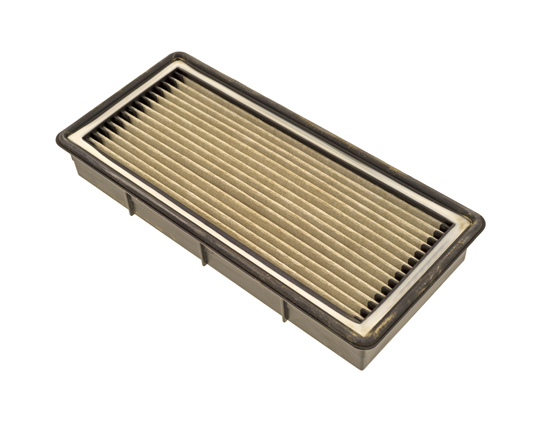
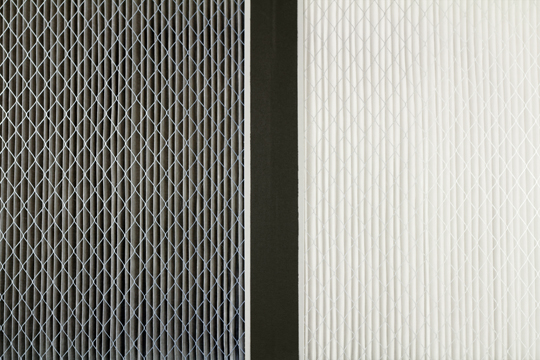
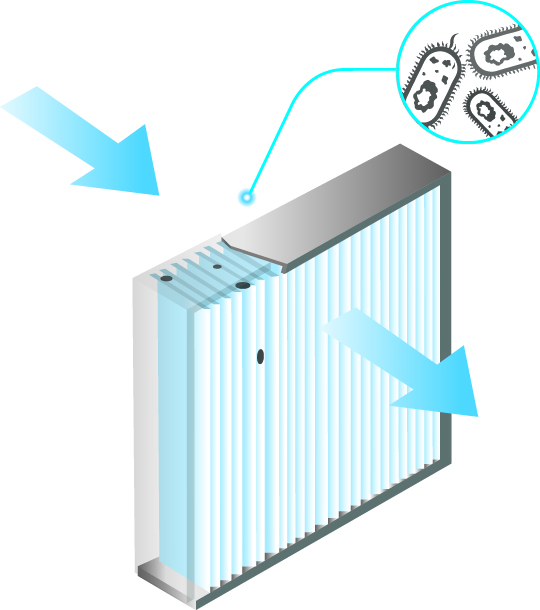
High-efficiency particulate air filters, also known as HEPA filters, ensure superior air quality inside our homes and protect us from a wide range of health risks associated with indoor air pollution. These filters are designed and implemented to trap even the tiniest contaminants (approximately 99.97% of all particles measuring .3 microns) that aren’t usually captured by traditional air filters, in order to prevent allergies and other common respiratory problems. HEPA filters require a simple maintenance routine, which can be performed by all homeowners in a cost- and time-effective manner. Get the highest rated HEPA replacement filter from Amazon and have it shipped overnight starting at $17.67. Read on to find out when and how to clean a HEPA filter in 3 easy steps, fast and hassle-free.

Start by turning off your air filtration system and gently remove the HEPA filter that needs to be cleaned. If you don’t want to make a mess inside the house, it is advisable to remove all impurities outside or in a different area that would be more suitable for this relatively messy assignment.

Want to clean a HEPA filter on your own? Place the HEPA filter on top of a trashcan and start cleaning it using an air hose. This will help you get rid of the dust and other impurities fast and effectively, without compromising the functionality of your filter. Always remember to clean both sides and shake it thoroughly while utilizing compressed air to obtain excellent results. Numerous homeowners choose to add another step to the much-needed cleaning routine and use a garden hose to spray water (with moderate pressure, to prevent serious damage) over the HEPA filter.

Let your filter dry naturally in a leaning position, until it is no longer humid. Afterward, carefully place it back inside your air filtration system and turn it on to test its functionality.

If you are looking to purchase a hepa replacement filter, you can find it on Amazon and have it shipped overnight starting at $17.67.

Need HVAC Advice?

Follow these 3 simple steps to complete this necessary assignment in record time. On the other hand, if you lack the time, the patience, or the energy required to learn how to clean a HEPA filter on your own, count on TalkLocal to find some of the most well-trained, competent, friendly experts, who specialize in residential and commercial air filtration systems, and who can take this pressure off your shoulders and improve air quality inside your home by cleaning or replacing your HEPA filters.

How to Clean Electrostatic Air Filters on Your Own in 3 Easy Steps

Friday, August 16th, 2013

How to Clean Electrostatic Air Filters in 3 Easy Steps - Heating and Cooling

All of the appliances that we use around the house require a mandatory maintenance routine, which could be easily performed by any homeowner who has the time, patience, minimal skills, and a basic set of tools to complete this simple job. Electrostatic air filters are the key component of all electrostatic air cleaners, used to considerably improve indoor air quality and prevent a long list of health risks. These beneficial air cleaners trap small contaminants and remove them from our homes in a highly effective manner. In order to increase the lifespan of your air cleaner, it is recommended to clean electrostatic air filters regularly.

Keep in mind that a superficial cleaning process can get you into a lot of trouble, minimizing filter effectiveness and even potentially damaging essential components of your ventilation system. Experts advise homeowners to remove impurities deposited on the surface of their electrostatic air filter every 4 or 5 weeks in order to avoid troublesome dirt buildup. Read on to find out how to clean electrostatic air filters in 3 simple steps.

1. Remove the electrostatic filter from your ventilation system.

Start by removing the filthy air filter from your air cleaning system and take it outside, where you could easily clean it using a vacuum and a garden hose. First, use the vacuum equipped with an extremely soft brush to get rid of lint accumulations and other impurities fast and effortlessly.

Afterward, spray the entire area with water using your garden hose, following a trajectory that should be diametrically opposed to the one described by the air flow. Opt for a moderate water pressure to avoid damaging your electrostatic filter.

2. Use a highly effective electrostatic cleaner and rinse thoroughly.

In some cases, the soft vacuum brush and the water flow might fail to provide the desirable results. In this case, it is recommended that you rely on a high-quality electrostatic cleaner, effective enough to help you get rid of stubborn impurities. Spread the cleaning solution using your brush and then rinse the filter thoroughly.

3. Drain the filter properly, let it dry naturally, and then put it back inside your air cleaner.

Let your electrostatic filter dry naturally, in a leaning position; then simply place it back inside your electrostatic air cleaner and turn it on to see if it functions properly.

Need HVAC Help?

Don’t forget to clean electrostatic air filters meticulously every month, following these 3 simple steps to keep your device running like new for a longer period of time. Also, if you lack the time, the tools, or the skills required to complete this task, count on TalkLocal to find a reputable air filter expert who could handle this matter in a cost- and time-effective manner.

The Cost of Running A Dehumidifier

Wednesday, August 14th, 2013

The Cost of Running A Dehumidifier - Heating and Cooling

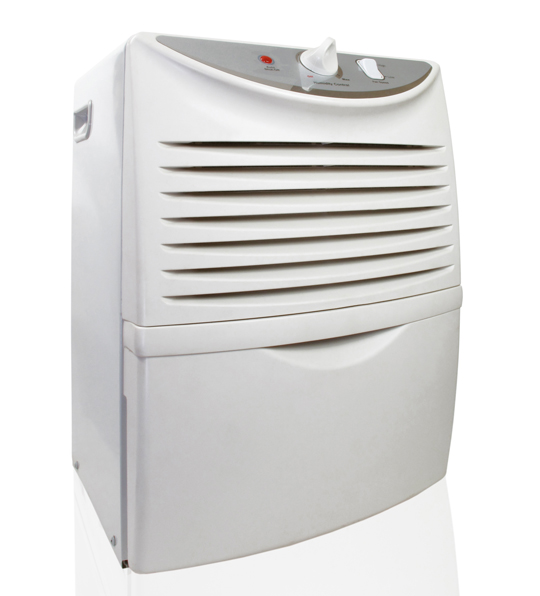
Having a dehumidifier in your own home is sometimes a necessity. Dehumidifiers help keep your home comfortable and healthy. There are certain costs associated with running a dehumidifier. The cost of running a dehumidifier depends on the size and model of your home, as well as the model of the dehumidifier.

Electricity Use

While a dehumidifier can be small, you must never underestimate the electricity it uses up. For instance, you should look into how to save energy in your home before purchasing a dehumidifier, especially if you are concerned about electric bills.

Remember, the cost of running a dehumidifier will also depend on how and when you use it. Running a dehumidifier during only the wet months will lower costs.

How to Lower the Cost

Checking the draining tank of your dehumidifier at least once a day will also bring down costs. Most dehumidifiers use electricity even when on auto-shutoff mode, while being filled with water. Empty the draining tank at least once a day or, in more humid times, at least twice a day.

Manually emptied units also use only 3.7 kW/h of electricity, less than direct drain units. These are the things you should consider before purchasing and maintaining a dehumidifier. The same principle applies to air-conditioning units. You have to compute the higher cost of an energy-saving unit vs. the cost of ordinary ones. A dehumidifier is an essential in more humid places, and budgetary constraints are always a factor. This is why you should invest in knowing more.

Have More Heating and Cooling Questions?

Contact TalkLocal today and find out the many ways in which we can help you! Your problems with home maintenance are our specialty. We will connect you with the right professional in just minutes, finding you the help you need, when you need it.

The Cost of a Dehumidifier

Tuesday, August 13th, 2013

The Cost of a Dehumidifier - Heating and Cooling

Homes that are equipped with dehumidifiers are healthier than those without. Dehumidifiers typically remove humidity from the air, rendering the atmosphere easier to breathe in.

What to Look for

Wiser shopping can bring down the cost of a dehumidifier. The price tag is not the only thing that you should look at. The energy factor (EF) is the number of liters of water removed from the air for each kilowatt-hour. Remember that, usually, the higher EF will cost you less to operate but may cost more to buy. This will bring down your electric bill. Additionally, units with high EF values emit less heat than units with lower values.

Hot Stuff

Excess heat from dehumidifiers can be undesirable in the summer or in warm places in your house. The cost of a dehumidifier is a mixture of the cost of the unit itself and the cost of operating it. For this reason, it is important for you to look at the energy factor of the unit as well as the price.

Think of it This Way

It’s the same as looking at the cost of a new washing machine. The washing machine’s initial costs should be weighed against its operating costs. You also need to consider how much the repair of the appliance will cost. Some brands of dehumidifiers, for example, have spare parts that are more expensive than the rest. It is important to consider this, and other costs, when selecting a dehumidifier.

Need HVAC Advice?

Contact TalkLocal today if you find yourself unable to cope with your dilemmas about dehumidifiers. We will connect you to the right professionals in your area. We will always be available for support, and we will make sure that you stay well informed. Give us a call today and see how we can help you!

3 Ways to Clean Electronic Air Filters Fast and Effectively

Wednesday, August 7th, 2013

3 Ways to Clean Electronic Air Filter Fast and Effectively - Heating and Cooling

Electronic air cleaners are used by millions of Americans who seek to improve indoor air quality and eliminate some of the most dangerous, microscopic pollutants triggering severe respiratory problems and other health concerns. In other words, electronic air cleaners trap the tiniest contaminants and help homeowners breathe cleaner, healthier air on a daily basis.

These devices are equipped with washable pre-filters and cells, which should be checked and cleaned regularly, at least once a month. Keep reading to discover three simple, effective ways to clean electronic air filters on your own, in the comfort of your own home.

First Method: Place the dirty pore-filters and washable cells in the dishwasher

Most homeowners use their dishwashers to keep their electronic air filters and cells dirt-free and fully functional. After the washing cycle is completed, simply take out the purified components and let them dry naturally. A drying cycle should never be considered a valid option, as it could easily damage cells and pre-filters, minimizing the efficiency of your electronic air cleaner.

Before opting for this fast, hassle-free cleaning method, make sure to read the dishwasher’s instruction manual. Some manufacturing companies might not recommend cleaning pre-filters and electronic cells by washing them in the automatic dishwasher.

Second Method: Clean electronic air filters in your bathtub 

You could also cleanse those filthy electronic cells and pre-filters by placing them in a bathtub filled with hot water. Add three quarters of high-quality dishwasher detergent for each cell; wait 15 or 20 minutes until the detergent manages to dissolve the dirt buildup and then let these components air dry.

Third Method: Wash pre-filters and electronic cells in your backyard, utilizing a garden hose

Last, but definitely not least, you could try to clean electronic air filters in record time using a garden hose. Wash those dirty pre-filters and electronic cells with plenty of water sprayed with moderate pressure to avoid damaging these essential parts of your device. If you are dealing with stubborn particles of dirt, rely on a good household detergent to get the job done fast and effortlessly. In the end, let these components dry naturally and put them back inside your electronic air cleaner when they’re perfectly dry.

Opt for one of these 3 easy ways to wash pre-filters and electronic cells and keep your appliance in perfect condition for a longer period of time.

Find an HVAC Expert

Looking for a real professional to complete this task on time and on a budget? Count on TalkLocal to find the best experts in your area. Whether you want to invest in professional maintenance services or you aim to conduct a DIY project, keep in mind that a monthly cleaning process is mandatory and can increase the lifespan and effectiveness of your device.