Archive for the ‘Landscapers’ Category


Best Conditions For Growing Bamboo

Monday, April 22nd, 2013

Best Conditions For Growing Bamboo - Landscapers

Bamboo can be an exotic addition to any landscape, and it’s important to determine the best conditions for growing bamboo prior to planting. Making this determination can be tricky, though, because there is such a wide variety of species. There are some commonalities among species, however, so here are five of the best conditions for growing bamboo.

1. Light: Considering that the native growing conditions for most species consist of patches under the canopy of forests, most bamboo needs some sort of protection from full sun. Too much sunlight can cause leaves to burn.

2. Soil: Many species grow best in soil conditions that mimic those of river banks. It must be well-drained (no swamps) but still maintain moisture.

3. Water: Most species do well in droughts but would appreciate watering or irrigation during harsh, dry conditions.

4. Size: Pay attention to the average growing size of the bamboo you choose. In forest conditions with a canopy of 180 feet tall, some species can grow up to 120 feet.

5. Fertilization: Regular spring fertilization is preferable prior to new shoots forming. Extra fertilization can prevent flowering. While some plants won’t flower for 100 years, should your plant flower, it can be detrimental to it and even kill it.

The most important thing to determine when considering the best conditions for growing bamboo is the type you are planting. Similar to hydrangeas, some plants prefer a more acidic soil, while some prefer a more alkaline soil. The variety of species allows for the likelihood that you can grow bamboo in your area. It also means that you’ll need to research your specific type of bamboo.

Need More Help?

Try contacting a professional landscaper. TalkLocal’s free service can find one in your local area for free. He or she will be highly-qualified and will work with you to determine the plant that will grow best in your area.

Backyard Privacy Landscaping

Saturday, April 20th, 2013

Backyard Privacy Landscaping - Landscapers

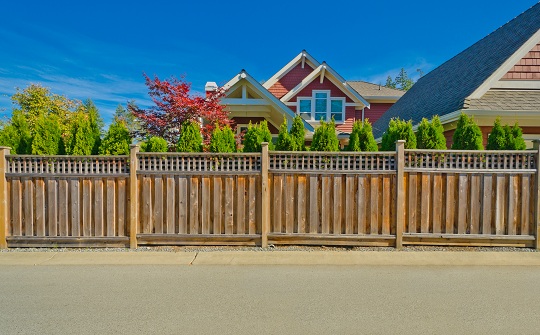
Are you looking to get more privacy or hide unwanted views in your backyard? It’s always nice to feel like your backyard is hidden from the view of your neighbors, and you might not want to see their land either.  Here are some ideas for backyard privacy landscaping — making your property feel secluded, without building a wall!

Backyard Privacy Landscaping

Plantings are a beautiful and effective way to have a natural barrier for your property. If you choose the right plants for your land, you can subtly protect your privacy or block an ugly sight while still adding a nice touch to your garden; it won’t break the bank either.

Planting shrubs or small trees is a good start, just be careful not to get plants that grow too much, otherwise you will have to spend a lot of time trimming your plants, especially so they don’t bother your neighbors. Evergreens are good for year-round blocking. They also allow cool air in during the summer but will stop too much cold air from coming in during the winter, lowering your need for heat inside during that time.

Hard structures are a more traditional form of separation for your property. When picking your form of barrier, make sure you choose one that matches the overall feel of the garden and one that will go well with your house. A simple screen or a fence and gate can do the trick, but you can’t just place it in front of the unsightly scene or around your garden and hope that it will solve the problem. If the screen or other separator isn’t placed into the backyard so that it blends in, it will look unprofessional and unattractive.

Additional Help

Choosing the right option for your backyard, purchasing it, and implementing it can be complicated and time-consuming. Using a professional is the easiest way to accomplish a sense of privacy while maintaining your garden’s beauty. By using TalkLocal, you will be connected with up to three landscaping contractors and designers in your area within minutes.

Best Conditions For Growing Sunflowers

Monday, April 15th, 2013

Best Growing Conditions For Sunflowers - Landscapers

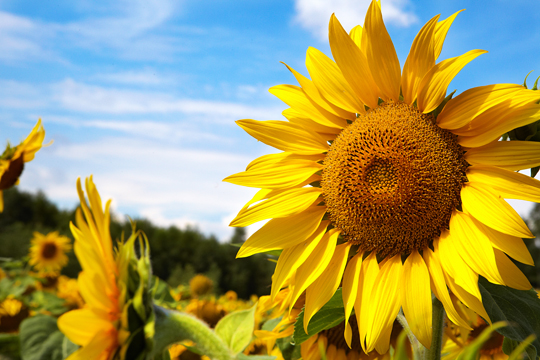
Whether you are interested in a home-grown snack or an eye-catching addition to your garden, you may be wondering about the best conditions for growing sunflowers. The good news is that these plants are fairly hardy and do not need extensive care to ensure their success. There are some tips to keep in mind, however, if you decide to grow sunflowers.

Best Conditions For Growing Sunflowers

– Unlike many common perennials that will come back yearly, most sunflowers are annual and will need to be planted every year to reap their benefits.

– Sunflowers can flourish in many types of soil as they are very adaptable. The main thing they require is a fair amount of nitrogen.

– They are not very drought-resistant. Because of their large size, they do not use water efficiently. It is best to provide sunflowers thorough watering, particularly in the month before and the month after flowering. Commercially, sunflowers resist drought better than other crops due to their six-foot long taproot, but they flourish best with frequent water.

– Sunflowers do best in well-drained soil, so don’t plant them in marshlands or pots that don’t have enough drainage holes.

– The seeds need to be at around 50 degrees to germinate, but once established, sunflowers can withstand temperatures as low at 28 degrees. They grow best in environments that maintain a temperature between 70 and 78 degrees.

– To prevent weeds and pests, put some mulch around the base and watch for damage caused by insects. Many organic, all-natural, or chemical pest repellants are available on the market to help with these problems. If you are interested in harvesting seeds, place a mesh netting over the flower to prevent birds from eating the developing seeds.

Find A Landscaper To Help With Your Needs In The Yard

If you are an inexperienced gardener, it might be best to contact a professional landscaper to determine if your property provides the best conditions for growing sunflowers. TalkLocal can help you find a professional landscaper in your area that is qualified for the job. Our cutting-edge service helps you save time searching for one. Try it out!

Install Window Well Covers

Friday, April 12th, 2013

Install Window Well Covers - Landscapers

Window well covers come in different types and designs, and can serve several purposes, according to one’s preferences or desires. One may want to prevent break-ins, to protect a basement window from rain, flying debris or baseballs, or maybe even to serve protection from a child falling into the window well accidentally.

Window Well Cover Types

There are two main window well cover types, based on your basement windows’ design and placement. You might need a bubble window well cover for windows that protrude up above ground level, or a flat cover for basement windows that do not extend higher than the well. They can be circular or rectangular, plastic or aluminum, and can be of varying colors. If you would like to install window well covers yourself, here are some guidance tips for the process.

How to Install Window Well Covers

1. Purchase the window well cover of the correct shape and material. It should be accompanied by mounting hardware, such as clips, nuts, bolts, and washers.

2. Simply place the window well cover in the correct position above the well and in line with the steel, brick or aluminum frame that encompasses the well. Take the provided clips and set them down, evenly placed throughout the perimeter of the cover & over the well rim. Mark these positions and then remove the cover.

3. For this next step you will need a power drill before being able to secure the clips in place. Over the markings, drill a hole about 3/16 inches thick.  Assemble the cover by using the bolts and cap nuts, with the washers between them. The correct order is to put the bolt through the clip and washer, and to have the cap nut secured on top.

Need Professional Help?

If you are having trouble and would like some professional help, try using TalkLocal to locate a professional who can assist you. TalkLocal is a free service that will connect you with top-quality, reputable landscapers in your neighborhood, within minutes. Simply enter in your problem, location, and availability, and TalkLocal will contact multiple companies, who will then call YOU directly, ready to help.

Building An Outdoor Patio

Monday, April 8th, 2013

Building An Outdoor Patio - Landscapers

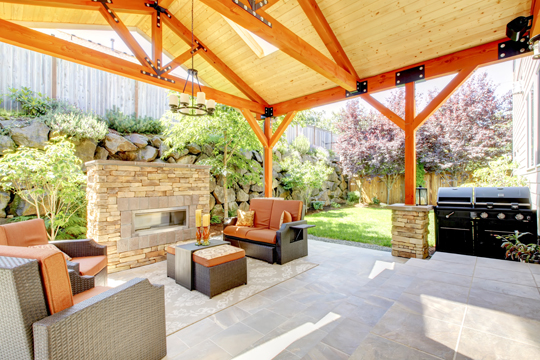
Building an outdoor patio can create a wonderful space for you, your family, and your friends to enjoy the outdoors in comfort. With the right design, you can truly create a private getaway right in your own back yard. Completing the project yourself takes some work, but could save you some money in the long run – providing you do your homework. The following are five things to keep in mind when building an outdoor patio.

1. Will you need to dig? Consult your design plans to determine if you will need to dig any lines for electricity or to level the base of your patio. If so, you will need to call 811 to have local agencies mark your water, electrical, telephone, and any other piping that may run through the area.

2. What are your local permit requirements? Depending on the type of structure you choose, you may need to apply for certain permits with your local city or community.

3. Is the structure you’re building even permissible by your city? Some city regulations require a certain amount of distance between the structure or concrete pad and the property line. Determine your city’s regulations and adjust your design accordingly.

4. Are you physically able to handle the labor? Overestimating your abilities can end up with you straining yourself. Be sure to consider the weight of the materials you’ve chosen. What may be only slightly challenging to lift at the beginning of the day could turn into something impossible by the end.

5. Have someone else work with you. This person may not even do much of the work, and could just hand tools and fetch drinks, but his or her role is important. He or she is there to ensure you are safe and can call for help in the event of an accident.

Need More Help?

A professional landscaper can do the job for you quickly, and will help you with getting the necessary permits. TalkLocal can find the right landscaping contractor for you in a matter of minutes. Try our free service today!

Best Conditions For Growing Hydrangeas

Monday, March 25th, 2013

Best Conditions For Growing Hydrangeas - Landscapers

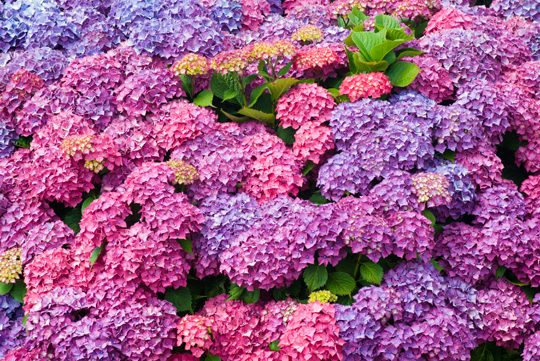
Hydrangeas can be a beautiful addition to any garden with just a little work. From blue to pink to white and shades in between, hydrangeas are a beautiful staple to any landscape. Professional landscapers can help you determine the best area to plant, but here are five of the best conditions for growing hydrangeas.

Sunlight: Hydrangeas grow best in areas where they will receive more sun and afternoon shade, especially in hotter climates.

Temperature: There are many types of hydrangeas, and some are more hardy than others. Your local nursery will likely sell the type best suited for your area, but it doesn’t hurt to double-check.

Soil: Hydrangeas love organic, rich soil. They enjoy lots of nutrients, so when planting them, make sure to add in plenty of compost or organic material to the surrounding soil. Additionally, red or blue hydrangeas can be altered in color depending on the acidity of the soil. A more basic soil will produce a pink to red flower and can be achieved through lime. A more acidic soil will produce a blue flower and can be achieved through adding aluminum sulfate .

Water: Hydrangeas love water. In fact, the name in Greek means “water tub”. This does not mean they cannot be grown in dryer environments, though. The hotter or dryer your environment is, the more you will need to water your hydrangeas.

Fertilization: Because they need a nutrient-rich soil, fertilize hydrangeas often in the spring time, or in June for more northern areas. If a plant looks distressed or sick, do not fertilize as it will stress the plant out and likely kill it.

Get Assistance With Everything In Your Garden Or Lawn

Whether you’re interested in growing one or an entire hedge of them, knowing the best conditions for growing hydrangeas can be very helpful. If you’re still unsure about adding these beautiful, flowing bushes to your garden, try contacting a local landscaper. TalkLocal can put you in touch with a landscaper in your area quickly and for free.

Fertilize Pecan Trees

Thursday, March 21st, 2013

Fertilize Pecan Trees - Landscapers

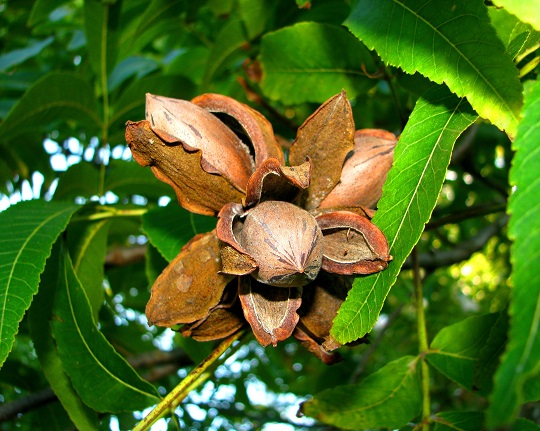
Nutrients are more than just sustenance for your crop trees- they affect how successful your crops are. Aside from nutrients, there are three important factors needed to fertilize pecan trees: proper sun, water, and zinc. Whether you’re into commercial farming or personal gardening, we’re here to give you some tips on how to properly fertilize pecan trees.

How to Properly Fertilize Pecan Trees

1. For growing pecan trees commercially, use ammonium sulphate. You will likely need a commercial fertilizer spreader, which can often be purchased at garden nurseries which sell fertilizers in bulk.

2. For non-commercial growers, a fertilizer containing zinc is the best for your pecan trees. A typical 10-10-10 fertilizer will work well, but you will need to add zinc yourself. You may also be able to find a fertilizer designed specifically for pecan trees that contains zinc.

3. Too much fertilizer is unnecessary, if not harmful, for your tree – particularly if the tree is young or newly planted. Use about one pound of fertilizer for one foot of height in your tree per season. Use fertilizers sparingly in the rainy seasons. Rain washes nutrients away – by fertilizing right before a heavy rain, the fertilizer would just be wasted. Fertilize pecan trees right after a heavy rainfall, when there is a significant interval between then and the next rainfall. The presence of water at the ground’s surface will make it easier for the tree to absorb nutrients.

4. Late winter or early spring are the optimal times to fertilize pecan trees, after your trees have come out of their dormant period.  Apply half of the fertilizer amount you will use that season about a month before the last frost. Spread the other half of the fertilizer about 30 to 45 days later, but no later than the end of May.

5. If you are worried that your pecan tree isn’t getting enough zinc, take a leaf sample (multiple leaves, and not just from one branch) and bring it to a professional for consultation.

Additional Help

Fertilizing pecan trees for optimal growth can vary greatly depending on your region and climate, so it may be a good idea to consult a professional. TalkLocal can help you find a professional landscaper in your area. We’ll even connect you directly to three professionals over the phone, getting you the help you need, when you need it!

Designing Your Outdoor Patio

Wednesday, March 20th, 2013

Designing Your Outdoor Patio - Landscapers

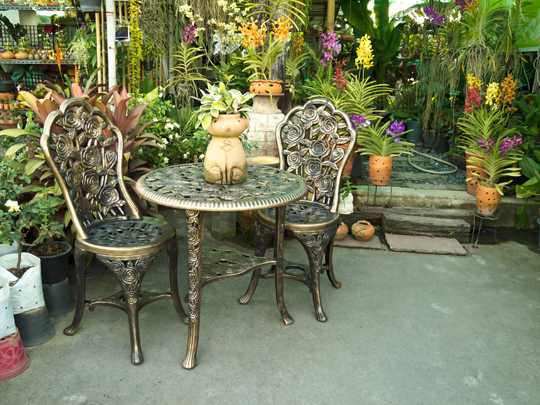
When warm weather arrives, many of us are anxious to get outdoors and enjoy it. If you are among those warm weather lovers, designing your outdoor patio may be on the top of your to-do list this season. Here are five things to consider when designing your outdoor patio.

Location

Which way does your patio face? This is important when considering which areas to add shading elements. In addition, you may already have many trees and need to consider removing limbs or whole trees to receive the right amount of sunlight on your patio.

Function

What do you intend to use the patio for? Will you be hosting large parties or simply lounging in a chair to read in the morning? This is important because parties require certain features such as grills and fire pits that a small patio does not. It may also determine the materials you use. If you do not plan on having guests, a simple, white, concrete slab may be all you need. If you plan on entertaining, you may want to add some flare with paver stones or stamped and colored concrete.

Privacy

This will determine if you choose to add a privacy fence or prefer to remain social with neighbors. Determining your function first will help determine your privacy needs. If you enjoy soaking up sun, you may prefer a more private patio than if you are simply wanting to enjoy your morning coffee with a good book.

City Codes

Often, cities require permits to pour concrete. Generally, this is so local officials can regulate your home taxes. This should be taken into consideration so that you are aware of how much your patio may cost depending on the materials you use. It is best to check with your local inspector before finalizing your project plans.

Budget

This should be the biggest decision-maker of all. If certain materials or a permit are too expensive, you may need to look into other options. You may also need to scale down an original idea to fit your price range.

When The Project Is Too Big To Handle

As with many home improvement projects, designing your outdoor patio can become time consuming. Professional landscapers may be a better option for you. They often employ design experts to help you achieve a finished product even better than your original idea. They also can work to stay within the budget you set forth because they are familiar with local codes and material costs. To find one, your best option is to use TalkLocal. We’ll hook you up with a qualified professional in your area for free.

Best Time to Plant Trees

Saturday, March 16th, 2013

Best Time to Plant Trees - Landscapers

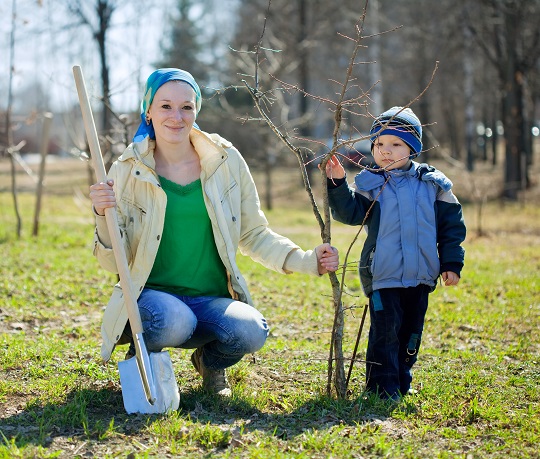
If your are planning to plant trees in your yard, you may be wondering, “when is the best time to plant trees?” If so, this article will help you figure out the most opportune planting times depending on the type of tree.

When Not to Plant Trees

It is best not to plant trees during the summer because overheating during the early growth of a tree can be damaging. If you live in an area that has a warm climate yearlong, then planting in autumn, winter, or spring is fine. However, if you live in an area that experiences cold winters, you should aim to plant your trees while they are dormant in order to avoid disrupting their growth pattern. Different types of trees will be dormant at different times. Read on to learn what time of the year certain trees are dormant.

Best Time to Plant Deciduous Trees

Deciduous trees are trees whose leaves change color and fall off during the autumn season. In other words, deciduous trees are not evergreen trees. Deciduous trees become dormant in the autumn when their leaves begin to change and fall off. They emerge from dormancy in the spring when new buds begin to form. If you are planning to plant a deciduous tree, it is best to plant it during the fall when you notice leaves beginning to change color.

Best Time to Plant Coniferous Trees

Coniferous (or evergreen) trees stay green all year long and do not shed old needles or leaves as quickly as deciduous trees. Coniferous trees can be planted anytime from early fall to late spring, but it is important that you do not plant when the temperature is too hot. If it is still very hot in the early fall, you should wait to until it cools off. If your location typically warms up in late spring, make sure you plant your trees before then or wait until the next fall.

Professional Help

If you want help planting the trees or advice tailored to a specific kind of tree in your area, you can contact a professional tree service. With the help of TalkLocal, you can be on the phone in minutes with up to three, high quality, tree service professionals in your area, who are available when you are.

Building A Stone Fire Pit

Thursday, March 14th, 2013

Building A Stone Fire Pit - Landscapers

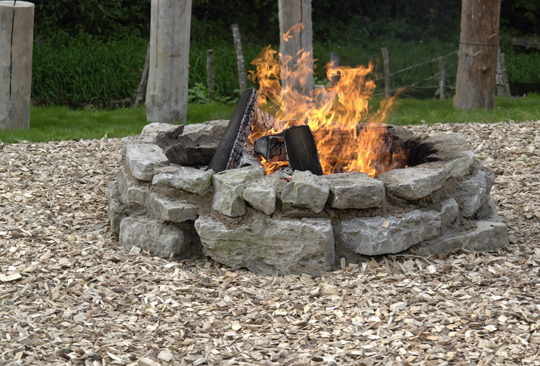
If you are longing for some rustic entertainment and feel that building a stone fire pit would scratch your nature-loving itch, we have some tips for you to consider. Fire pits can be an eye-catching addition to the yard, much like well designed areas of mulch or flowers.

Keep in mind before planning your project that, while stone fire pits are certainly elegant, they are much more work than a metal bin.

Before you start:

Building The Pit:

– Before building a stone fire pit, you have to prepare the area. If you are concerned about making it a perfect circle, try spreading a thin layer of sand on the spot you plan to dig. Tie two stakes together with a string the size of the radius of your pit (half the distance across). Place one stake in the center of the area you intend to dig, stretch out the string and use the other stake to draw a circle in the sand as you pull it around the center.

– After laying out your circle, begin digging around the edges. It might be easiest to dig little divots to mark your circle, as the sand will move when you begin digging deep. Dig your hole about a foot deep with an extra 6-inch ring similar to a moat around the edge.

– Fill the ring with gravel and place your first ring of stones on top. After installing your first layer of stones, place your metal ring in the center. Continue placing stones until they reach eight to 10 inches out of the ground.

– Fill the bottom of your pit six inches high with gravel and pack it down. This helps water drain and your fire to breathe.

– For the less mechanical of us out there, or those of us who simply don’t have the time, building a stone fire pit might seem like a daunting task.

Doesn’t Have To Be A DIY Project

Fortunately, there are professional landscapers available to help. Check out TalkLocal to find the right one for you. Our free service will match you with the right local professional quickly and easily.