Archive for the ‘Landscapers’ Category


How to Take Care of Perennials

Sunday, February 24th, 2013

How to Take Care of Perennials - Landscapers

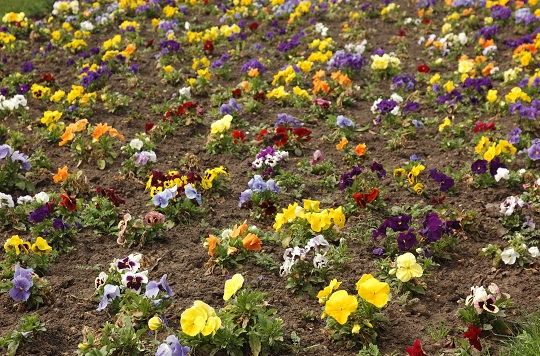
Perennials are plants that will grow and last for a few to several years, most commonly sprouting during the spring or summer, receding in the colder seasons, and then re-growing once it becomes warm again. These are great plants to have in your garden, and although they don’t require replanting each season, they do need to be taken care of to ensure survival throughout the year. Here are some critical tips on how to take care of perennials.

1. Water your perennials only when they need it. A good rule of thumb is to look at the soil. If the top 4 or 5 inches of soil is dried up, then it is time to water. Usually, this can translate to once per week in the summer months, once every two weeks in the spring and fall seasons, and once every month during the winter.

2. A process called “deadheading” is another important step in caring for perennials. Deadheading is the task of cutting off the top-layered, dead flower heads of your perennial plants. This removes any unhealthy parts, and lets new flower heads grow in. Doing so before letting seeds to form allows for new flower heads to keep blooming. This can be done several times throughout the blooming season, as well as before winter sets in.

3. After deadheading, remove all dead foliage and flower heads and dispose of them for a quick clean-up of the garden. This will allow the newly growing flowers to flourish.

4. In preparation for winter, it is also important to provide a new layer of compost and mulch before the cold season arrives. A few inches of compost will provide key nutrients for the soil to soak up, preparing it for fresh growth in the spring. Above the compost, also lay down between 5-8 inches of mulch; this can include bark chips or straw.

Additional Help

If you would like some professional assistance in maintaining a healthy perennial garden, try locating a landscaper near you with TalkLocal. TalkLocal is a free service that will connect you with top-quality, reputable landscapers in your neighborhood, within minutes. Simply enter in your problem, location and availability and TalkLocal will contact several companies, who will then call YOU directly, ready to help.

How to Install Underground Sprinkler

Saturday, February 23rd, 2013

How to Install Underground Sprinkler - Landscapers

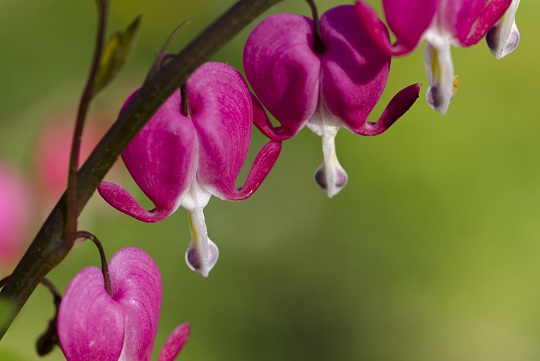
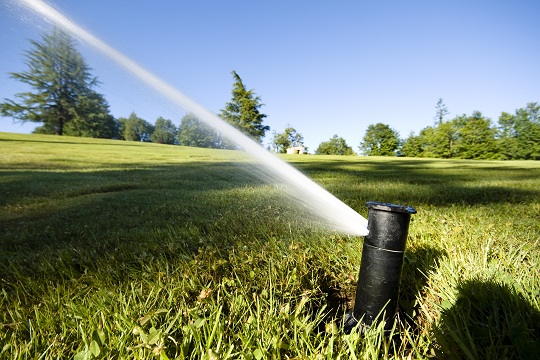
Are you tired of watering your lawn? A great time saving solution is to install an underground sprinkler system. Newer systems are easy to assemble, and you can save some money by installing the system yourself. Once the sprinkler system is in place, you can program it to water your lawn on a regular schedule.

How to Install Underground Sprinkler System

1. Measure your water pressure. You can purchase a simple pressure gauge at most home stores. Measure how much water your system delivers per minute. To do this, let the water to flow freely into a measure-marked bucket for one minute.

2. Send for a system layout and materials list. Mark down the water pressure information and send it to your chosen sprinkler manufacturer. You should also include a scaled drawing of your property. In return you should receive a system layout and materials list, including items not sold by the manufacturer. Contact the manufacturer for instructions on how to order the materials.

3. Run the pipes. You can dig the entire system by hand, but it may be easier to rent a pipe-pulling machine. If you dig the entire system by hand, dig the main runs first and then the branch lines. Dig at least 6 in. deep to make enough room for the pipes. If you’ve rented a pipe-puller make sure to read the directions thoroughly. Start by attaching the pipe to the machine’s blade. With the pipe connected, move the machine forward and lower the piping into the ground.

4. Assemble the zone-valve sets. You should do this above ground before cementing them to the underground piping. Install a plastic inline drain fitting on the downstream side of each valve. Connect the cable wires, making sure one of each pair of valve lead wires connect to a common white cable wire that will service all valves. Connect a color wire to each remaining lead. Once all the valves are connected and wired, install valve boxes and backfill.

5. Install a drain fitting at the lowest point of the feed line. Using Teflon tape, thread a brass drain head into the threaded end of a PVC tee and install the tee downwards at a 45-degree angle. Dig a small hole underneath the drain and fill it with gravel and sand.

6. Tunnel under obstacles, such as walkways. You can do this using a homemade sluice pipe. Attach a pointed sluice nozzle to one end of PVC pipe. Connect a hose to the other end of the pipe, and dig shallow trenches on either side of the obstacle. With the hose connected, turn on the water and push the pipe back and forth under the sidewalk to create the hole.

7. Slide a crimp ring onto each pipe and insert the barb fitting. This will connect the pipes in the system. Slide the rings in place and crimp them tightly with pliers.

8. Install the sprinkler heads. The simplest method to do this is to install a 90-degree ell pipe at the sprinkler head and thread a riser into the top of the head. If you need seasonal drainage, install a 90-degree drain head. Install it upright with the threads at the top. Tighten the sprinkler heads.

9. Fill in the hole. Backfill the hole 4 inches at a time and tamp the soil with a rubber mallet. Top off the soil with sod.

Finishing Touches

–          Follow local plumbing codes to tap into your household water system

–          Once you’ve tapped into the water system, install a full-flow ball valve

–          Install a brass nipple and the reduced-backflow preventer

–          Connect the backflow preventer to the pipe installed through the rim joist

–          Install the control panel

Additional Help

Installing your own sprinkler system is not easy, but it can save you money. If you would like to skip the work and hire a professional, TalkLocal is here to help! Just enter your problem, location, and availability into our system and TalkLocal will connect you with up to three landscaping contractors in minutes!

When Should I Prune My Trees?

Thursday, February 21st, 2013

When Should I Prune My Trees? - Landscapers

You should prune your trees for a variety of reasons: to remove dead, broken, or diseased branches, and to remove undesirable branches that are too long or too low. Pruning your trees at the wrong time can lead to sick trees and even more dead branches, but you may be asking, “when should I prune my trees?” For all trees, you should prune branches when the weather is dry and rain is not in the forecast for a few days. Pruning in moist weather can cause disease in the tree. Also, avoid pruning in overly hot weather. 70-degrees is ideal.

Choosing the right time of year to prune depends on the type of trees:

Spring Flowering Trees

Prune trees that flower before June 1st immediately after flowering. If you prune later into the summer it could hurt the following season’s bloom.

Summer Flowering Trees

Trees that bloom after June 1st can be pruned any time, but avoid pruning in the heat of summer when bugs are active. You may also trim these trees after each bloom to promote flowering next season.

Evergreens

Allow evergreens to grow freely in late spring and early summer. Then in late summer you can trim back 50-90% of new growth. Be careful not too cut into older wood. Prune evergreens every year to promote more compact growth, allowing some new growth to remain each year. Do not prune evergreens in late summer or early fall because new growth will be prone to winter damage.

“Sappy” Trees

Trees such as maple, birch, and dogwood should be pruned in late summer or early fall. Pruning them in the spring will not hurt the trees, but there will be a very heavy sap flow at that time.

Deciduous Trees

You can prune these trees in the spring or summer (depending when they bloom) but you can also prune deciduous trees in the winter. With the leaves off, you can easily check for damaged branches.

Additional Help

Consult a professional landscaper if you are unsure of the types of trees in your yard. Use TalkLocal anytime to find reliable landscaping professionals in your area. Just type in what, where, and when you need help and TalkLocal will connect you with up to three local professionals in minutes!

Best Lawn Fertilizers

Wednesday, February 20th, 2013

Best Lawn Fertilizers - Landscapers

All lawns need three critical things to survive and thrive: food, water, and the protection from unwanted guests, pests, natural forces, etc.

If you are looking to revive your dying lawn, or if you are looking to make your grass greener, thicker, and more beautiful, here are some tips to finding the best lawn fertilizers available.

Choosing the Best Lawn Fertilizers

Three elements that are very important to the survival of grass are nitrogen, potassium and phosphorus. These natural elements give your grass the nutrients it needs to stay healthy, and common fertilizers contain a variety of amounts of these particular ingredients.

– Nitrogen is the most important, as it helps give grass its bright green color and thickness.

– Potassium, not only important to humans, is important to grass as well. It is useful in toughening grass roots and making it durable enough to resist unwanted forces like drought and cold weather.

– Phosphorus is another critical team player, aiding in the development of the roots under the surface.

All fertilizers found at your local home garden center or nursery will contain these three elements. However, the variety among choices regards the percentage of each element that is blended into the fertilizer. For example, when looking at different fertilizer brands or blends, you will see a code-like number, such as 15-8-8. These numbers represent the percentage of each element, in this order: nitrogen-phosphorus-potassium. In this case, the particular fertilizer bag labeled 15-8-8 will contain a 15% nitrogen-8% phosphorus-8% potassium mixture.

These blends will differ based on needs and preferences. In order to choose the best fertilizer, you should take note of your grass needs, grass type, time of year, soil type, and climate. For example, if you want to prepare your lawn for winter, you might want a blend with higher concentrations of potassium.

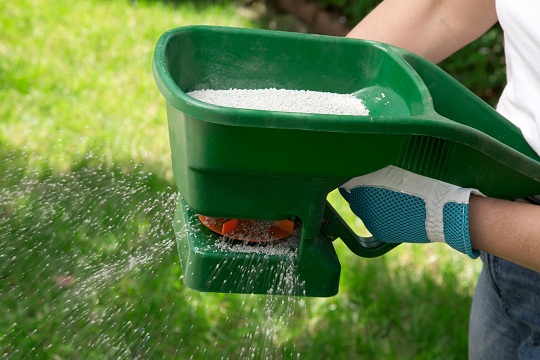
Making your decision more complex is choosing the best fertilizer type: either granular (slow vs fast release), organic, liquid or synthetic. In addition, you will find variety in different fertilizing methods and tips for application. You can choose based on specific preferences and/or needs, with each having their own benefits and disadvantages. By talking with your local home garden center or a professional landscaper, they should be able to assist you in choosing the right fertilizer.

Additional Help

If you are still not sure which lawn fertilizer is best for you, or if you would like some professional help in fertilizing your lawn, try using TalkLocal to locate a landscaping company near you. TalkLocal is a free service that will connect you with top-quality, reputable landscaping professionals in your neighborhood, within minutes. Just enter in your problem, location and availability and TalkLocal will contact multiple companies, who will then call YOU directly, ready to help.
Different Types of Grass Seeds

Sunday, February 17th, 2013

Different Types of Grass Seeds - Landscapers

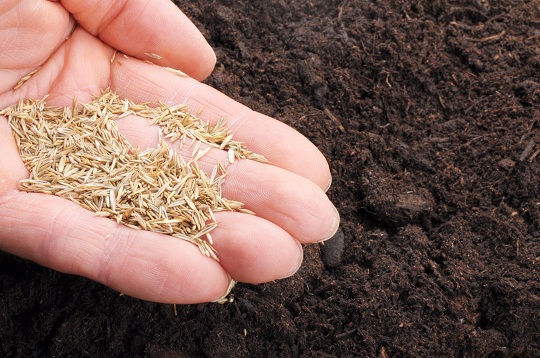
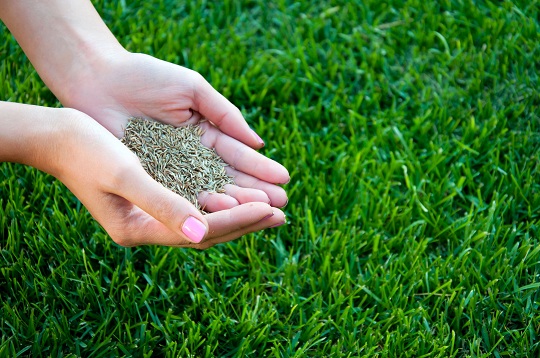
There are many different types of grass seeds throughout the world. The following is an article that will help guide you to the grass seed best for you. Choosing the optimal seed can be a special and confusing task. Check out these tips and pointers to help you out.

Get to Know Your Region

Check out the region and climate in which you live. Do your research to understand your area and the weather patterns. For each season, there are different types of appropriate grass seeds. There are warm and cool season seeds. As the name implies, cool season seeds are best suited for cool weather but require a large amount of water during the warm times. Whereas warm weather seeds can tolerate the warm weather without as much upkeep, they tend to go into hiding and turn brown when the temperatures are not optimal. Check out this helpful link to get to know the different types of grass seeds.

Warm Season Seeds

Warm weather seeds are able to withstand the harsh temperatures resulting from the way they grow. Warm season seeds form deep roots that allow them to tap into water sources. Buffalo grass is known to be one of the most drought-resistant species. In addition, Zoysia and Bermuda seeds tend to be used in areas with moderately high to high levels of foot traffic.

Cool Season Seeds

Perennial Ryegrass and Kentucky Bluegrass are two well-known cool season seeds. Kentucky Bluegrass is known for its classic lawn appearance and texture. Perennial Ryegrass is typically used when a lawn is wanted in a hurry. Once grown, ryegrass turns into a beautiful masterpiece.

Additional Help

For any landscaping questions or needs, check out TalkLocal. You will be connected directly (for free!) with up to 3 local, high-quality professionals who can help you at the time that is most convenient for your schedule.

How to Prevent Dead Grass from Dog Urine

Thursday, February 14th, 2013

How to Prevent Dead Grass from Dog Urine - Landscapers

How to Prevent Dead Grass from Dog Urine

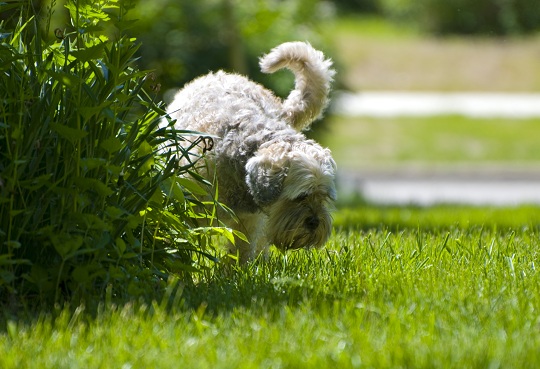
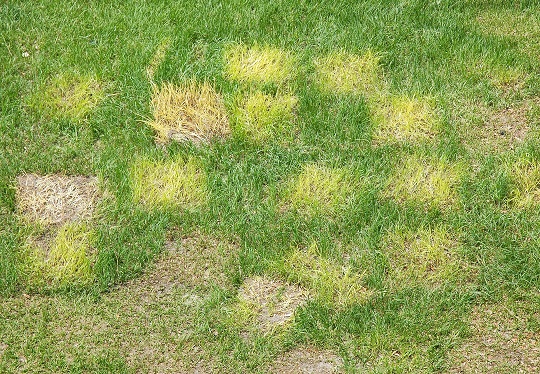
Got a cute pup ruining a beautiful lawn? Maintaining bright green grass in the presence of a dog who loves to pee in different spots all over your yard can be an annoyance. If you are consistently noticing yellow or brown “dead spots” from your dog’s urine, here’s what you can do to try to prevent those unsightly spots from ever showing up again.

Nitrogen is the key factor in maintaining a healthy lawn. However, you should use caution, because the dosage can make or break your lawn. While nitrogen is one of the top ingredients in fertilizer, it is also found in high concentrations in dog urine. Therefore, the wrong combinations of fertilizer and dog urine in certain areas of your lawn can actually prove to be too much nitrogen, and can “burn” or kill grass, causing the dead spots.

There are a few things you can do to try to eliminate and further prevent yellow or brown dead grass spots in your yard:

– Try to train your dog to pee in only one area, or in a spot where there is no grass.

– After you witness a doggy potty break, take a garden hose and rinse away the urine from the grass.

– Switch to a lawn fertilizer with lower concentrations of nitrogen to prevent the “burning” effect that comes from high levels of the element.

If you want to fix already existing dead grass spots, you can scratch away the dead grass, plant some new grass seed, cover with mulch, and water it daily. In a couple of weeks, you will start to see new grass growing in those once-dead spots.

Professional Help

If you’ve tried any or all of these solutions to no avail and would like some professional assistance, try using TalkLocal to locate a landscaper near you. TalkLocal is a free service that will connect you with top-quality, reputable landscaping companies in your neighborhood, within minutes. Simply enter in your problem, location, and availability and TalkLocal will contact multiple companies, who will then call YOU directly, ready to help.
Want Your Front Lawn to be a Showstopper?

Tuesday, February 12th, 2013

Want Your Front Lawn to be a Showstopper? - Landscapers

While it is nice to have a beautiful backyard with a nice garden and lights, the front yard is what all your guests and passers-by will see. Thus, it is important to make a good impression so people will appreciate the look of your house even more. Do you want your front lawn to be a showstopper?

Make Your Front Lawn a Showstopper

Whatever you choose to do, though, make sure it does not resemble your neighbors’ lawns too much; otherwise, your lawn won’t look unique.

Additional Help

If you want help picking the plants and lights, figuring out where to put them, or need any other useful information, talk to a professional landscaper! That way, you won’t have to deal with everything by yourself, especially the installation. To get the help you need as soon as possible, use TalkLocal to find an available landscaper in your area quickly and easily.

What is Overseeding?

Monday, February 11th, 2013

What is Overseeding? - Landscapers

Your once green and luscious lawn has started to develop bare spots and dead areas of grass.  All of a sudden, your meticulous care and watering doesn’t seem to be helping it as much as it used to.  Weeds have started to creep into your turf.  What happened to your lawn? The question you should really be asking is “what is overseeding?” Just as people grow old and tired, your lawn ages with time and begins to thin out as its reproduction rate starts to drop. But don’t fret! You can rejuvenate your lawn back to its former lusciousness in a process called overseeding.

What is Overseeding?

Overseeding is the process of adding new seeds into an already existing lawn. Contrary to many homeowner’s beliefs, fertilizer itself cannot solely sustain a lawn; the grass actually needs to be revitalized every five or six years. Overseeding allows for new grass blades to thicken up your lawn and defend against harmful diseases, keeping your lawn luscious throughout the next couple of years. 

How Do I Overseed My Lawn?

The first step is to mow the area with your lawn mower on the lowest setting. After mowing the area, you’ll need to thoroughly rake the area to expose the bare soil, removing all of the old grass clippings. This will help expose the dirt that you’ll be sowing the new seed into, and will also ensure that your new seed germinates (it will not germinate if it is not in direct contact with the soil).

If you live in northern climates, you should look to purchase Kentucky bluegrass or fescue, while southern climates should look to purchase Bermuda or Zoysia grass.  These types of grass seeds will have low proportion of weed seeds, ensuring that your reseeded lawn will have few weeds when germinating.

Lastly, you’ll want to water the new seed daily for an entire month.  The goal at this point is to keep the seeds moist so they’ll germinate.  Instead of watering once a day, spread the watering out into sessions (such as two 30-minute sessions) to be more effective.

Additional Help

Overseeding is an incredibly important process for your lawn, though it is quite labor intensive,and may require commitment and hard work. If your lawn is infested with weeds, you’ll need to kill off the existing lawn before you continue. If you are not looking forward to doing this work, then contact a professional landscaping company to overseed your lawn. TalkLocal can connect you with the highest quality local landscaping companies in your area in just minutes. You’ll have your lawn back to its luscious green in no time!

Weed Killer for Flower Beds

Sunday, February 10th, 2013

Weed Killer for Flower Beds - Landscapers

No matter how much care and love you put into maintaining your flower beds, it’s almost inevitable that weeds will eventually start to invade your carefully manicured flower beds.  At this point, pulling weeds out by hand may be too impractical or difficult, so you may be looking for a weed killer specifically formulated for flower beds. Unfortunately, while there are many grass-safe weed killers, there are currently no commercial products that specifically act as weed killer for flower beds.  However, with enough care and time, you can use weed killer in very small incremental targeted doses to kill off weeds in no time!

Methods for targeting weeds

One easy method is to use a small pint sprayer and just mist the leaves of the weeds.  Once again, almost all weed killers are indiscriminate between weeds and flowers, so you’ll want to avoid using it against any weeds that are close to flowers.  You may also want to use a sponger and gloves to apply the weed killer directly to the leaves of the weeds as well.  This method offers even more control than the spraying method if weeds are located extremely close to flowers.

You may also want to use more natural methods as well, avoiding the harsh chemicals, making it safer for kids and pets.  Household vinegar is a great weed killer and works especially well when there hasn’t been any rain for a while.  Likewise, you can use salt water to kill off new weeds; keep in mind though that excessive use of salt may irreparably damage your soil, so only use it in areas of your flowerbed in which you do not want any plant growth.

After killing the weeds

After you’ve finished killing off all of the weeds in your garden bed, you may want to consider using Preen to keep the weeds from coming back.  You can even get the Preen with plant food mixed in, simultaneously boosting your plant’s health while preventing any additional weeds from appearing.  Corn gluten can also be used as a natural alternative to Preen.

Additional Help

If you’re still uncomfortable using any of these methods and want to be sure to protect your flowers, you should talk with a professional landscaper to figure out the best way to de-weed your flowerbeds.  TalkLocal can connect you with high quality local landscapers in just minutes so that you can get your flowerbeds as clean and luscious as before!

Best Time to Seed My Lawn

Saturday, February 9th, 2013

Best Time to Seed My Lawn - Landscapers

Best Time to Seed My Lawn

The best time of year to seed your lawn depends on what type of grass you are planting, as well as the typical weather conditions of your area of residence. Some types of grass are cool-season grasses that should generally be planted in the early fall, while other types of warm-season grasses should be planted in the late spring or early summer.

Cool-Season Grasses

Cool-season grasses are more common for lawns in the northern portion of the United States. The best time of year to seed cool-season grass lawns is early fall, but you can also plant additional seeds in spring where the grass did not flourish. You should aim to plant the seeds during the daytime.

The ideal outdoor temperature for seeding your lawn is between 60 and 75 degrees Fahrenheit, with a soil temperature between 50 and 65 degrees Fahrenheit. If you seed your lawn when the temperature is too high, the seeds may dry out; but if you seed your lawn when the temperature is too low, the seeds might not germinate properly.

The most common cool-season grasses are:

– Ryegrass

– Kentucky Bluegrass

– Fine Fescue

– Tall Fescue

Warm-Season Grasses

Warm-season grasses are commonly planted in the southern portion of the United States. The best time to plant the seeds of warm-season grasses is in late spring or early summer, as this is when there will be a large amount of both rain and sun, allowing the the seeds to germinate faster and cover more ground.

You should aim to seed your warm-season grass lawn when the temperature outside is 80 degrees Fahrenheit, and the temperature of the soil is around 70 degrees Fahrenheit. If you wish, you can plant warm-season grass in the fall, but your chance of success will be lower. If you are planting warm-season grass in the fall, make sure that it is at least 60 days before the first frost or the grass will not be able to grow enough to survive the winter.

The most common warm-season grasses are:

– Bermuda Grass

– Buffalo Grass

– Bahia Grass

– Centipede Grass

Additional Help

If you do not want to seed your lawn yourself, you can hire a landscaper to do it for you. With the help of TalkLocal, you will connected with up to three high quality landscapers in your area, who will be available to help you when you need them.