Archive for the ‘Painters’ Category


Keep Paint Rollers from Drying Out

Wednesday, December 11th, 2013

Keep Paint Rollers from Drying Out - Painters

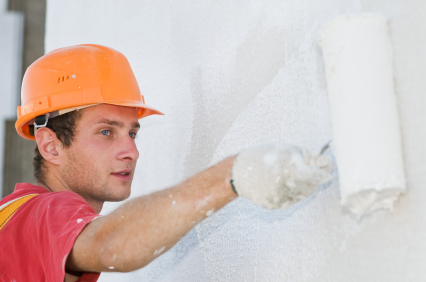
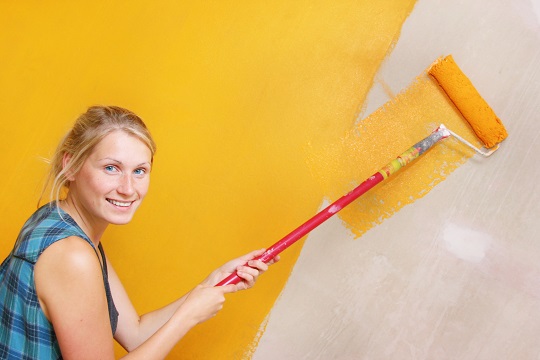
Keeping a paint roller from drying out is an important concern for a painter. You can always wash your roller when you stop painting and then again, when you start it all over, but this means using a lot of water and it is not an economical solution. Let’s see how you can maintain your paint rollers ready to be used without consuming so much water.

How Can You Keep Paint Rollers from Drying Out?

The best solution is to freeze your paint roller.

You will need:

– a plastic, resealable bag

– a refrigerator

What you should do is wrap your paint roller carefully in a wet towel, and then put it cautiously in a simple plastic or resealable bag. Then put this bag in the refrigerator. It may seem strange, but it’s effective. Your paint roller will be fresh and ready to be used next time you start painting.

What Other Solution Is There?

You will need:

– smaller paint rollers

– a bucket

If you don’t like the idea of refrigerating your paint rollers, or if you don’t have enough space in your fridge, here is what you can also do in order to keep your paint rollers fresh: if your roller is not large, you can simply leave it submerged in the bucket you used. Cover the bucket until the next working session.

This is, evidently, a more practical and easier method, but it has the major inconvenient of not working for all types of paint rollers. Only smaller a paint roller can become completely submerged in a bucket and stay this way overnight or for several hours.

Need Help?

If you need assistance with painting in your house or other home improvement project, TalkLocal can put you into contact with the professionals you need. Give us a call and we will find the right painter for you.

How to Stain Wood Cabinets

Wednesday, December 4th, 2013

How to Stain Wood Cabinets - Handyman

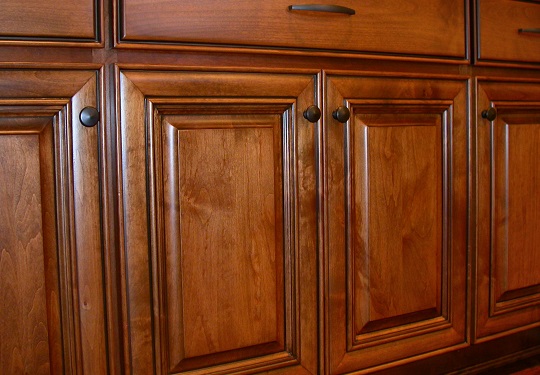
If you purchase unfinished cabinets, or if you want to give your old cabinets a new luster, you need to stain them. Doing this finishing or refinishing  job is a cost effective alternative which also allows you to give your cabinets the look you want. Although it might sound like a difficult task, it will be much easier if you know exactly what to do. Here are some guidelines on how to stain wood cabinets.

Disassemble the Cabinets

1. If your cabinets are already assembled, remove the drawers and doors to make your work easier.

2. To avoid losing track of their position, label every piece. Do the same with hardware pieces, such as screws and fasteners. You will find this very helpful during reinstallation.

Prepare the Wood

3. Check the grain of your wood cabinets, because the stain you choose needs to be suitable for the type of wood you prepare for staining.

4. First, you need to sand the wood with a 120-grit sand paper. To avoid scratching, work along the wood grain.

5. Then, use a softer sand paper to make the surface of the wood smoother.

Wood Conditioner Application

6. After sanding, make sure there is no dust on the wood, and apply wood conditioner. This will seal the wood surface, allowing you to spread the stain uniformly.

Stain Application

7. After the wood conditioner is completely dry, it is time to apply the stain. Use circular movements to help the stain better penetrate the wood.

8. When you’re done, apply another layer in the same direction as the wood grain for a smooth finish.

Finish Application

9. Now that you’ve given your cabinets the color you wanted, you need to apply a finish to protect the wood. Make sure the finish and the stain are compatible. For instance, if your stain is oil-based, it’s advisable to use an oil-based finish.

10. Apply the finish twice for enhanced wood protection.

Looking for Help?

If you don’t feel comfortable engaging in home improvement projects, such as wood cabinet staining, it’s best to look for qualified help. TalkLocal can connect you with a local professional right away. It’s fast and free of charge.

Repaint Mailbox Post

Monday, November 18th, 2013

Repaint Mailbox Post - Painters

Old, deteriorated mailboxes will inevitably lower the curb appeal of your home. Fortunately, you could easily fix this problem, by simply repainting your box and your post. You don’t need special skills and tools for this DIY project. Keep reading to find out how you could repaint mailbox post the easy way and make the most inspired decisions when it comes to buying the most adequate primer and paint.

Spot the Best Primers for This Job

Whatever you do, don’t forget to apply a primer before adding the first coats of paint. There are two types of primers currently available on the market: oil-based and water-based ones. Oil-based formulas are compatible with most kinds of paints.

Moreover, if you own a metallic mailbox post, make sure you purchase and apply a primer suitable for iron, galvanized steel, and aluminum surfaces. Primers make the new paint last longer and adhere better, and also enable you to obtain aesthetically pleasing results.

Get the Best Paint

Most exterior structures, including your mailbox post, require the use of water-based paints. Acrylic or latex paints guarantee a flawless adhesion on various types of porous surfaces and can be easily cleaned with just water.

On the other hand, oil-based paint formulas ensure extra coverage and require fewer coats, but dry slower than their water-based counterparts. Oil-based paints are suitable for metal surfaces prone to corrosion and also for wooden mailbox posts that eliminate sap or tannin.

Opt for the Best Finish

If you want to repaint your mailbox post, decide which type of finish you’d be interested in obtaining. A satin finish is very appealing and easy to maintain in the long term. Flat finishes are ideal for perfectionists who want to mask the tiniest imperfections and keep their mailboxes looking like new for the longest period of time.

Ask an Expert

With so many options at hand, finding the best primers and paints for your repainting job can be quite a hassle. Simplify your mission by contacting a professional painter who could repaint mailbox post in a timely manner. Find the best local professionals with TalkLocal, a free service brought to you to help you profit from satisfactory home improvement projects on a daily basis.

Spackle Corner Tips and Techniques

Thursday, November 14th, 2013

Spackle Corner Tips and Techniques - Painters

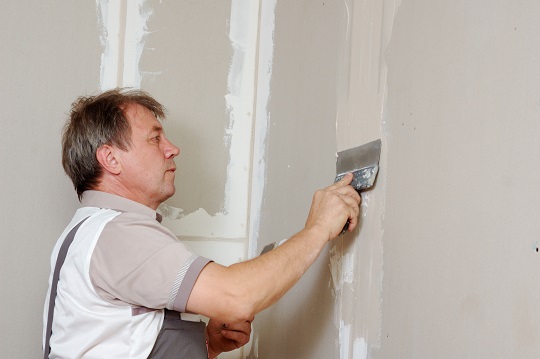
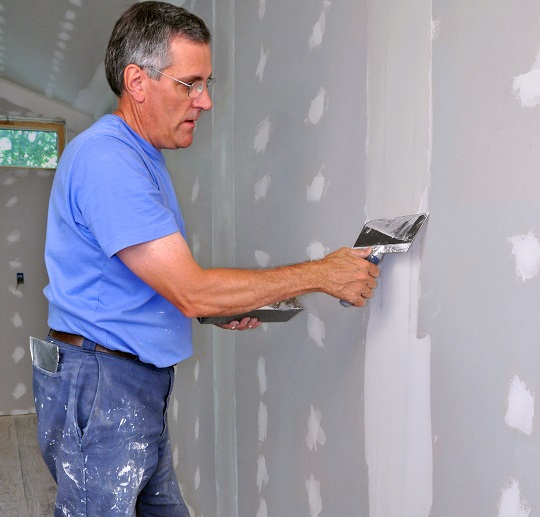
Spackling paste or “mud” is putty that is used to cover holes, cracks, joints, and other surface defects in drywall. While you will only need basic tools such as putty knife to apply spackling paste, having the right skills is necessary to smooth out the putty to get a nice even finish. It’s even more difficult to spackle the outside and inside corners of a wall. These spackle corner tips should help you get the job done right.

For Outside Corners

You should work to finish these corners in three coats with the initial coat being the heaviest. Apply the spackling paste with an 8-inch putty knife, carefully filling in and concealing the space between the corner bead and the wall. One edge of the putty knife should be positioned on the corner bead while the other end is over the wall.

Use a 10-inch putty knife for the second layer of putty. Finish the last layer by using a 12-inch knife to smooth out the edges until they are no longer visible.

For Inside Corners

Spackle corner techniques for inside corners are more complicated since they also include the seam that connects the wall and the ceiling.

1. To begin, apply spackling paste thickly using an 8-inch knife.

2. Use an inside corner tool to smooth out the corner right away. The tool is specially designed to finish 90 degree inside corners, so you would want to have this on hand when you do the job.

3. Still using the tool, make long strokes as you work your way from the top going down.

4. Concentrate on the corner when you apply the first coat. You want the corner joint to be covered up and finished on the first application. If this is not the case, apply more coats, but be sure to lightly sand the edges of the coat before putting on another.

5. Add more putty to each corner edge, feathering the paste out to make the edges unnoticeable.

6. Continue coating and sanding the joints until the edges are no longer visible.

Need Drywall Help?

With these spackle corner tips, the right tools, and proper painting, any imperfections in the corners of your drywall will disappear. Do-it-yourself enthusiasts would most likely love the challenge of this task. If you’re not a DIY person, don’t fret. We know who to call. Use TalkLocal now and speak with painting professionals in your area in just minutes.

Do You Tip Painters?

Monday, November 4th, 2013

Do You Tip Painters? - Painters

While there are some professions where tipping is widely accepted such as in hotels and restaurants, there are others where dilemmas exist. For example, when you employ the services of a decorating contractor, do you tip painters?

Sometimes, contractors will factor money designated as gratuity for their painters into the overall bill. In these cases, it’s not necessary to tip the painters. However, if you feel the need to be extra generous, you may need some guidelines on tipping your painters.

Do You Tip Painters for Quality or Speed?

You may want to tip a painter for doing an excellent job or for painting a room faster to complete a project ahead of schedule. Painters help you by making your house more colorful and appealing. They can help you use wall colors to hide stains. If they did the job well, such as painting evenly with no splashes, then it’s understandable for you to want to tip them.

Do You Tip Painters a Little or a Lot?

The typical tipping guideline is to give 15% to 20% of the total job cost. This is standard across all professions and is true for painters as well. If you’re only going to tip $5, you might as well not tip at all, as you may end up insulting the painter.

Another alternative to tipping is to make sure the painters are comfortable while working. You can provide them with snacks and refreshments throughout the day.

Complications with Tipping

While tipping is a noble gesture, some contractors have policies against tipping their employees. So it is better for you to ask your contractor first if it’s okay to tip rather than have the awkward moment when the painter has to refuse your money.

Additionally, contractors may view tipping as a subterfuge, suspecting that you’re trying to make the painter accomplish work without getting the contractor involved.

Need a Painter Today?

TalkLocal can help you locate a painter in your area within minutes! Give us a call to be connect with up to three painting professionals in just minutes.

How to Spackle Sheetrock for a Smooth Finish

Wednesday, October 30th, 2013

How to Spackle Sheetrock for a Smooth Finish - Painters

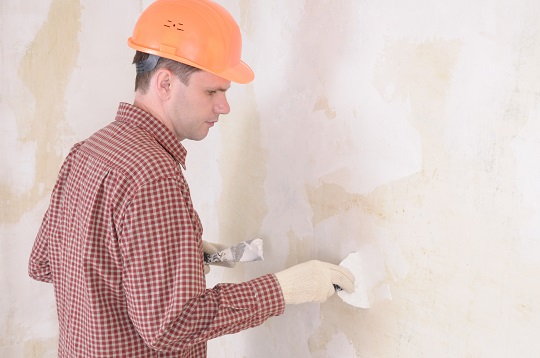
The smoothness of the finish on drywall depends on the technique used to spackle the sheetrock and smooth it out. Whether the wall is new or has undergone repairs, it’s always nice to give it a smooth finish. Here’s how to spackle sheetrock to get the desired smooth and even surface to make it ready for paint.

How to Spackle Sheetrock

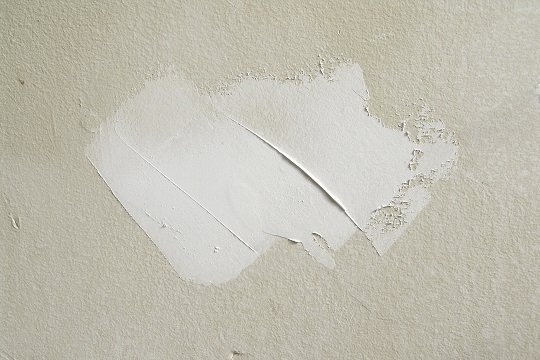
1. Fill holes and cracks with a bit of spackling paste. Use the edge of a putty knife to apply the putty into the hole, smoothing it over. Put some extra putty over the hole, because it will shrink and recede when it dries.

2. Allow the spackling paste to dry completely. This may take at least 3-4 hours, but waiting for a whole day is ideal.

3. If the hole is large, you will need to repeat the steps to spackle sheetrock up to 3 times more before it can be sanded. If the seams of the hole are bulging, this a good sign that you need to reapply more putty.

4. When the drywall is ready for sanding, make sure to prepare the work area first and wear a protective mask before proceeding. There will be a lot of dust when you sand down spackle, so you want to cover the floor, furniture, and any objects that are in the area. Prevent dust from travelling by taping up any doorway leading to other rooms.

5. Sand down the spackle using a sanding block or sponge. Start sanding with the side of the sanding block that has medium grit until you have an even wall surface. Then use the other side of the sanding block with the fine grit to sand the spackled area until you’ve smoothed out the surface and it is completely flush with the wall.

Spackling Can Be Difficult…

With the spackle all evened out, you can proceed with priming and/or painting the wall. If you don’t have the time or the inclination to spackle sheetrock yourself, there are qualified professionals who can do it for you. Let Talklocal find the best contractors in your area. We’re experts at finding the experts!

Techniques to Spackle Drywall Seams

Friday, October 18th, 2013

Techniques to Spackle Drywall Seams - Painters

If you love do-it-yourself projects, installing drywall is one of the tasks you can do. However, knowing how to spackle drywall seams makes the difference between a professional-looking drywall job and an amateur one. Create seamless joints with these techniques:

Prepare the Spackle

1. Following the directions on the spackle container, add water to the paste and mix until you get a creamy consistency. Have some water ready when you start working and pour some water on the mixed spackle to keep it from drying out.

Fill in Screw and Nail Holes

2. Before you spackle drywall seams, fill screw and nail holes on the wall using a 4-inch spackle knife. The holes would be very small so two spackle coats would be enough. Make sure to allow the first coat to dry before applying the next one. Spackle that’s completely dry should appear white and not grayish.

Spackle the Long Horizontal Joints

3. Use an 8- or 10-inch knife to spackle these joints. You have to make three coat applications to these joints, making sure to dry the surface completely between each coat.

4. The first coat will use the most spackle.

5. The second coat should not be as heavy and will only serve to fill in gaps.

6. The third coat is the finishing coat where the edges of the spackle will be feathered out. A wide 12-inch knife is used for the final coat.

Spackle the Outside Corners

7. Complete these corners in three coatings as well with the first application being the heaviest and the third application as the finishing coat.

8. Use an 8-inch knife to apply the initial coat, running one of the blades over the drywall and the other along the corner bead.

9. Apply the second coat, which is the filler, with a 10-inch knife and the final coat with a 12-inch knife.

Spackle the Inside Corners

10. This is the hardest thing to do when you’re still learning how to spackle drywall seams. For the first coat, once again apply a heavy layer of spackling paste with an 8-inch putty knife.

11. Use an inside corner tool to smooth out the coat’s surface. Let the coat dry.

12. Fill the outer edges of the corner by applying the second coat.

13. Apply the last coat, blending out its edges to make them invisible.

Call in the Professionals

Of course, if you’re really after a quality job on your drywall, you can always hire a qualified professional. TalkLocal makes the process of searching for and hiring contractors quick and easy by connecting you directly with the professionals in your area. Try us now!

How to Patch a Hole in Drywall

Thursday, October 10th, 2013

How to Patch a Hole in Drywall - Painters

Do you have a hole in your drywall? Whether the hole got there accidentally or by way of an intentional punch or kick, it’s possible to patch a hole in drywall yourself. It can be tricky to do it successfully, so here are some proven steps to help you.

How to Patch a Hole in Drywall

1. Find a piece of drywall that is as thick as the damaged one. To use this as the patch, cut it out in a square big enough to cover the hole. Hold the square patch against the hole, and trace its outline on the wall.

2. Cut the hole into a square using a drywall saw, cutting from the center of the hole to the edges of the outline. While this means you’ll be making the hole bigger, it’s easier to do the drywall repair this way instead of cutting the patch into the exact odd shape of the hole on the wall.

3. Add a board to the back of the hole. For medium holes, cut a ¼-inch plywood about six inches longer than the hole’s height. Apply some construction adhesive to the board. Carefully insert the board into the hole with the adhesive side facing you. Pull it firmly against the wall. Screw the board in place, making sure to drive the screws through the drywall and into the board but with the screw heads just below the wall’s surface.

4. Cover the hole with the patch, firmly pressing it against the adhesive on the board.

5. Using a 6-inch drywall knife, apply a layer of joint compound thinly over the seams, patch, and screw heads.

6. When trying to patch a hole in drywall, you’ll need a piece of window screen or mesh tape that is cut a few inches wider and longer than the patch. Press the screen into the compound using the knife. This step helps prevent cracking between the old drywall and the new patch.

7. Apply another layer of compound from the center going outward, trowelling off any excess.

8. When the previous coat has dried completely, put on another thin layer using a 12-inch drywall taping knife. Smooth out the compound at least 6 inches from the edges of the previous coat.

9. When the last layer has dried, sand using fine (100 grit) sandpaper. Be careful not to expose the window screen or mesh tape.

10. Prime the wall and then paint it the matching color.

Find Professional Help

With the steps above, you will not need a repair kit to patch a hole in drywall. If you need help painting the patched up area or would rather have a professional do the entire drywall repair, contact TalkLocal now and we’ll be glad to connect you with the right professional in your area.

Small Bathroom Makeovers: Wall Decor

Friday, October 4th, 2013

Small Bathroom Makeovers: Wall Decor - Painters

Millions of homeowners are looking for the perfect bathroom design ideas, which should always be eye-catching, tasteful, original, and accessible at the same time. When it comes to small bathroom makeovers tailored to your needs and allocated budget, should you focus on a DIY project or should you ask for professional services, ensured by experienced painters, plumbers, and electricians? The choice is up to you, but keep in mind that expert advice might represent the difference between a successful remodeling project and a less satisfying one.

Getting Started: Identifying the Right Color Theme for Your Bathroom

Did you know that bright colors can make any room look larger and much more spacious? If you have a really tiny bathroom, paint it in delicate shades of beige, ivory, or pastel colors to make it look wider and much more appealing.

Buying and Applying the Right Type of Paint

If you want to keep your walls in excellent condition for a long period of time, it is advisable to invest in high-quality paint suitable for bathrooms and other environments exposed to a high level of moisture. You should probably know that paints are divided into several categories based on their finish.

Flat paints display an amazing matte coating, but unfortunately they are suitable only for low-traffic indoor areas.

Eggshell paints are adequate for moisture-free areas.

Satin paints could easily beautify walls from guest bathrooms with reduced moisture levels.

And semi-gloss and high-gloss paints are perfect for almost any type of bathroom and offer a superior level of protection for walls in any given set of circumstances.

Invest in Mold-Resistant Paint

A few manufacturers have launched several types of mold-resistant paint and claim that their product prevents mold development in a highly effective manner. Some of them even offer a 5-year warranty to back their statement. If you want to get rid of mold once and for all and invest in small bathroom makeovers, it might not be a bad idea to put this new type of paint to the test.

Ask an Expert

Finding the right color, the perfect moisture-resistant paint, and the most appealing, delicate wallpaper for your bathrooms can be quite challenging and time-consuming. Save time and money by conducting small bathroom makeovers while relying on professional services brought to you by skilled painters. Contact the best ones by consulting TalkLocal, a free service introduced to help you meet respectable professionals operating in different fields of activity, who have what it takes to simplify your life, day after day.

Remodeling to Add Space: Painting and Wallpaper

Friday, September 20th, 2013

Remodeling to Add Space" Painting and Wallpaper - Painters

Painting the Walls

Painting the walls when you are remodeling to add space is the easiest way to freshen up a new addition to your home. It adds vibrancy to your new space, as well as interesting décor. When you’ve chosen your color of choice, don old clothes and get ready to paint.

> Use the necessary paint brushes or roller brushes to paint.

> Use masking tape to prevent the paint from getting where you don’t want it to go and overlap with the floor or other places.

> Cover furniture with bed sheets that you are ready to let go of.

> Cover mirrors and keep pets and children out of the room until all paint is dry and the smell is completely gone.

> Then, Sit back and admire your work!

Putting on Wallpaper

When choosing wallpaper for remodeling to add space, you must choose wisely. The wallpaper must coordinate with your existing wallpaper, if you already have some, or with your existing paint. If you’re putting up wallpaper for the first time, you have to estimate how much you will use and make room for allowances.

You also have to trim it correctly and choose the design that best fits the room. For example, if you’re expanding your home for a nursery, choose an appropriate design.

Then, you have to choose the correct adhesive, if your wallpaper is not the self-adhesive type. Wallpaper comes in all varieties of colors and designs, and you might be overwhelmed. That’s OK. Just make sure it coordinates with the rest of your home so that your new space does not stick out like a sore thumb.

Help is on the Way…

TalkLocal is here to help you with your remodeling needs. We will connect you with qualified painting and wallpaper professionals in your area. Give us a call today.