Archive for the ‘Plumbers’ Category


Noisy Pipes in the House

Tuesday, July 10th, 2012

Noisy Pipes Plumbers

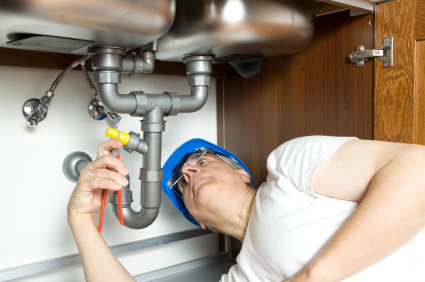
Noisy pipes in the house can be frightening and worrisome. You may assume that they aren’t working, but that is not always the case. Many noisy pipes just thump and groan because the pipes have lost their “air cushion.” Air cushions absorb the shock of water when it is turned off. Air cushions can leak out and result in less “padding” for the water, which causes noise. Luckily, there is a quick fix for this common problem. In order to get the air cushion back, just turn off the main valve by following these steps:

1.  Find the main water valve in your house. If you live in a warmer climate, the main water valve will be located by your water meter. If you live in a cooler climate, the main water valve will probably be in the basement. It should be set in the wall or on the water pipe leading to the water heater. If your water comes from a ground well, it will be on either side of the pressure tank (turn off both in this case).

2.  Shut off the valve by turn turning it clockwise until it won’t turn anymore.

3.  Open all the faucets both inside and outside your home. Leave them open.

4.  Turn on the main valve again.

5.  Turn off all your faucets.

This should solve the problem of having noisy pipes. However if this doesn’t, there’s always help. It may be time to call a pipe repair professional. To find a local service provider that can help with your noisy pipe problem, go to TalkLocal. This free online service will connect you directly to high rated repair services in your area. Just fill out a short online service request describing your problem, availability and location. After you submit, you will receive up to three phone calls from repair services that can tackle your specific problem.

How to Fix a Leaking Toilet

Monday, July 9th, 2012

How to Fix a Leaking Toilet Plumbers

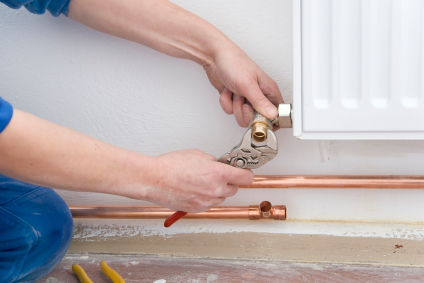
When people have the problem of a leaking toilet, they can mean one of two things. Either the water continues to refill the bowl or the water has pooled around the outside of the toilet.  These two problems are caused by different sources, so read below to learn how to fix a leaking toilet based on your specific symptoms.

Water keeps running

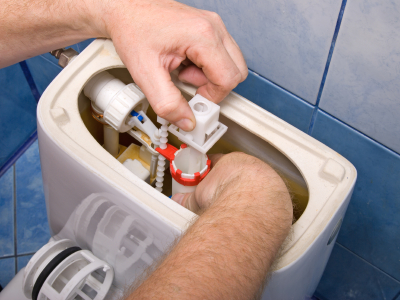
If your toilet continues to refill the bowl after you flush, you need to open the tank and inspect the parts of the toilet:

Does the overflow tube have holes?

Is the flapper stuck open? This allows the water to drain into the bowl. Simply push down on the flapper to stop it. You may need to readjust the chain to prevent it from happening in the future.

If the ball is not floating on the water level, pull it up. This should stop the water from flowing. If it doesn’t, check the shut-off valve across from it.

Water pools around base of toilet


If there is water on the ground around your toilet, it may be the result of a broken seal. To check if the water is coming from below the toilet and not a valve, clean up the existing water on the floor. Wait for more water to pool around the base; check that it’s coming from where the toilet meets the ground. If that is the source of the problem, you can fix it by adjusting the bolts. To do this, remove the covering over the bolt with a screwdriver. Then, use a wrench to tighten each bolt slightly. Work in a rotation and tighten each bolt little by little. You can crack the base if you tighten one bolt completely while leaving the rest loose.

If your toilet is still leaking, it’s time to shut off the toilet valve. The toilet shut off valve is located below the tank, just behind the bowl.

If none of these suggestions have worked, you may need to contact a professional plumber. If you use TalkLocal’s website, you’ll get immediate help for your plumbing problem. This free online service will contact plumbing services in your area who can help you.

How to Install a New Faucet

Friday, July 6th, 2012

How to Install a New Faucet...Easier Than You Think Plumbers

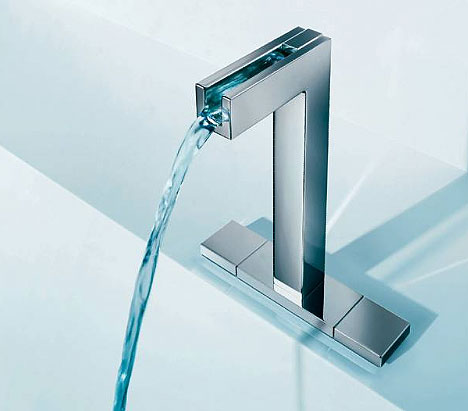
It’s very easy to install a new faucet using only a few tools.  Below are some quick guide on how to install a new faucet:

1. Turn off the water. This valve can be found underneath your kitchen or bathroom sink. Test to make sure the water is completely off by opening the faucet.
2. Remove the old faucet head and clean the surface so it’s ready for the new one.
3. Apply a thin coat of plumber’s putty on the base of the new faucet.
4. Be sure the connected supply lines are running through the holes in the sink. Place the faucet parallel to the back of the sink, pushing it face down for a secure seal.
5. Underneath the sink, screw and tighten the nuts and washers provided with the faucet and tighten them with a basin wrench or slip-joint pliers.
6. Attach the water supply lines to the shut-off valves for the hot and cold water joints. Tighten the nuts with a wrench carefully.

Now it’s time to use the sprayer base.

1. Apply plumber’s putty around the base. If you have a marble sink, use silicone caulk instead.
2. Place the tailpiece of the sprayer base into the sink opening
3. Press the sprayer base into the sink.
4. Screw in the mounting nuts.
5. Attach the sprayer hose to the sprayer piece.
6. Place the friction washer over the hose.
7. Screw the mounting nut onto the piece.
8. Tighten the bolts and you should be done. Turn on the faucet to check for any leaks and tighten appropriately.

If you don’t have the time to install a new faucet yourself, TalkLocal can help you find a plumber that can visit at your convenience. Just fill out a service request online stating your need, location, and availability. Then, up to three local service providers will call for your business. They already know your service need and will be able to help you when you are free.

Unclogging a Drain Without a Plunger

Thursday, July 5th, 2012

Unclogging a Drain Without a Plunger Plumbers

Nobody enjoys a clogged toilet, sink, or bathtub. It’s especially problematic when you don’t have the right tools to fix it. Fortunately, unclogging a drain without a plunger is possible.

A clogged pipe can be cleared using common household items such as salt and hot water. Pour some salt down the drain, then follow up with a continuous flow of boiling water. It should dislodge anything that has caused the drain stop working. If you have a bendable clothing hangar lying around, it can be very useful to scoop up hair or debris that is interfering.

Another option is to use a mixture of baking soda and vinegar. Pour some baking soda down your drain, then slowly pour in vinegar. The chemical reaction is sometimes enough to dislodge the culprit of the clog. Be sure to flush the drain with hot water afterwards.

Don’t trust at-home remedies? Run to your local convenience store or supermarket and pick up some de-clogging drain cleaner. Any brand should work, but remember to follow directions carefully. Needless to say, it should not be ingested or inhaled. The chemicals in drain cleaner are very dangerous if they come into contact with your skin, so use gloves and handle carefully.

If none of the above items work, it’s time to call in a professional plumber. TalkLocal can connect you with a plumber to get you help immediately. The process is simple. Just fill out a service request with your need, availability, and location. TalkLocal notifies local high rated businesses about your problem. Then, you will receive up to three calls from plumbers who can help you–on your schedule. Say goodbye to waiting around for help. TalkLocal makes appointment scheduling quick and easy.

Plumbing Tips and Tricks

Tuesday, July 3rd, 2012

Plumbing Tips and Tricks Plumbing

Problems with plumbing are usually avoidable with routine maintenance. Consider the following plumbing tips and tricks to avoid costly repair expenses down the road.

Check all areas of running water, including faucets, hot and cold taps of each faucet, test showers, and toilets. Be sure you don’t miss any outdoor plumbing such as hoses and pools. While testing faucets, be sure to check whether or not you hear a knocking sound in the pipes, as this may be a sign of mis-sized piping or loose framework, which could lead to leaks in the future.

When testing drains, start by filling each sink completely with water. Then let it drain out and observe the speed. If there is a clog, you may want to get it inspected because it may be more than a typical lump in the drain. If you hear noises coming from adjacent drains, there may be a venting problem with the plumbing system. You should get this checked out during inspection.

If you find that you have low water pressure, this may be a result of corroding pipes from inside. Go to the basement, look at the ceiling, and check the status of the pipes. Leaks in the pipes can also cause low water pressure. If you had your water softener checked recently, check that the valve has been reopened. The water softener may also be causing a build-up. High water pressure, on the other hand, can lead to leaks. The pipes cannot handle the pressure and may burst, so fix the problem as soon as possible before it results in more expensive damages.

When walking through the home, check floorboards for signs of rotting as it may mean leaking pipes beneath. Black/green coloring in piping may also be a sign of leaking water. Be alert to smells of mold and mildew as well, as that could be a sign of a leak.

With these tips in mind, you are well on your way to becoming aware of potential plumbing issues in a new home, and fixing them before they turn into disaster. If you need a plumber to take a look, TalkLocal can connect you with a high rated local plumbing service in minutes.