Archive for the ‘Snow Removal’ Category


Snow Shoveling Alternatives

Wednesday, October 23rd, 2013

Snow Shoveling Alternatives - Snow Removal

Clearing your driveway of snow before work can be a pain in the back. No, really — it can cause back pain and other injuries if done incorrectly or if you are predisposed to certain injuries.

Although it is an effective and reliable method of snow removal, sometimes snow shoveling is not exactly what you need to get the job done. Some of the following snow shoveling alternatives can help you clear your driveway without breaking out the shovel.

Snow Blowers

This is the most popular of the snow shoveling alternatives. A snow blower is a machine you can push over the snow drifts in your yard that then pick up the snow and throw it aside for you. Depending on the size of the snow pile and the area you need cleared, there are different types of snow blowers available for you to pick from.

If you are planning to use a snow blower over an area with gravel or rock under the snow, you can still do so. Just be sure to set your blower about an inch above the ground so it throws the snow and not rocks or gravel as well. That can be dangerous.

Snow Plows

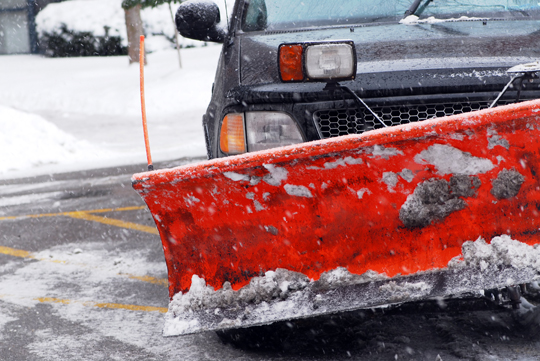
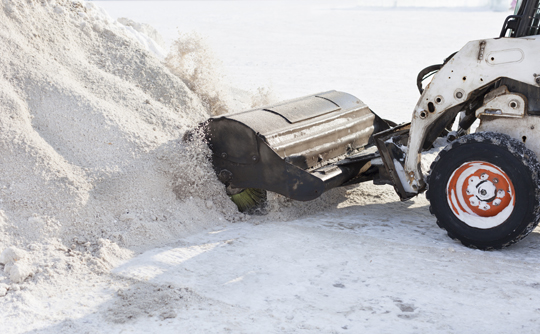
Attaching a snow plow to your vehicle can help you clear your driveway and surrounding areas of snow rather quickly and easily. The initial attachment process might be tough, but some quick assistance from a professional can fix that. Then you will be on your way to clearing not only your own home, but also easily helping others when you can.

Brooms

Believe it or not, if the snow is light and fluffy, a broom can be considered one of the few creative snow shoveling alternatives. When the snow is light and fluffy, using a wide broom or even just a kitchen broom to sweep it away is quiet effective. Just be sure to dry it off before you try to sweep the living room.

Letting The Pros Handle It

These, and other snow shoveling alternatives, can help you avoid trying to lift the snow with your own brute strength. If you do need assistance with any aspect of snow shoveling or removal, TalkLocal can help. Through a simple search on our website, you can be connected with companies and professionals equipped to help.

How To Heat Tape Gutters

Tuesday, October 22nd, 2013

How To Heat Tape Gutters - Snow Removal

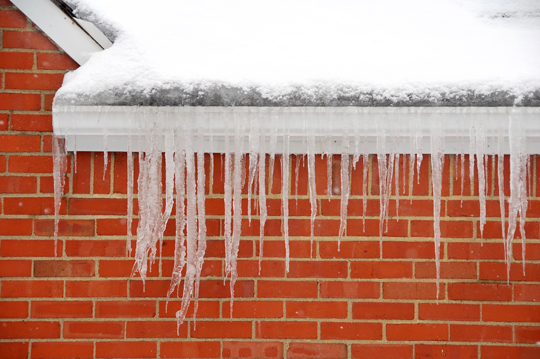
Frozen gutters can be one of the biggest nuisances during the winter months. When gutters freeze, they can become severely damaged. When the warmer, rainy months hit, you might find yourself having to replace them altogether.

You don’t have to let it come to that. Learning how to heat tape gutters in order to prevent them from freezing can be a small investment that pays off in a big way.

What Is Heat Tape?

Before you learn how to heat tape gutters, you need to familiarize yourself with the actual product. Heat tape is long strips that can be stuck to gutters and roofs. The strips are powered by an electrical source and heat up to prevent a build up of snow or ice.

Heat tape can be found at most home improvement stores, especially in areas where snow and ice are a serious factor during the winter.

Where Do You Install The Tape?

If you have never done this before, you might wonder where the best place to install heat tape would be. Not everyone does it the same. This partly depends on how bad the snow and ice get on your roof. However, to be safe, you’ll want to install it in the following areas.

In your gutters

The tape needs to go inside the gutters. Run the tape along the length of the gutter.

Down the downspout

Homeowners often forget that downspouts can freeze and become damaged. Run the tape down the downspout to avoid this.

On the roof near the gutters

This is somewhat optional, but it always helps to run the tape in a zig-zag formation along the roof near the gutter. This ensures that snow and ice do not even come close to your gutters.

Need Help Controlling Snow And Ice?

When nasty weather strikes, it never hurts to have professionals in your area that can sort out any issues you experience. TalkLocal specializes in finding you local service professionals in a matter of minutes. Flipping through the phone book and calling around are a thing of the past. Count on us to connect you with the right professional, right now!

Choosing the Best High Performance Winter Tires

Monday, October 21st, 2013

Choosing the Best High Performance Winter Tires - Snow Removal

Winter Tires

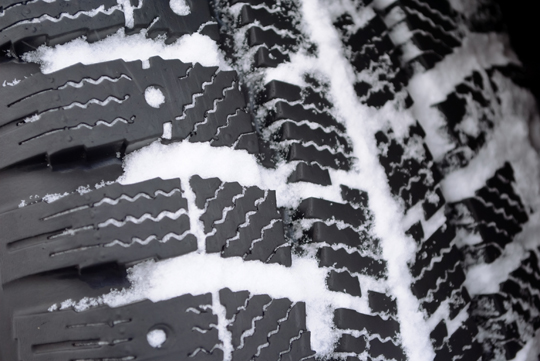
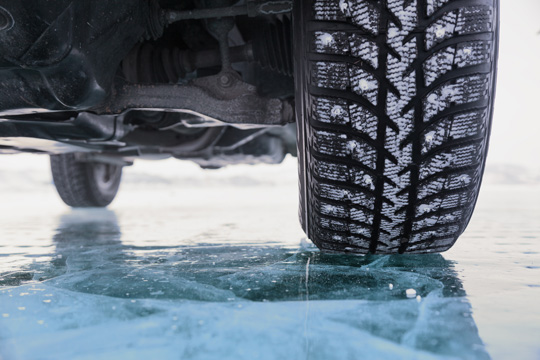
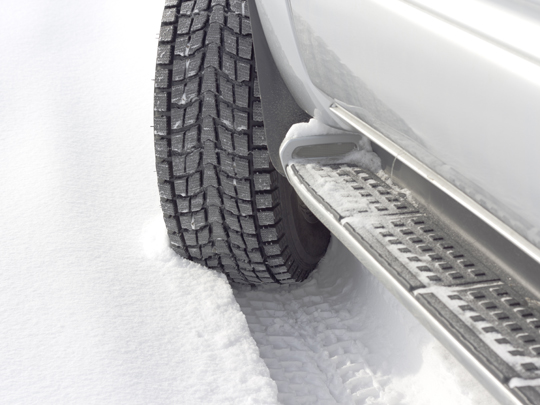
Winter tires, sometimes called snow tires, are different from regular tires in that they have more sipes. Sipes increase traction on wet and snowy terrains but decrease traction on dry roads. These tires are designed to be driven at temperatures below 45ᵒF.

All-season tires are not suitable in cold temperatures because they get hard and stiff when the temperature gets cold, as opposed to regular winter tires. Additionally, winter tires remain flexible during winter and have greater traction. However, a disadvantage of winter tires is that they tend to wear out faster in warmer temperatures.

Picking the Best High Performance Winter Tires

Finding the best high performance winter tires is not easy. Based on Consumer Reports, the best winter tires are the Michelin X-ice Xi3, Michelin X-ice Xi2, and Hankook i*cept evo. However, there are several factors you have to personally consider when choosing your winter tires.

1. First, you have to consider the tread pattern. At least 1,500 sipes is the norm. All-season tires have an average of about 200.

2. Winter tires are also composed of a different compound with a higher silica content that ensures that they stay softer and more pliable in colder temperatures.

3. Lastly, you will have to consider the cost of the tires. This is a big investment that you will have to make, unfortunately. Your safety, and your family’s safety, will depend on these tires.

Do not hesitate to spend even $1,000 for these tires because of the safety issues that you will have if you come into an accident if you use all-season tires during winter. Winter tires could be the difference between driving safely in the snow and getting into an accident.

Need Help?

You’ll want a professional to install winter tires for you. If you are having trouble finding a professional near you, contact TalkLocal today and find out how we can help you!

How to Remove Black Ice

Friday, October 18th, 2013

How to Remove Black Ice - Snow Removal

If you’re about to leave home on a snowy winter’s morning, be careful as you step onto your driveway. It could be covered with the same treacherous black ice that builds up in a thin layer over roads, and you could find your car or even yourself slipping over its surface, potentially getting injured or even sliding into the path of oncoming traffic.

Today we’re going to tell you how to remove black ice from your driveway so you can come and go safely on even the coldest winter days.

Salt or Another Deicer

The first line of defense against all ice – “black” or otherwise – is a deicer product. The most common one is simply sodium chloride, or salt. You can buy bags of salt specifically meant to melt ice and spread it over the icy surface. It’ll melt pretty quickly.

If you have a lot of ice, some more efficient deicers are calcium chloride and magnesium chloride, but these can harm concrete and plant life, so use with caution.

Sand

Once your ice is melted, sprinkle the surface with some sand if you can. Sand doesn’t have any effect on the ice at all, but it will give you and others some extra traction when walking.

Wait it Out

If you don’t have any salt on hand, a snow shovel can be used in a pinch to break up ice, but your best option may be just to wait it out. Black ice is typically very thin, and once the sun hits it, it tends to melt quickly.

If you have an icy issue and you just can’t deal with it alone, TalkLocal can help. Use our free concierge service to find a snow and ice removal professional in your local area today. We’ll connect you with up to three professionals in just minutes.

Best Snow Shoveling Techniques

Thursday, October 17th, 2013

Best Snow Shoveling Techniques - Snow Removal

Injuries related to snow removal are nothing to mess around with. Although getting your driveway clear so you can head to work is very important, keeping your spine in line and avoiding injuries is even more important.

Practicing the best snow shoveling techniques will help you avoid pain while being productive in your snow removal ventures.

Here are some of the best snow shoveling techniques you should consider:

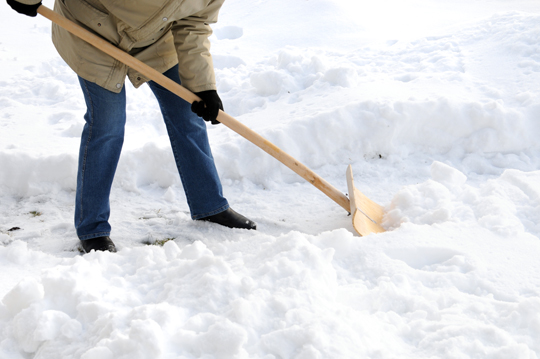
Lighten your load: Don’t overwhelm yourself or your shovel. It might be tempting to try to scoop up a large section of snow at once so you can get done faster, but you are actually likely to hurt yourself doing that. Instead, lighten your load by filling it with smaller amounts of snow, which allows you to avoid straining yourself and move a little faster.

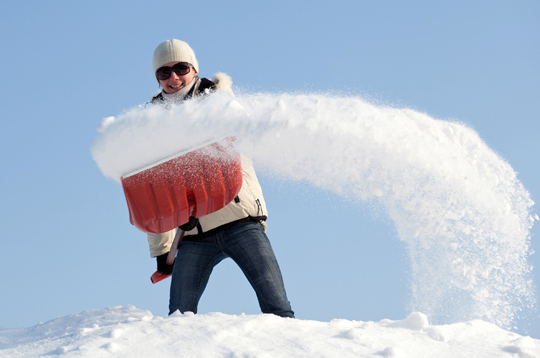
Don’t throw: When you scoop up a shovel-full of snow, you probably want to toss it to the side or over your shoulder. That’s actually not the best idea. Instead, you should walk to where you want to dump the snow and shake it off of your shovel there. This avoids unnecessary strain on your upper back, shoulders, and arms.

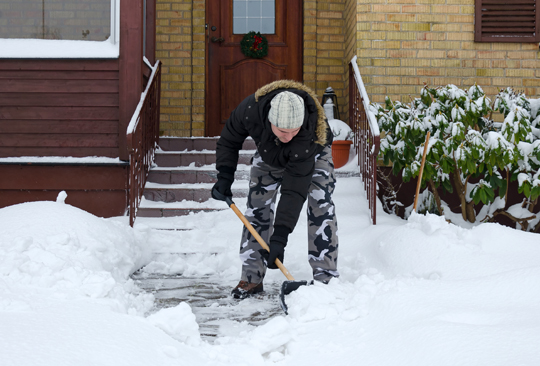
Stand properly: You don’t need to bend over and strain your spine in the process. Instead, you want to squat and use your legs. Keep your back straight, separate your knees, and squat to pick up the snow. Then, use your legs to raise yourself up with the snow on your shovel. Keep your arms close to your body to keep the weight centered. You don’t need to use your back.

These are some of the best snow shoveling techniques for a reason. They help you avoid some of the most common injuries tied in with snow removal.

Getting More Help

Sometimes, depending on the snowfall and the time of year, you may need professional assistance or a different type of snow removal method. If so, TalkLocal is a great resource. With one search, we will go find you companies and professionals that can help AND get you on the phone with them in a matter of minutes.

Types Of Snow Plows

Wednesday, October 16th, 2013

Types Of Snow Plows - Snow Removal

Snow can rear its ugly head when you least expect it. When it does, that’s not the best time to start your research. Before the fluffy white stuff falls, why not take a minute to familiarize yourself with some basic facts about different types of snow plows? After all, some snow is too deep and thick for a snow plow. Consider the three distinct grades of snow plows, separated by the types of jobs they are best for:

Commercial snow plows: These are used for roadways, commercial parking lots, and large driveways. They require professional installation. Commercial plows are often hydraulic and electric, so you can control them from inside your vehicle.

Residential snow plows: Residential plows are smaller versions of the above. They are easier to install and less cumbersome overall , while still being effective on driveways and other big jobs.

All-terrain plows: All-terrain plows are smaller, lighter, and better for use on a variety of terrains. They are great for areas with occasional snow as they install and uninstall quickly.

Next, look at the three basic plow designs.

Straight plows form a solid line that looks very much like a manual snow shovel. Available in steel, aluminum, and polycarbonate, they are used to move snow away from buildings. V-plows have a tell-tale “V” shape and are best for tougher jobs like hard-packed snow, ice, or for making that first indentation into a snow bank.

Box plows are more like construction equipment that is also used for snow.  These plows use a kind of scoop to pick up the snow so it can be dumped elsewhere.

Finally, be aware of the functionality of the various types of snow plows.

Manual plows are popular because they are easy to put on and take off when the need arises.

Electric plows require permanent installation of certain parts on the vehicle. The trade-off is that electric plows are reliable and easy to operate fully from inside the cab.

Hydraulic plows are similar to electric, but run on hydraulics (a liquid version of pneumatics). Again, hydraulic plows require professional installation and leave their mark on your vehicle all year.

All Set For Winter?

With some awareness of the various types of snow plows, choosing one should be as easy as figuring out your needs. Consider the terrain, how much snow you expect, and whether or not you want to permanently modify your vehicle. If your head is spinning and you would just like to call someone to plow snow for you, hop on TalkLocal. We make snow removal experts a few mouse clicks away. You do not have to search endlessly to find one in your area.

Tread On Snow Tires

Tuesday, October 15th, 2013

Tred On Snow Tires - Snow Removal

For those of you that have driven in areas that are consistently hit by snow and ice, you know how much of a hazard this inclement weather can be. You also probably know the value of snow tires and how they can help you maintain control while out on the roads. The tread on snow tires is one of the main factors that allow these to be so effective.

The tread on snow tires allows the tire to cut through the snow and ice in order to grip the road better. Because the tread is so important, you need to monitor your snow tires to make sure that they are still capable of doing their job.

Here are a few things to look for.

Depth of the tread: As your snow tires continue to wear, the depth of the tread begins to decrease. It is a commonly accepted notion that once you are left with 2/32 inches of remaining tread, it is time to replace the tires. In order to comply with federal regulations, tire manufacturers include a marking on the tire that become visible when the tread has worn down to dangerous levels.

Luckily for snow tire owners, these tires come with deeper treads to begin with. You should think about replacing them at 6/32 inches in order to keep them effective in snow and ice.

Tire and tread compound: Snow tires are created from a more pliable rubber than all-season tires. This is because the tires will be rolling over snow and jagged ice. Tires that are marketed as snow tires should have this quality, but it is important for you to investigate. You do not want to be sold an all-season tire from a dealer that is playing it off as a snow tire.

Tread design: The tread on snow tires have a specific design that allows them to cut through the snow and ice and grip the road. This is another distinguishing difference from all-season tires. While the design of tread on snow tires may differ, they will always be different from all-season tires.

Always Be Cautious In The Snow

As you probably can tell, equipping your vehicle with snow tires is essential. You need the tread to handle your vehicle safely. To find someone that can install these for you, visit TalkLocal. We make finding service professionals of all industries incredibly easy.

Snow Removal Safety Tips

Monday, October 14th, 2013

Snow Removal Safety Tips - Snow Removal

Snow removal is necessary but possibly dangerous, as well. Following some basic snow removal safety tips can help you avoid injuries and accidents related to snow removal and get on with clearing your driveway and sidewalk.

Top Snow Removal Safety Tips

1. Don’t overload your shovel. Although it might seem easier to scoop up huge piles of snow on your shovel, it can lead to back and arm injuries if you aren’t careful. Instead, you want to load your shovel with smaller, lighter loads so you can work faster and safer.

2. Know your health situation. If you have a history of heart or back problems, you may need to avoid shoveling, since it can be heavy duty work. Instead, ask a neighbor, a friend, or even hire out a local snow removal service.

3. Dress in layers. Whether you are shoveling, blowing or plowing, you might start out cold and end up hot. Wear layers so you can remove some if you need to while insuring you won’t become too cold.

4. Shovel properly to avoid injury. Keep your back straight. Bend your knees and squat instead of arching your back to shovel the snow. That way, you can use your legs to toss the snow aside while also preventing improper spinal posture.

Keep your arms close to your body, also, and avoid throwing the snow behind you or to the side. This puts too much strain on your body. Instead, just walk towards your snow dump spot and gently toss the snow off of the shovel there.

5. If you are using a snow blower, be considerate of the land beneath the blower. Set it about an inch above the ground if there is gravel, rock, or loose dirt present. These can clog your snow blower, and it risks injuring anyone passing by as you blow.

6. If you are plowing, be aware of your surroundings in your plow vehicle. Try to avoid dumping the snow where children play.

How To Hire A Local Snow Removal Service

Snow removal can easily be a do-it-yourself job, but it can also benefit you to have professional help at times. If you need professional advice or assistance, TalkLocal can connect you with the right professional. Our process only takes minutes and yields useful results. Check it out.

Heating Tape Gutters

Friday, October 11th, 2013

Heating Tape Gutters - Snow Removal

Winter weather can wreak havoc on many parts of your home. Gutters are one area that can be ravaged by ice. When a gutter freezes, it can crack or even get too heavy to the point where it simply falls off the house. Stopping gutters from freezing is important, which is why using heating tape gutters just might be the answer to your dilemma.

Heating Tape Gutters

Heat tape, known to many as electric trace heating, are long strips that can be placed along your gutters and other areas of a home that are prone to freezing. The strips heat up and help the gutters maintain a higher temperature in order to avoid freezing.

It is not a huge mystery how to heat tape gutters; most heat taping systems come with a complete set of instructions. For those of you who have not purchased a kit and want to know how labor intensive the process is, here is a brief overview:

1. First, scout out an area where you can plug the system in. This might involve using an extension cord to reach the nearest outlet. The unit that the heat tape runs from is generally mounted underneath the overhang of the roof, near the gutter.

2. Run the heat tape throughout the gutters. This is a no-brainer. With the heat tape running along the length of the gutters, it will avoid icy build-ups.

3. The heat tape is not just reserved for inside the gutters, though. It is also important to zigzag the tape along the eaves and on the roof just above the gutters. This keeps ice from coming close to the gutters and allows water to flow down into the gutters.

4. Do not forget the downspouts. Make sure to run the heat tape through the downspouts in order to keep them clear.

Heat tape is one of the few solutions that truly remedies frozen gutters. The investment on such a system often depends on the amount that you use.

Afraid Of Heights?

If you don’t feel comfortable scaling the roof by yourself, call in the experts. TalkLocal connects you with them easily with our state-of-the-art concierge service. Try it out, and get connected with the right professionals in your area in just minutes.

How To Fix A Snow Shovel

Thursday, October 10th, 2013

How To Fix A Snow Shovel - Snow Removal

Winter can be a wonderful time filled with fun activities out in the snow. Unfortunately, none of that is possible if you can’t get in or out of your own driveway. Luckily, you have your snow shovel, but if you invested in a cheap one, you may be wondering how to fix a snow shovel. Investing in a quality snow shovel can really save your health, but if you aren’t ready to throw the old one out, here is a method for fixing it.

How to Fix A Snow Shovel

1. The scoop is the portion of the shovel that breaks most often. As long as your handle is intact, you’re still in good shape.

2. You’ll need to gather a few things: medium-sized piece of scrap metal, vice grips, hammer, clamp, drill and bit, hollow metal pipe (about two feet long), and bolts.

3. Using the vice grips, fold three of the four edges of the scrap metal about an inch back. Use the hammer to pound them flat. This will not only smooth out the edges but will also strengthen the scoop.

4. Use the pipe and hammer to shape the scoop. This method will both create a smooth slot to attach your handle holder (the pipe) and help you to achieve the roundness you want. Use your previous scoop as a guide for your shape. Once finished, flatten out the bottom portion that was shaped by your pipe.

5. Use the clamp to place the pipe in the groove you created in your scoop. It may help to flatten one end of the pipe with your hammer to create a smooth finish.

6. Insert your old wooden handle into the pipe.

7. Use the drill and bit to drill pilot holes for your bolts.

8. Use the bolts to secure the three pieces together, and your shovel is finished!

Not everyone has spare pieces of metal lying around or even the tools to complete this job. If you aren’t in an emergency situation, you may prefer buying a new shovel. Or, to spare the wear and tear on your body, a snow blower may be more your style.

Find Quality Snow Removal Services

You may be at the point where you are done dealing with snow hassles completely. If you’ve switched from wondering how to fix a snow shovel to how to hire a professional snow removal expert, TalkLocal can help. We’ll connect you with a professional quickly and easily, in just minutes.