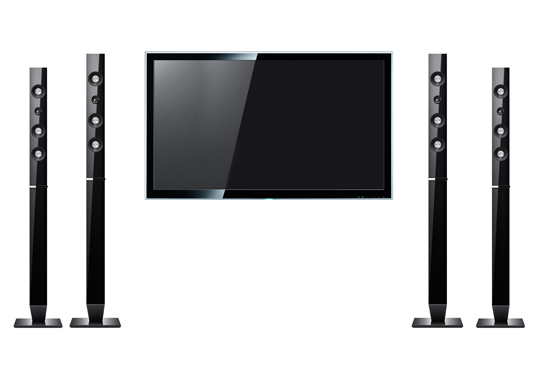
If you’ve decided to install a home theater in your basement or in another room in your house, you’re probably looking forward to the moment when you can sit back and relax, watching your first home cinema movie. But until then, you need to take care of many other details, including the home theater wall wiring.
The messy tangle of video and audio cables can be avoided by hiding the wiring in the walls. This way you don’t have to worry about stumbling on them or about wiping the dust they collect if left on the floor. Moreover, you will significantly improve the appearance of your room.
If you’re a DIY’er, and if the walls of your house are constructed in such a way as to allow you to insert cables behind them, you can embark on this project by yourself. Remember that it is not advisable to try to hide the wires in the wall unless you have drywall. If your walls are made of brick or concrete, it’s highly recommended to entrust this job to an expert.
To ensure the success of your project, read and carefully follow manufacturer’s instructions at all times during installation. Also, make sure you take all the necessary safety precautions.
What Are the Main Steps of Home Theater Wall Wiring?
1. Turn the power off in the part of the house where you are going to drill or cut holes into the walls.
2. Measure the distance between the outlet and your home theater components, and make sure your cables are long enough. Use in-wall cables, which are specially designed for this type of project.
3. Set the location for the jacks by using a stud finder to trace wall stud location.
4. Install wall boxes.
5. Insert the cables.
6. Install your jacks in the wall.
Need Assistance?
Seva Call can put you in touch with an experienced local electrician who can install your home theater on your schedule.


